Partner in Crime!

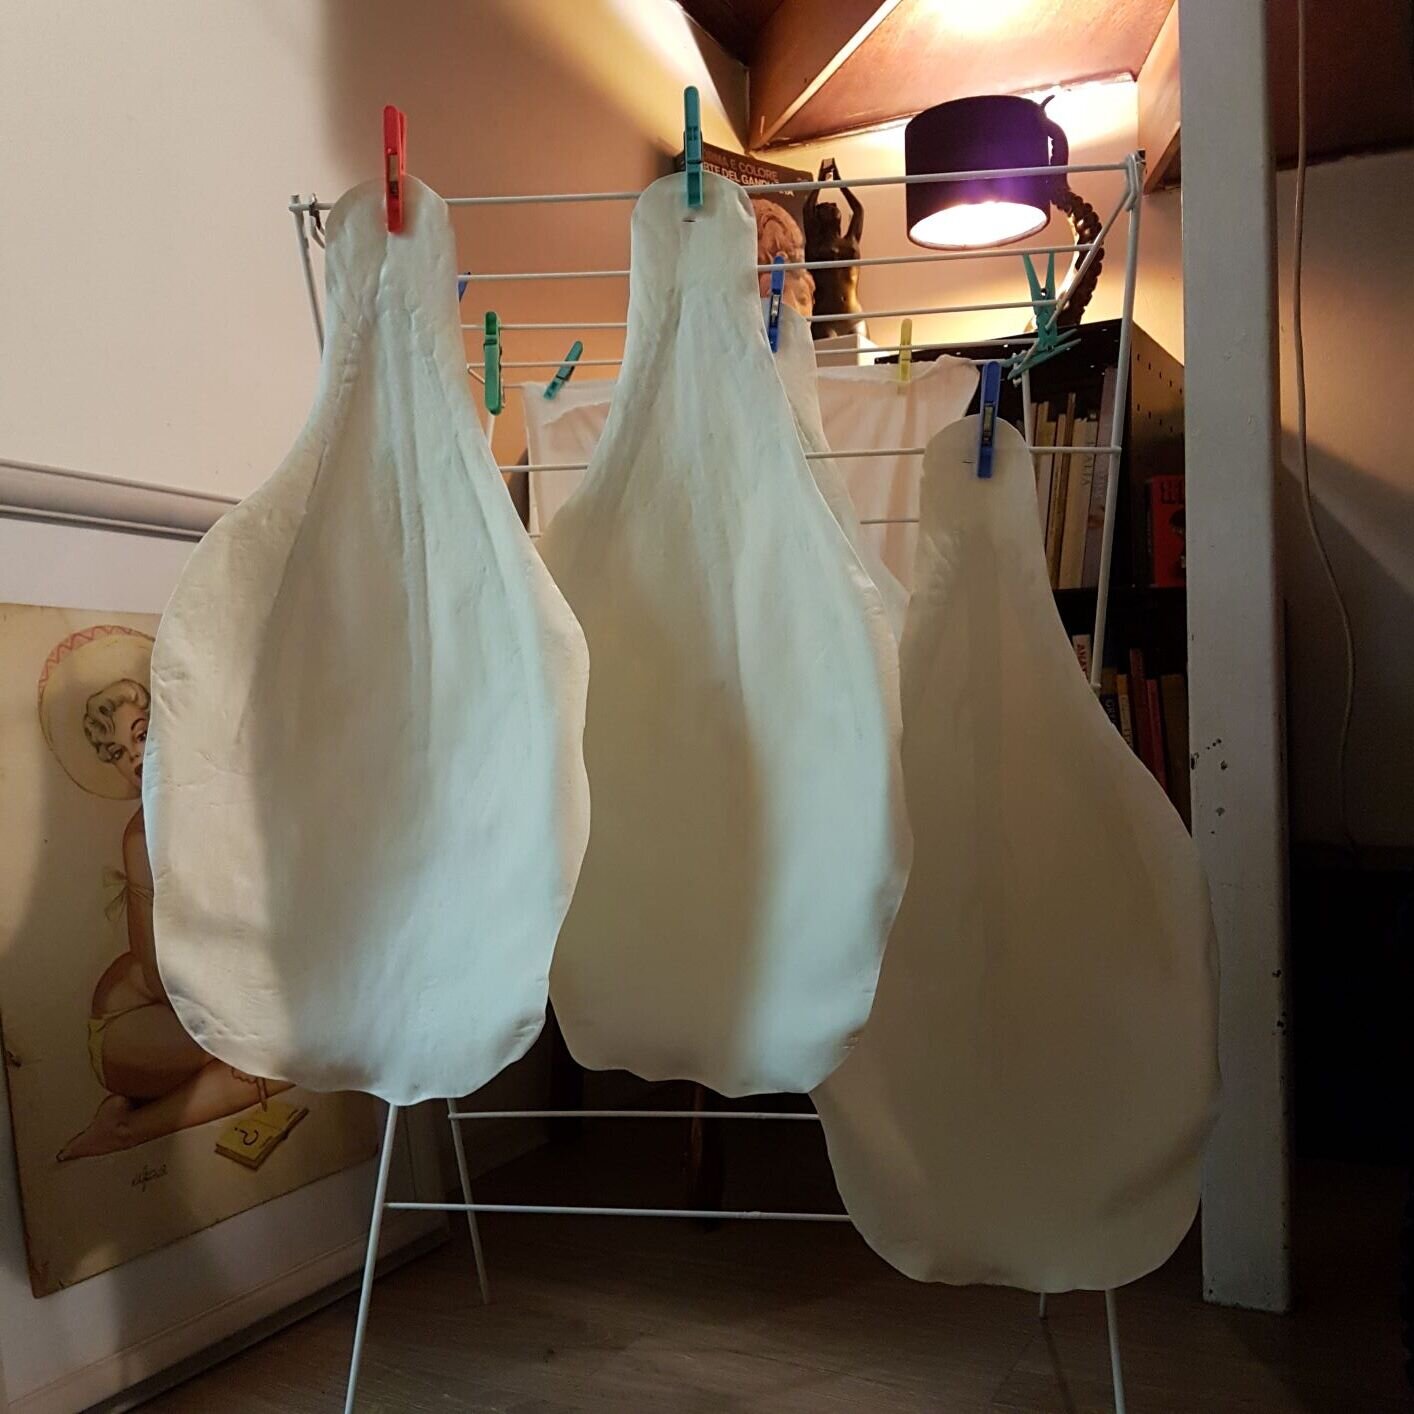
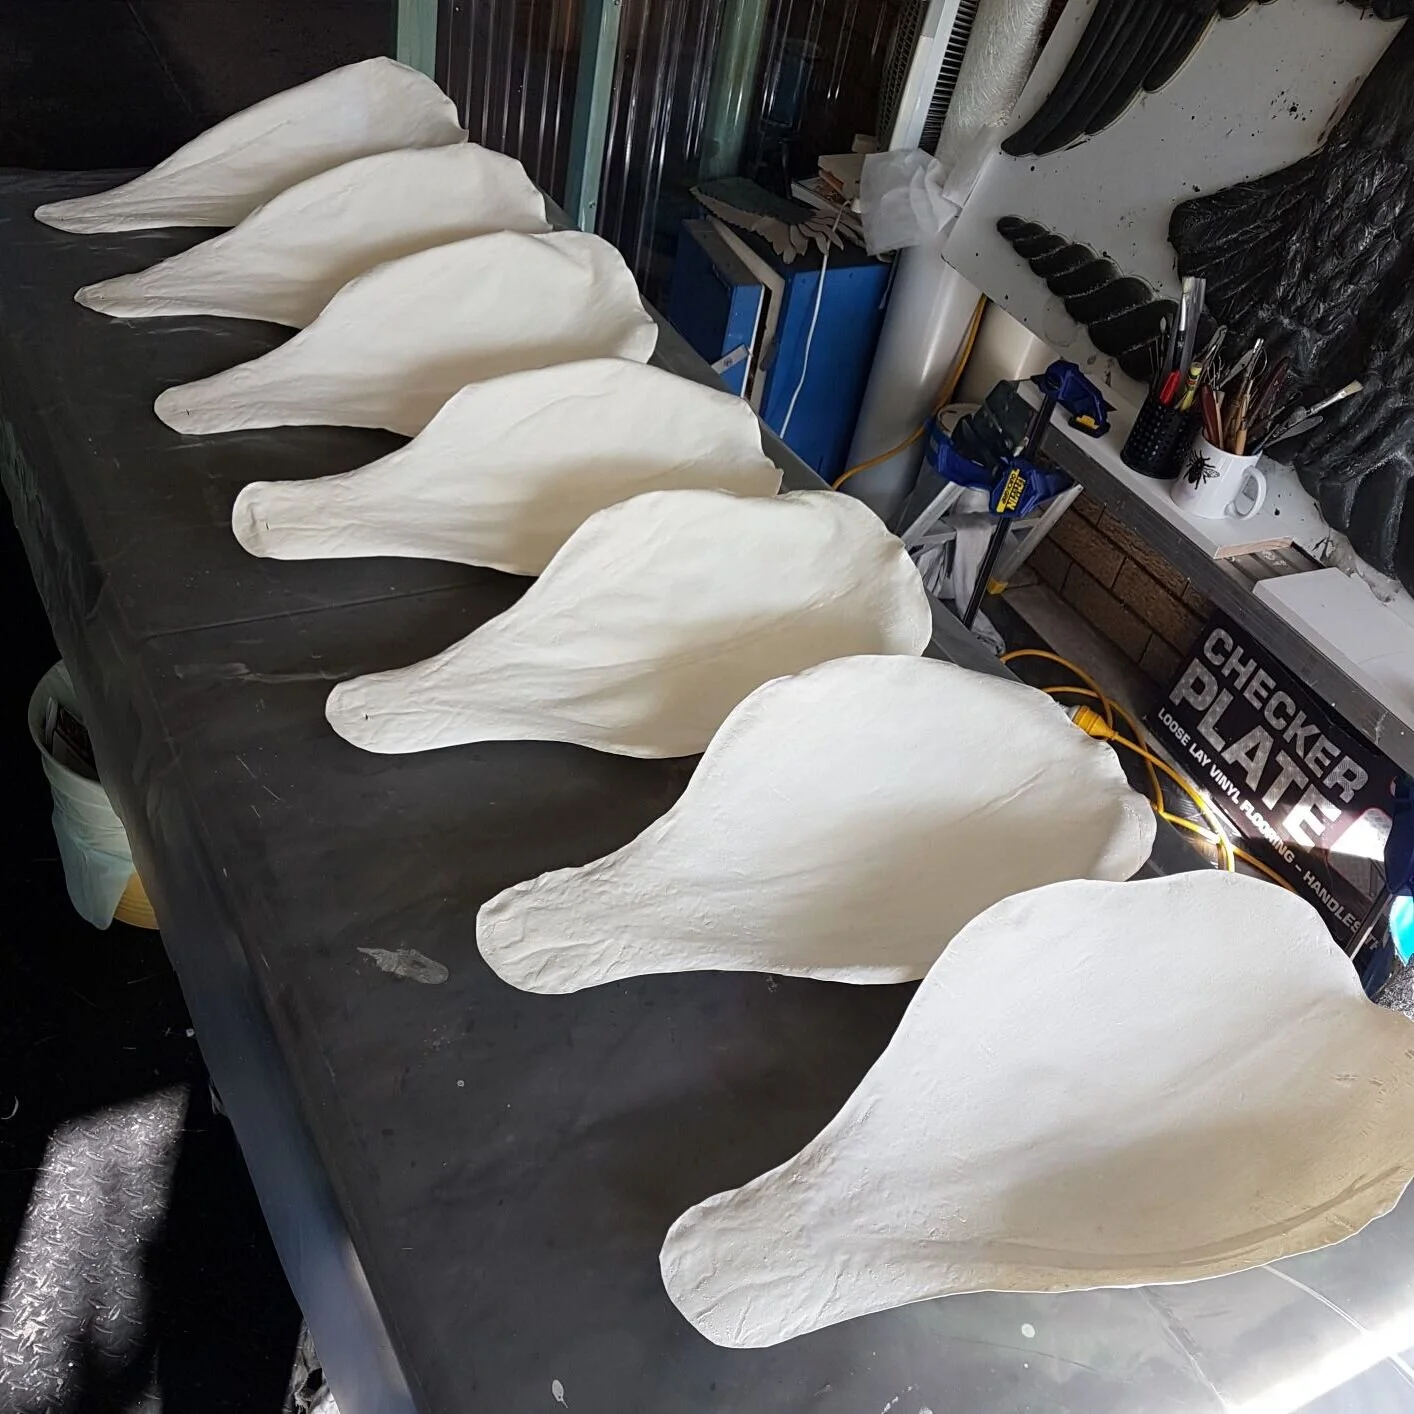
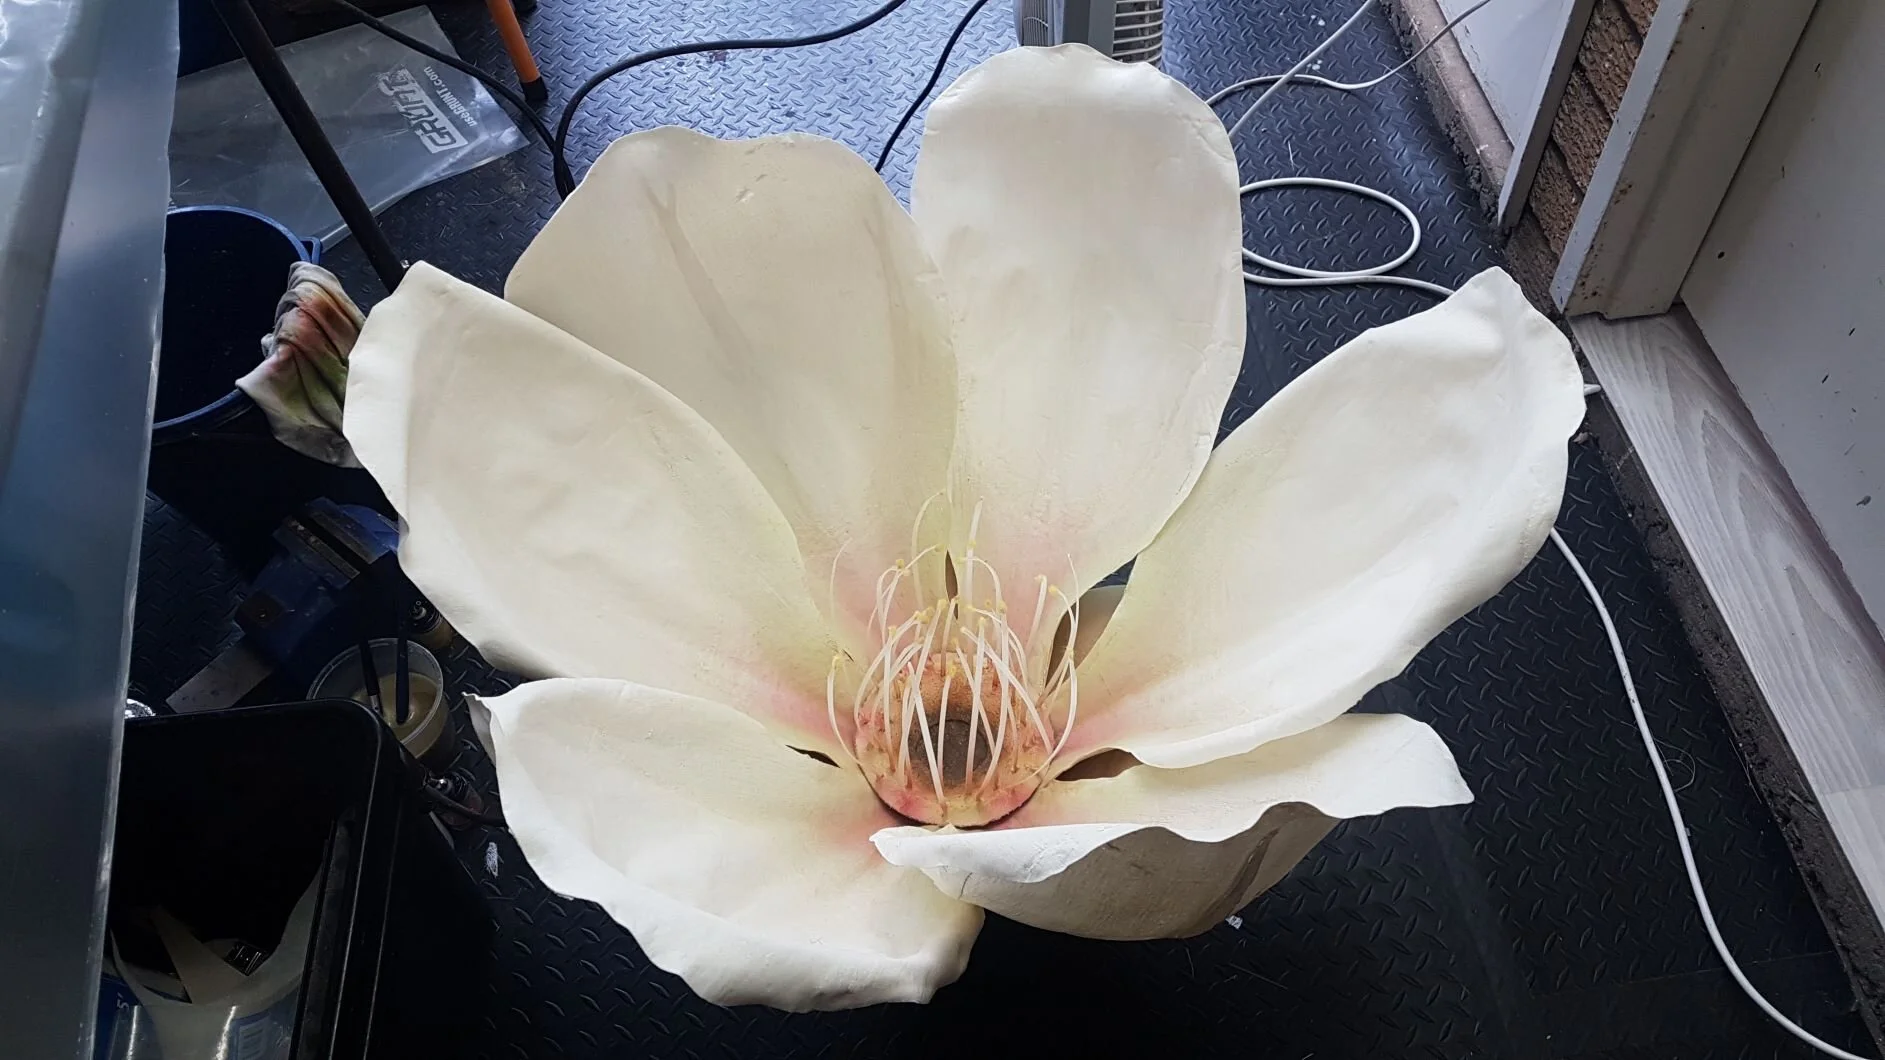
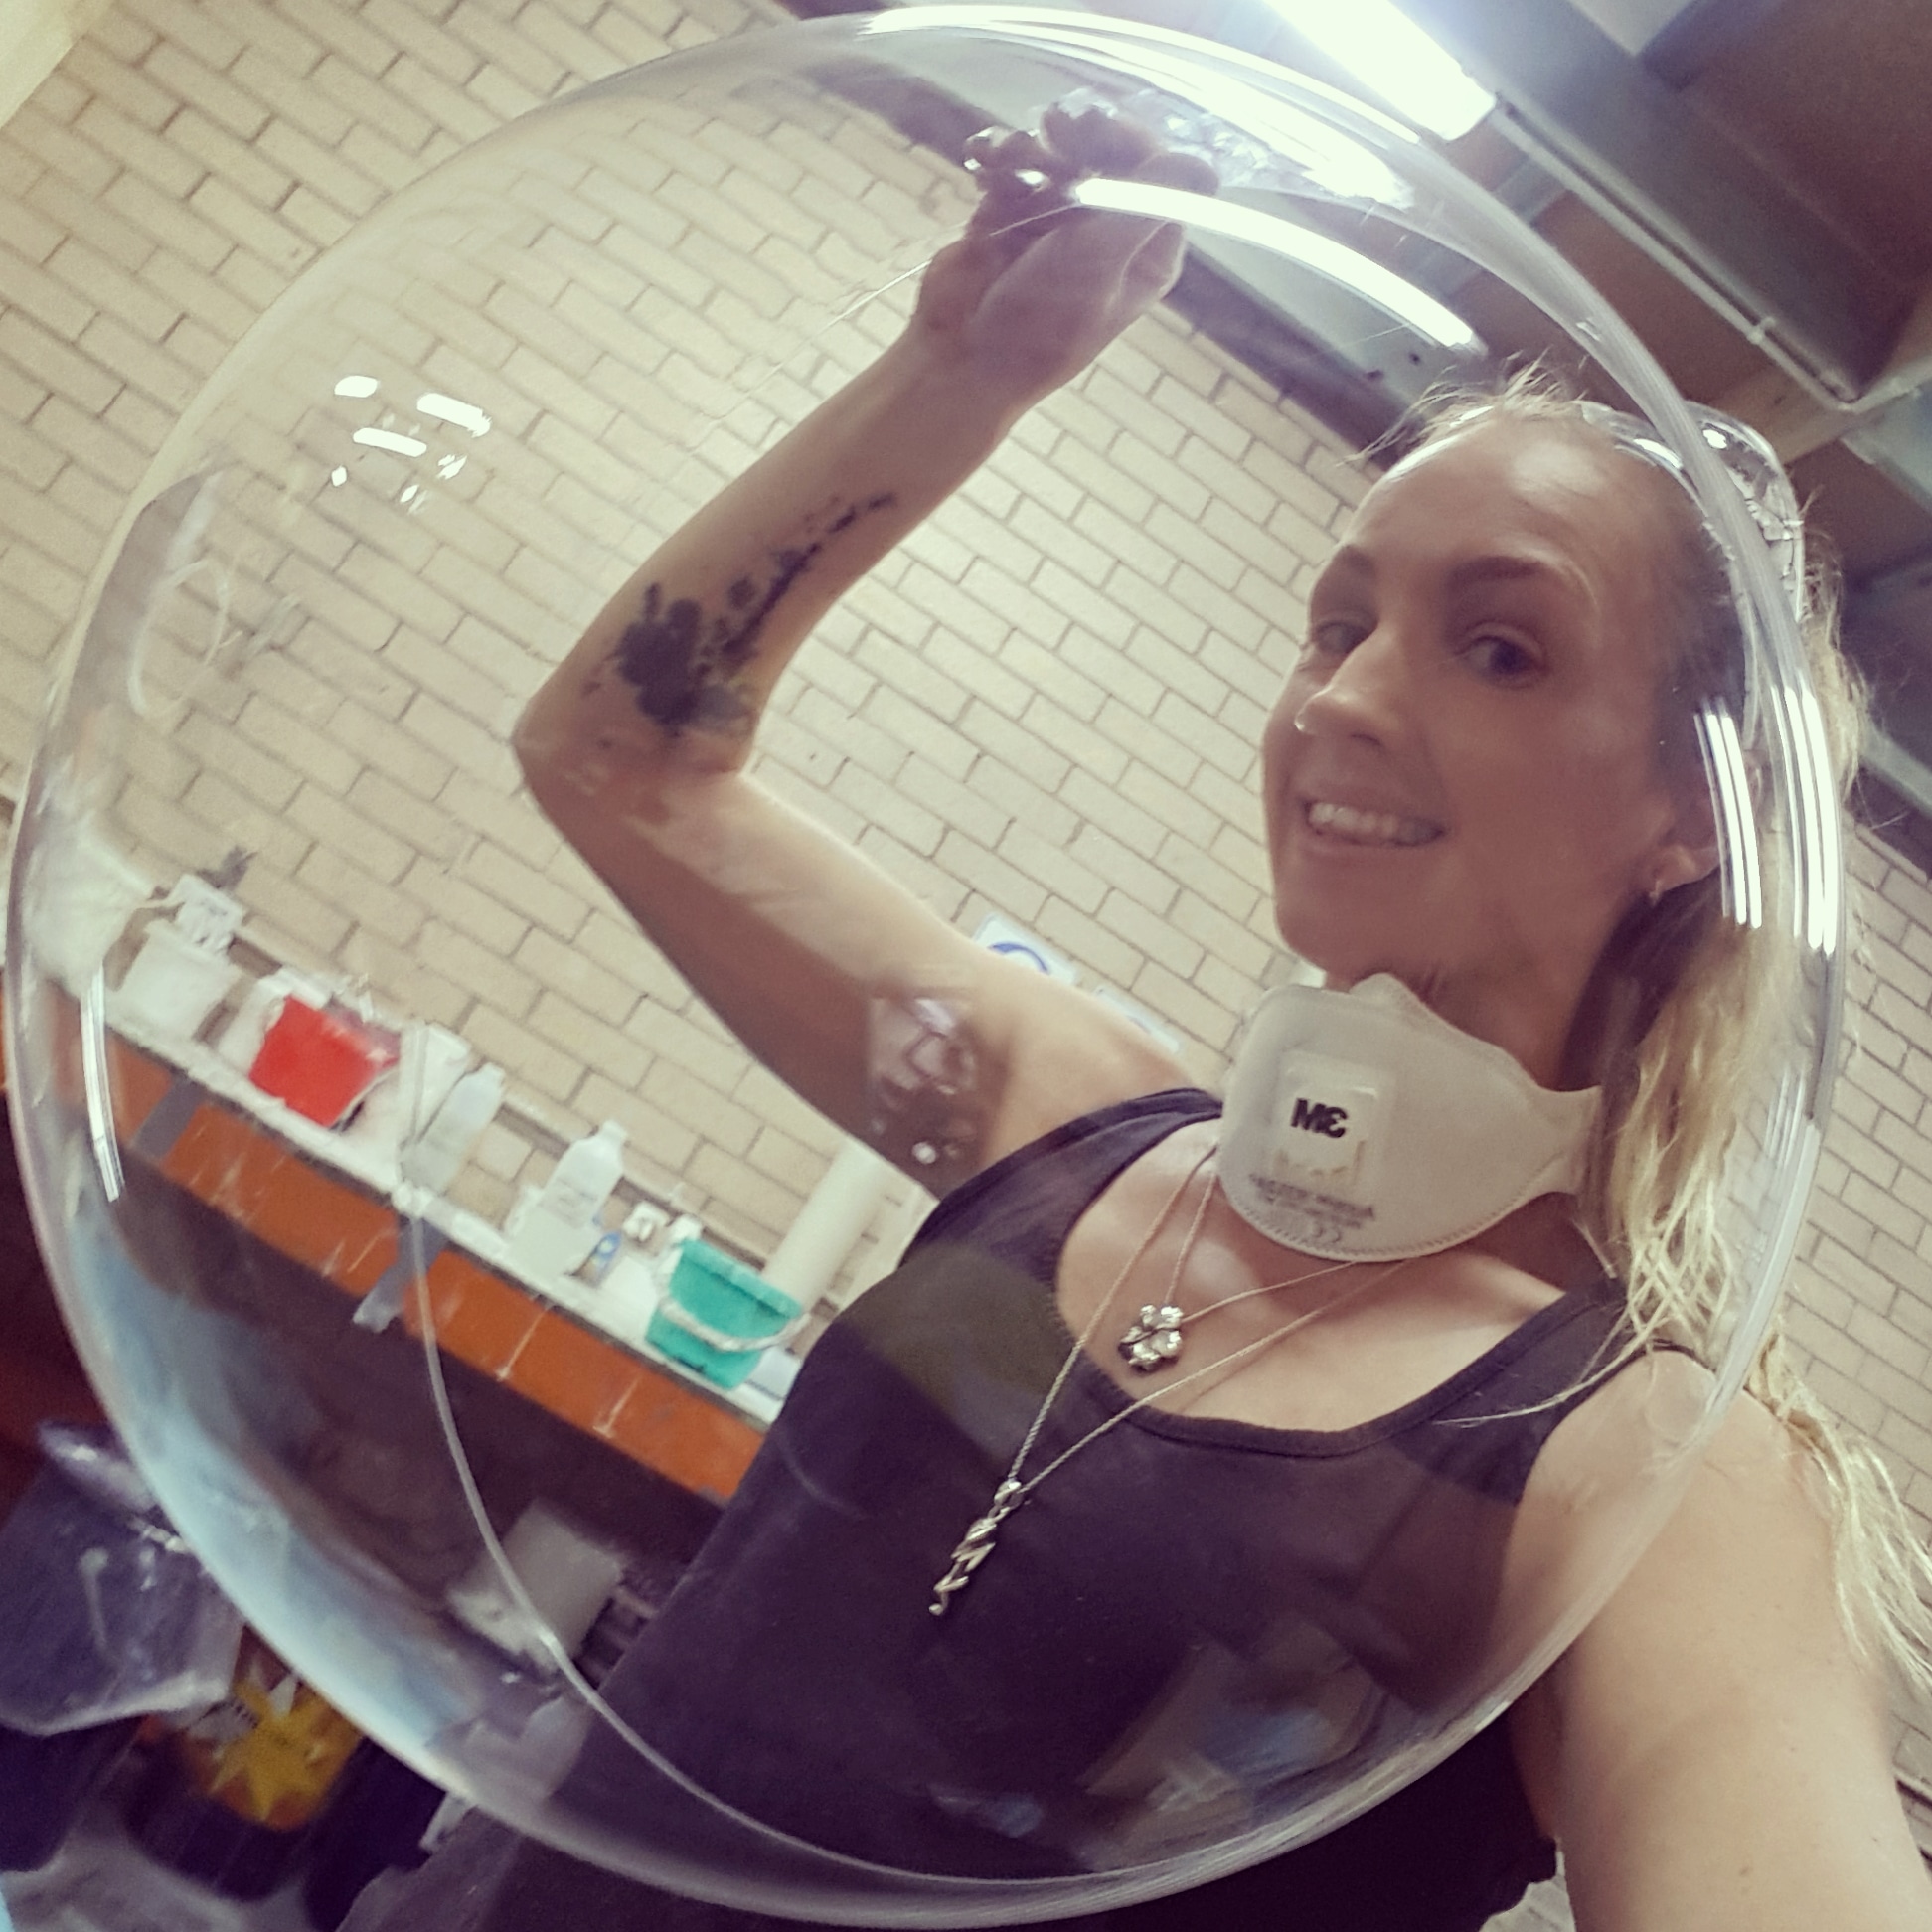
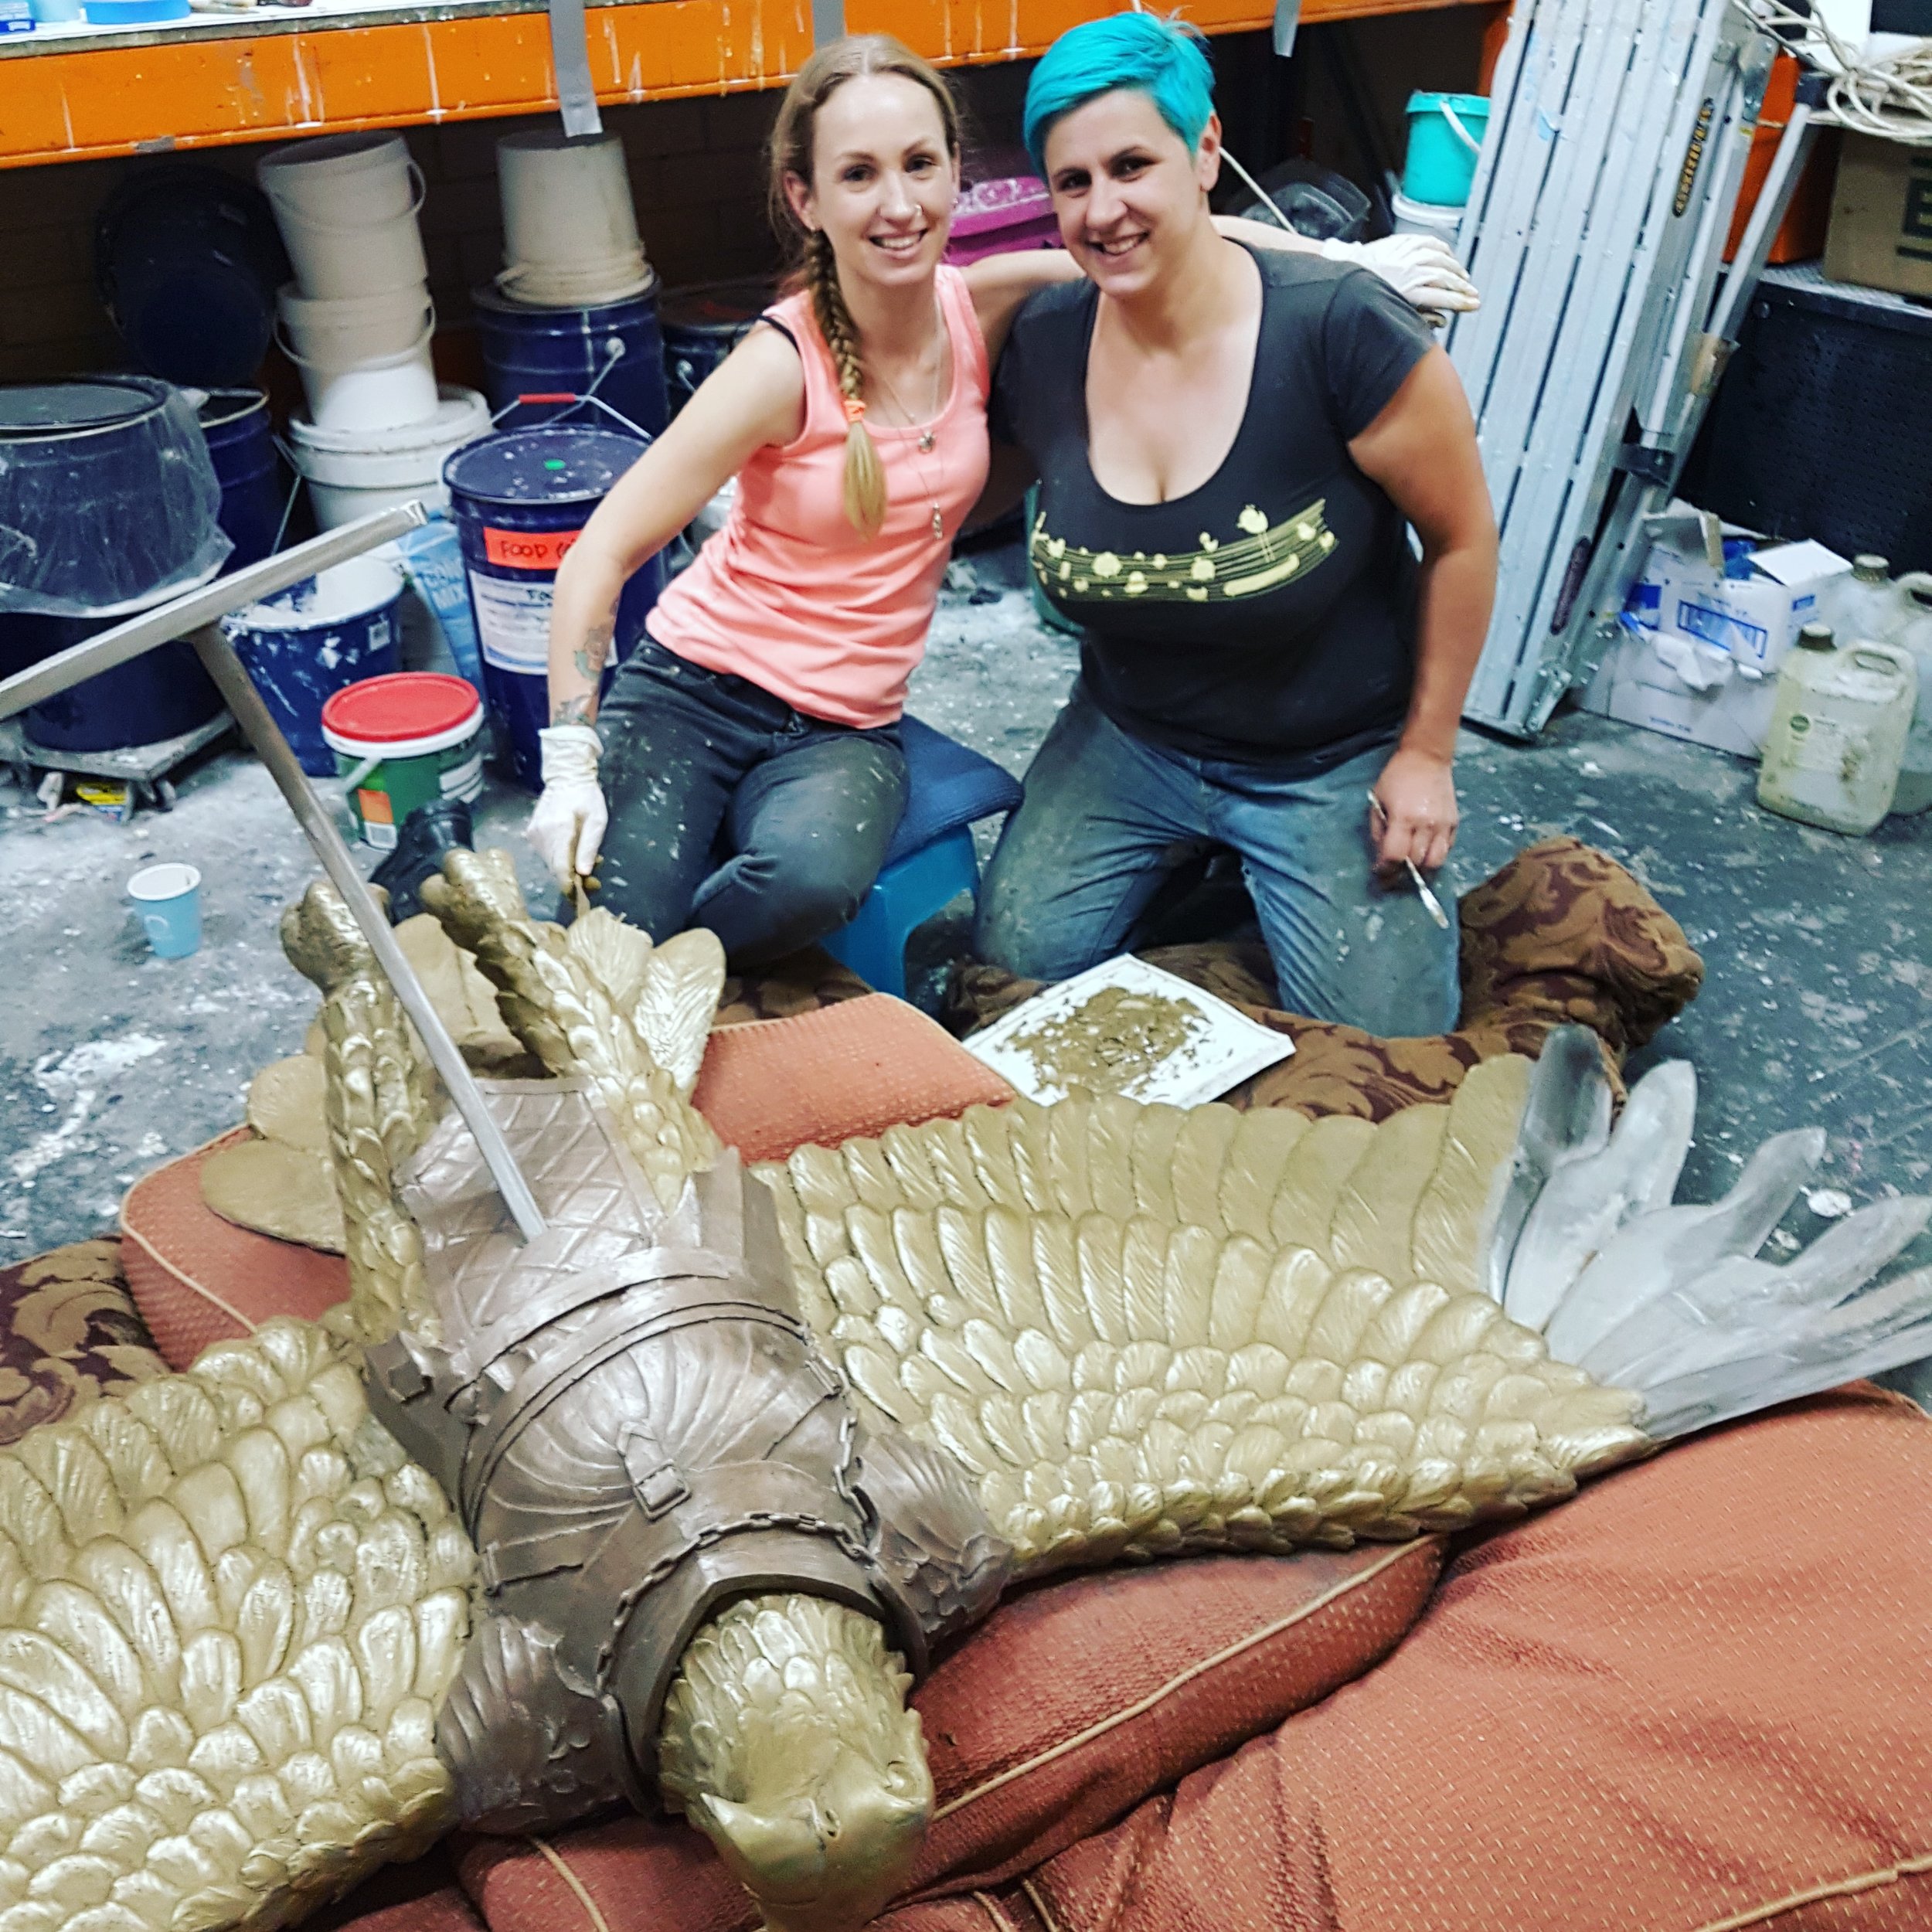
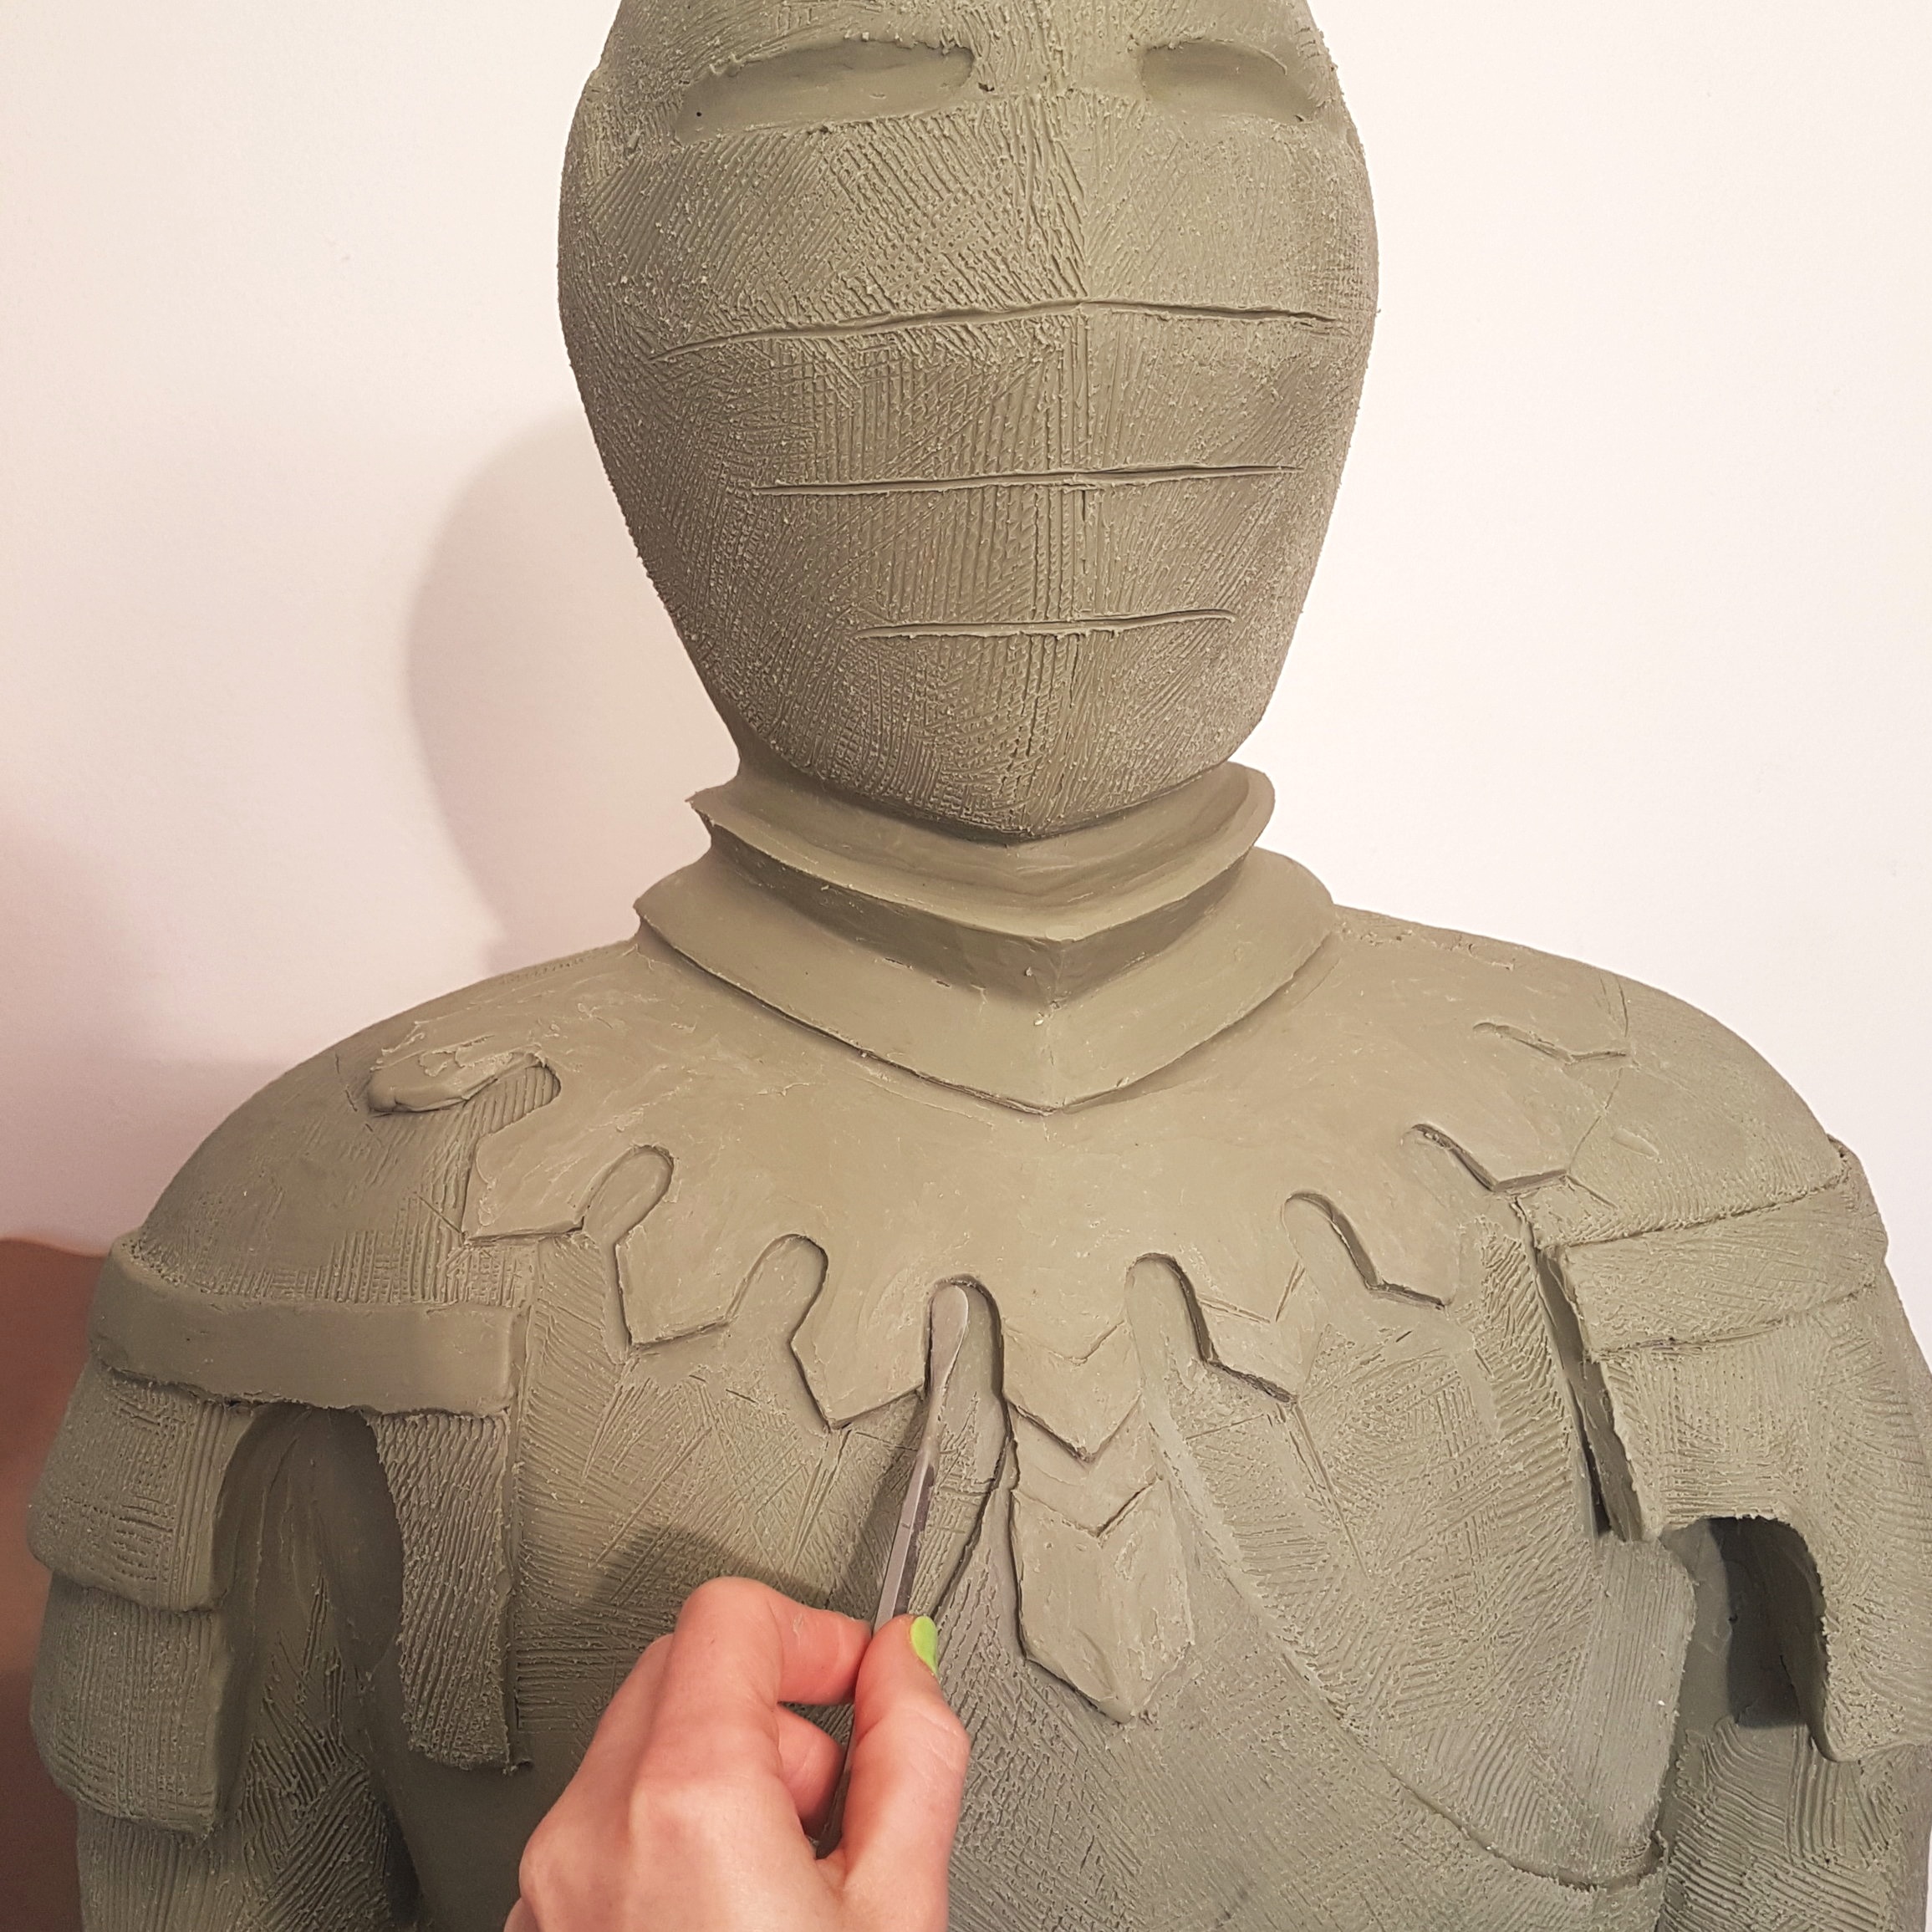
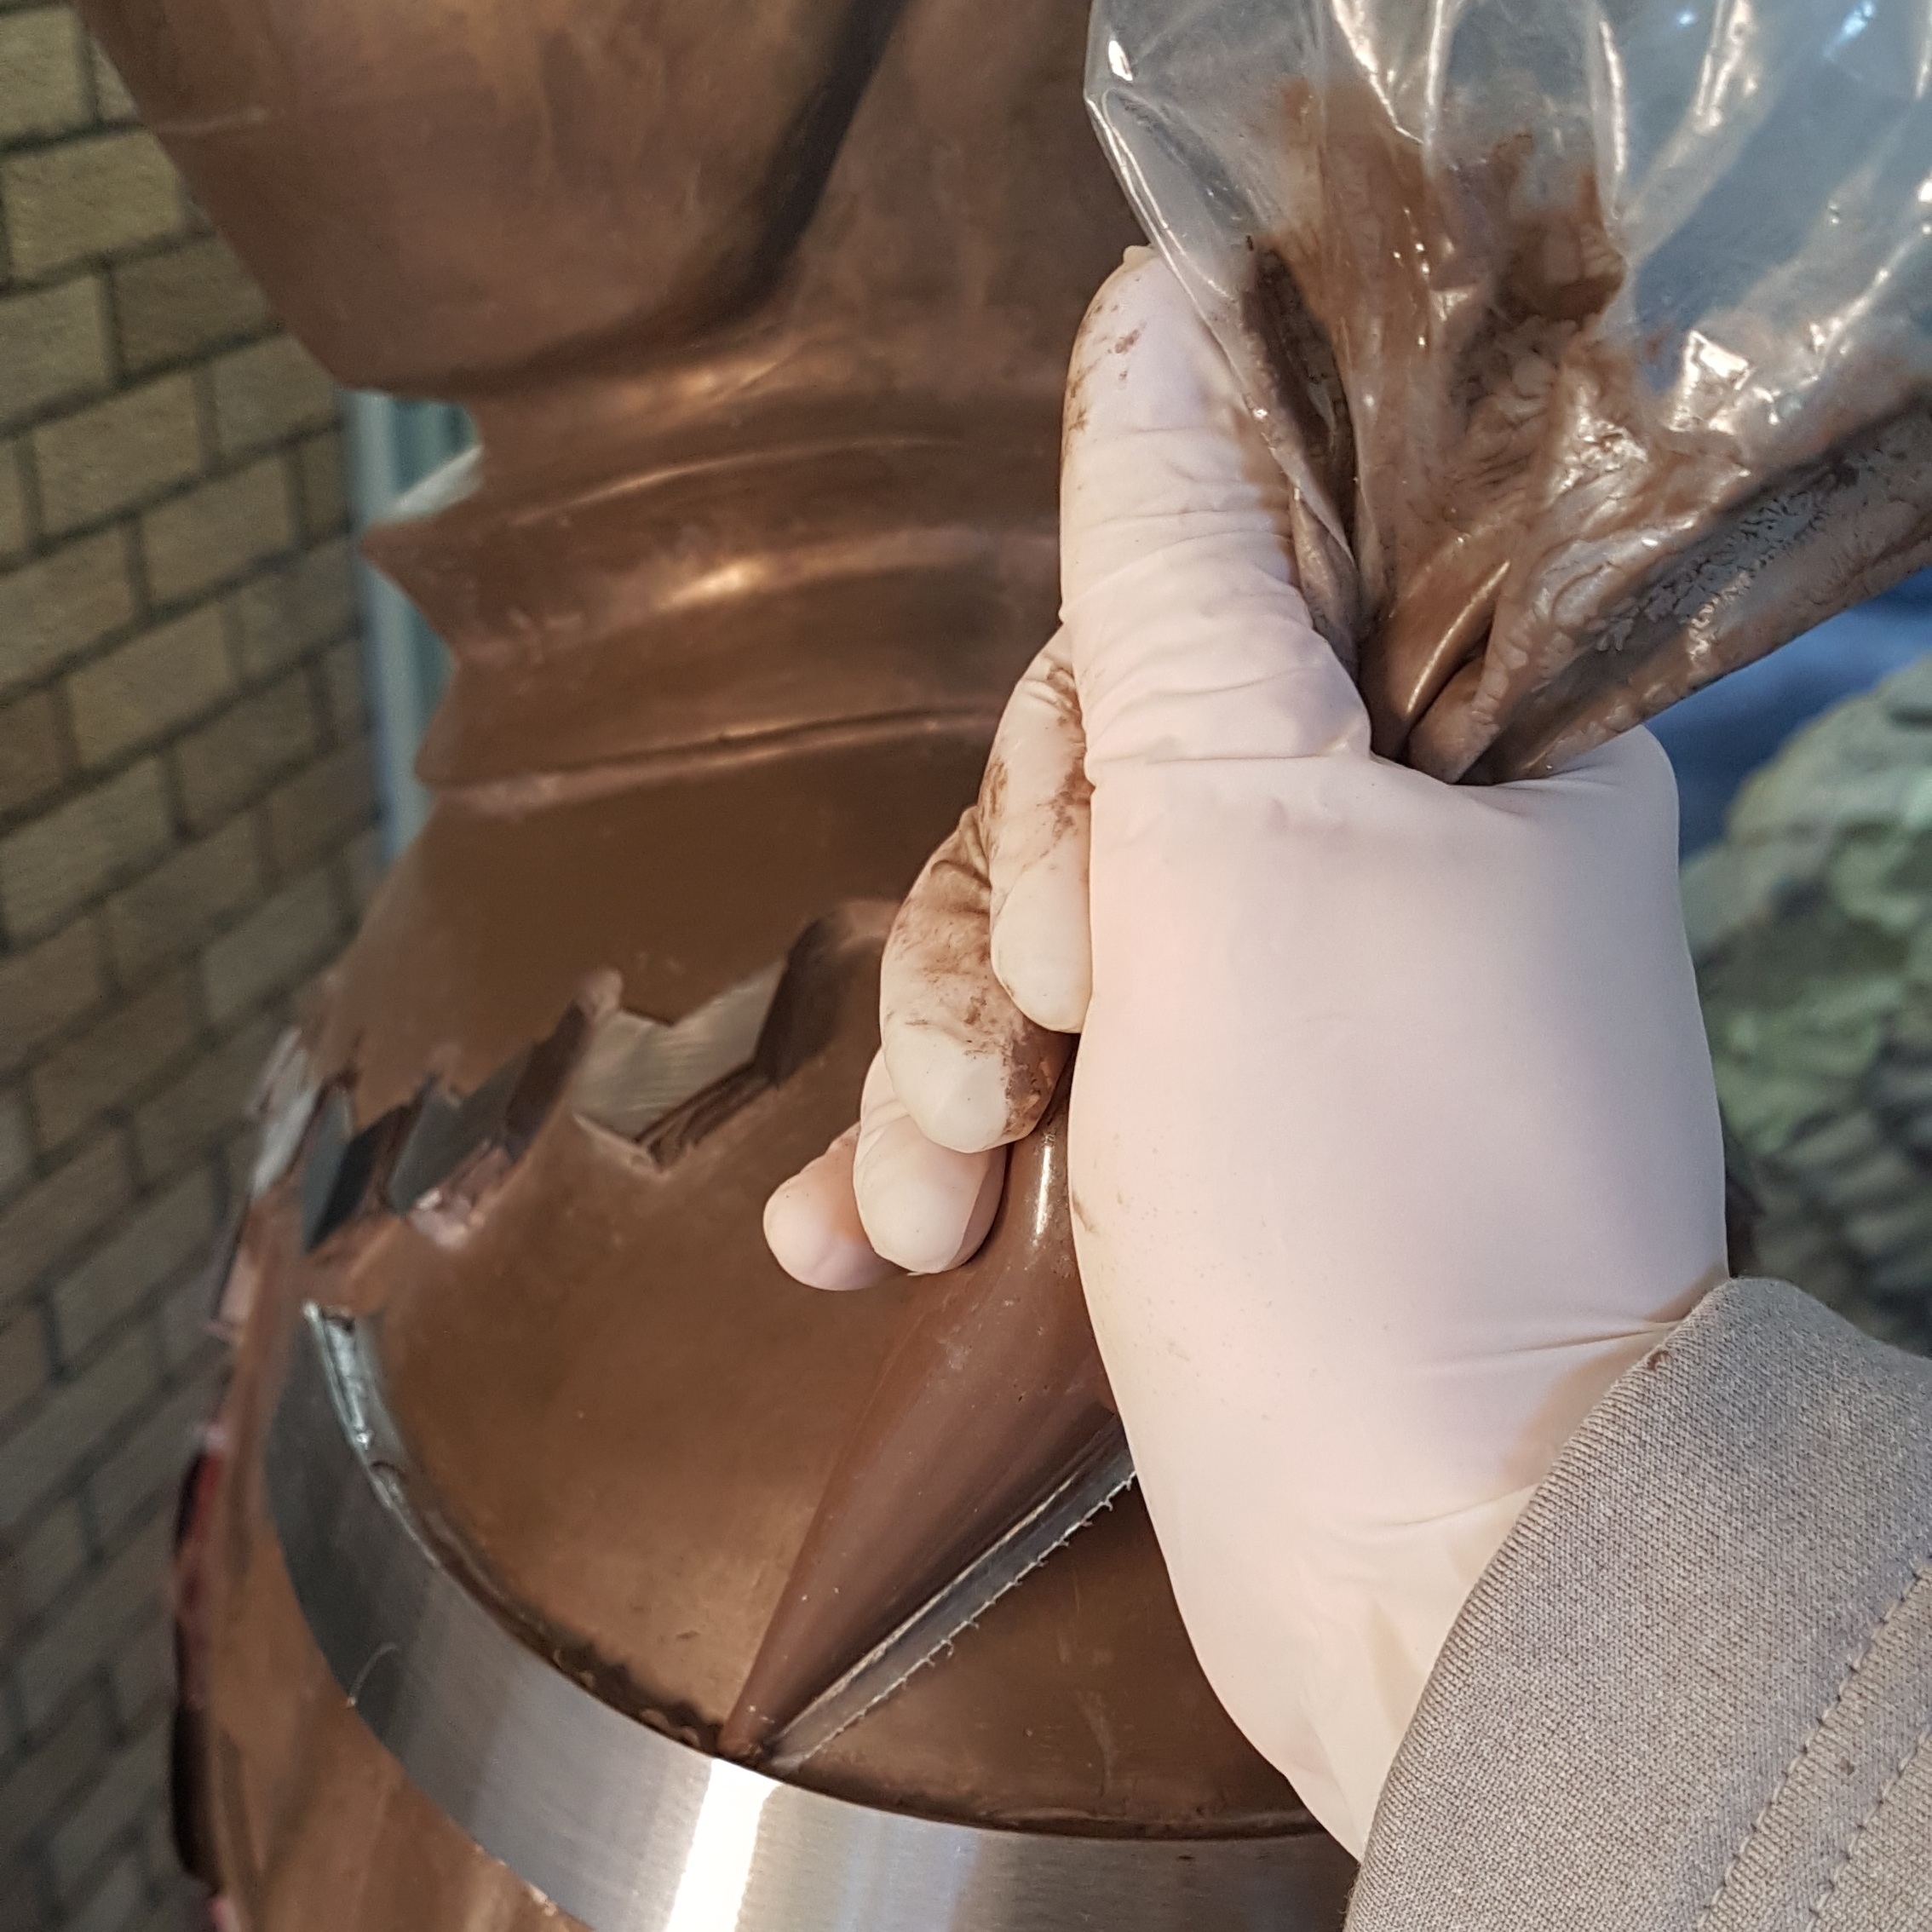
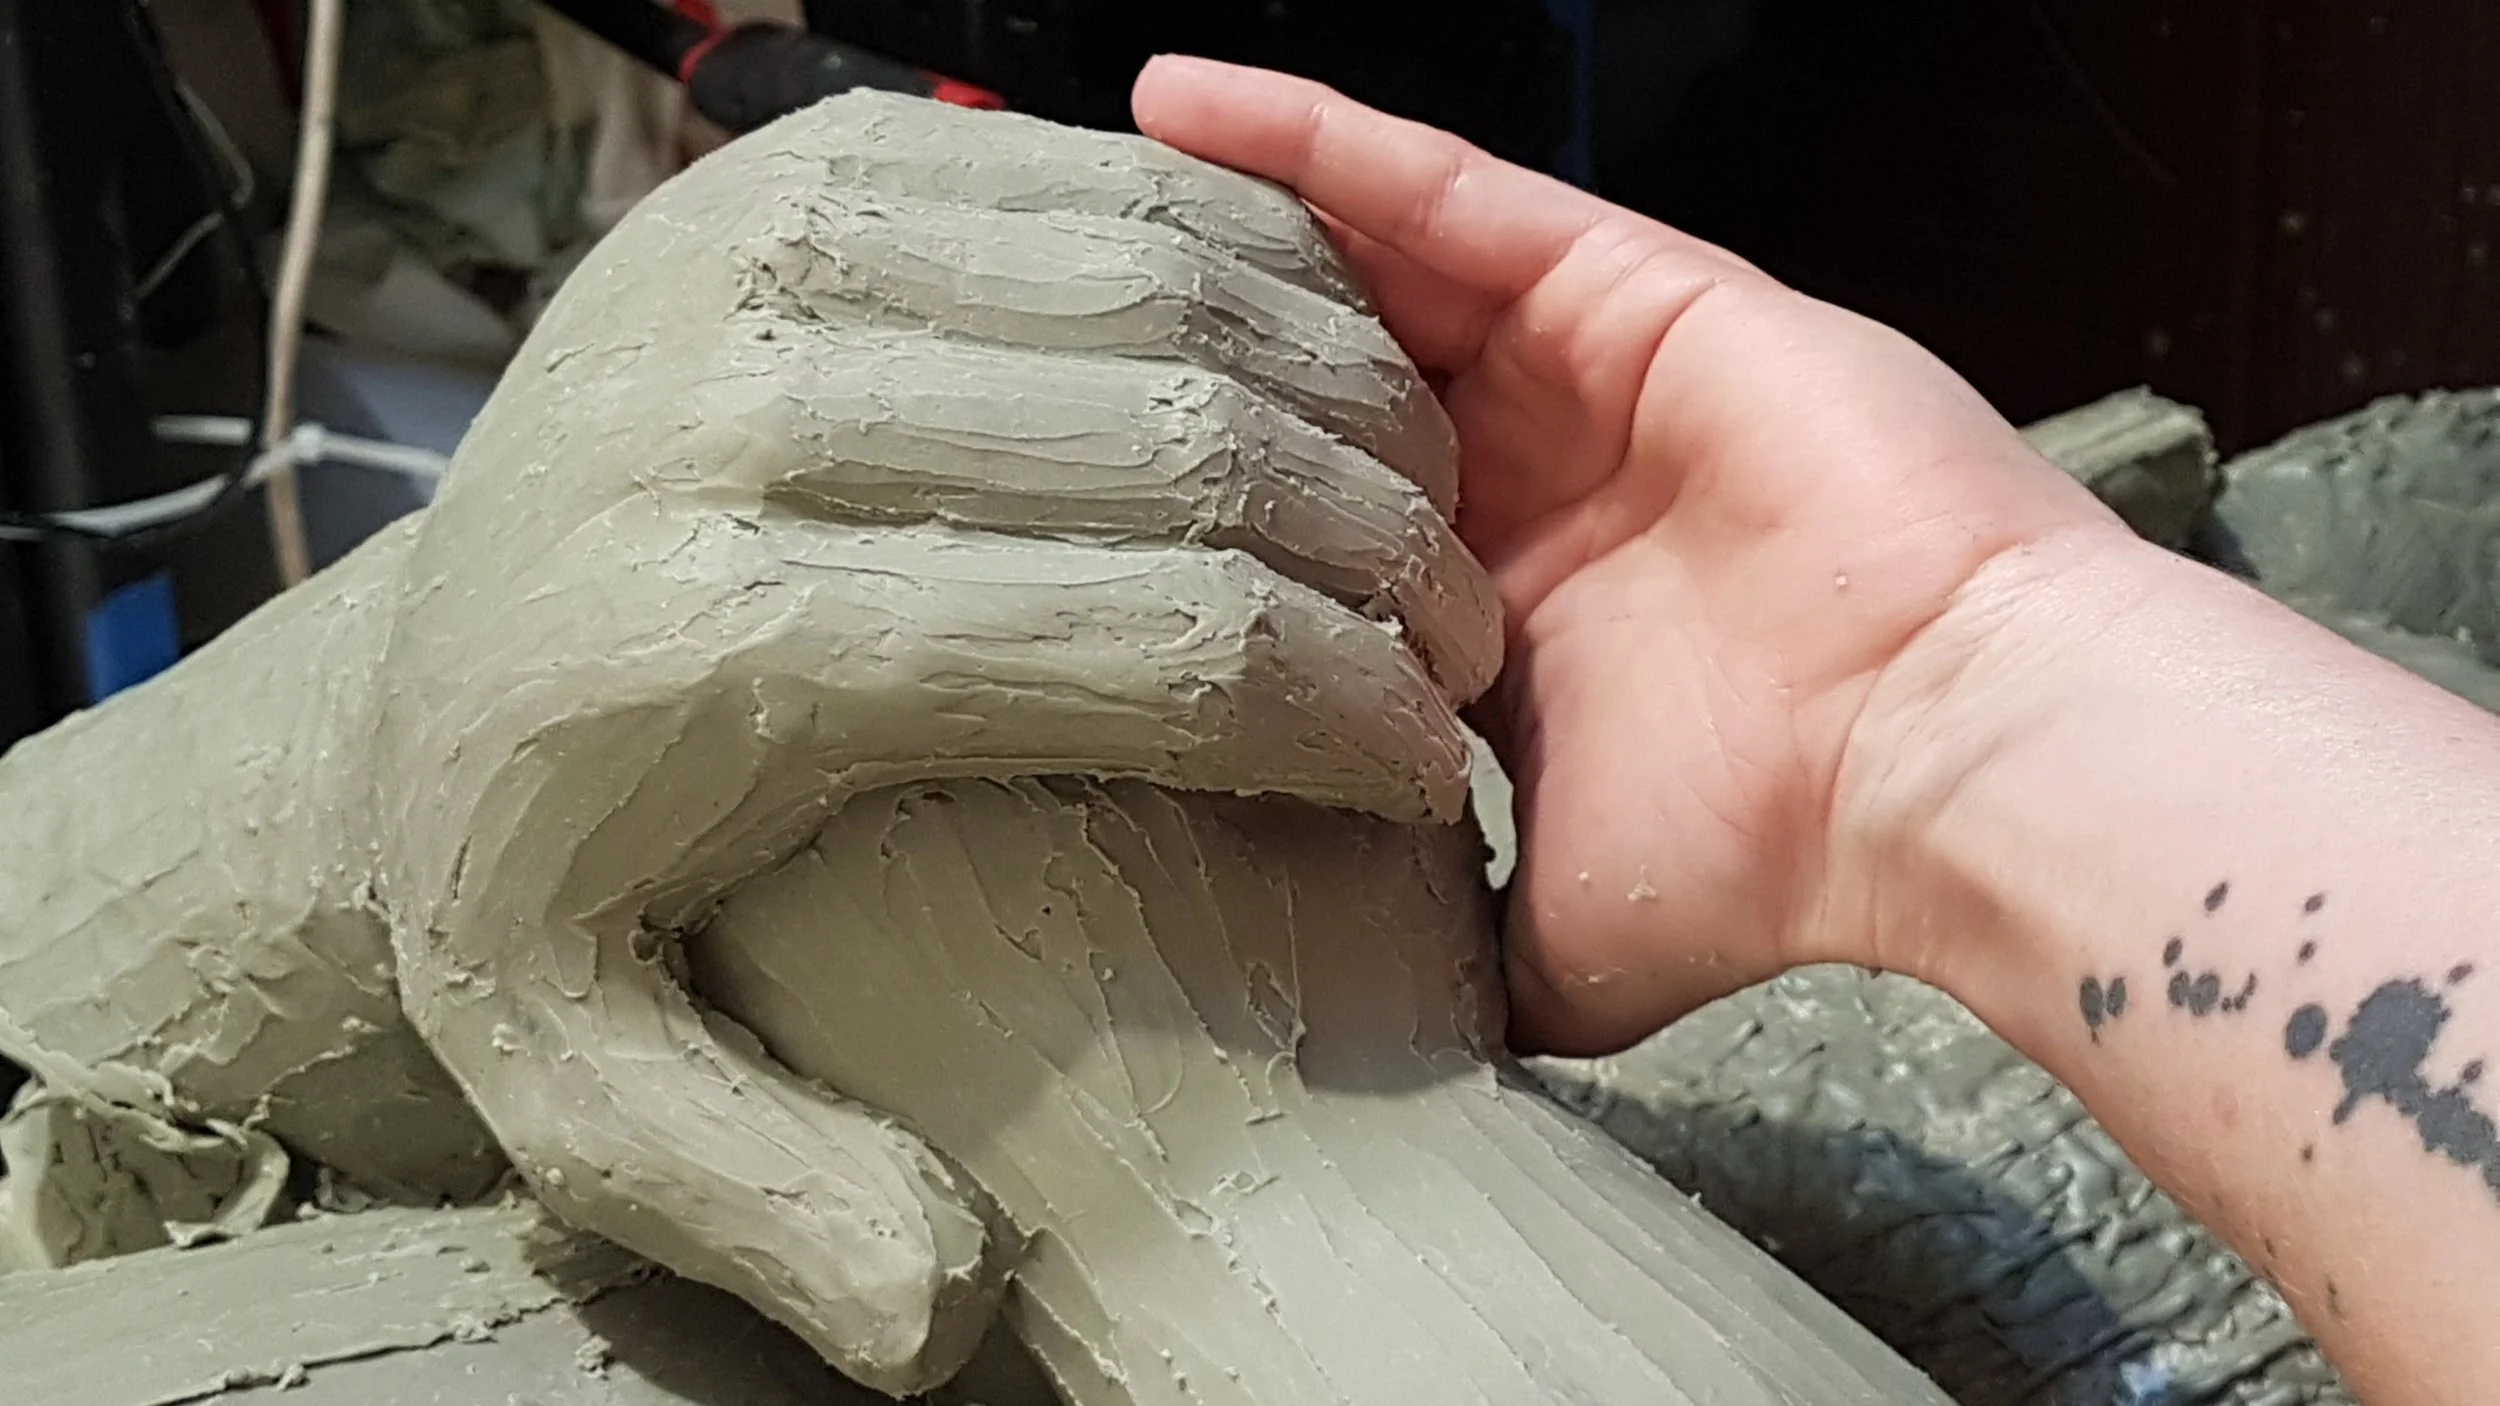
If you hadn’t guessed by now… I’m very hands on with my work. Put a lump of clay in front of me and not so much as a paddle pop stick and I will sculpt you something beautiful… put those same hands in front of a computer and the results will be, lets just say, far less impressive. Which is why I’m so pleased to announce that Edgar Miranda, my partner in crime (and partner for life - we just got engaged!) is now heading the 3D scanning and printing service offered here at Hayley Egan Design Pty Ltd.

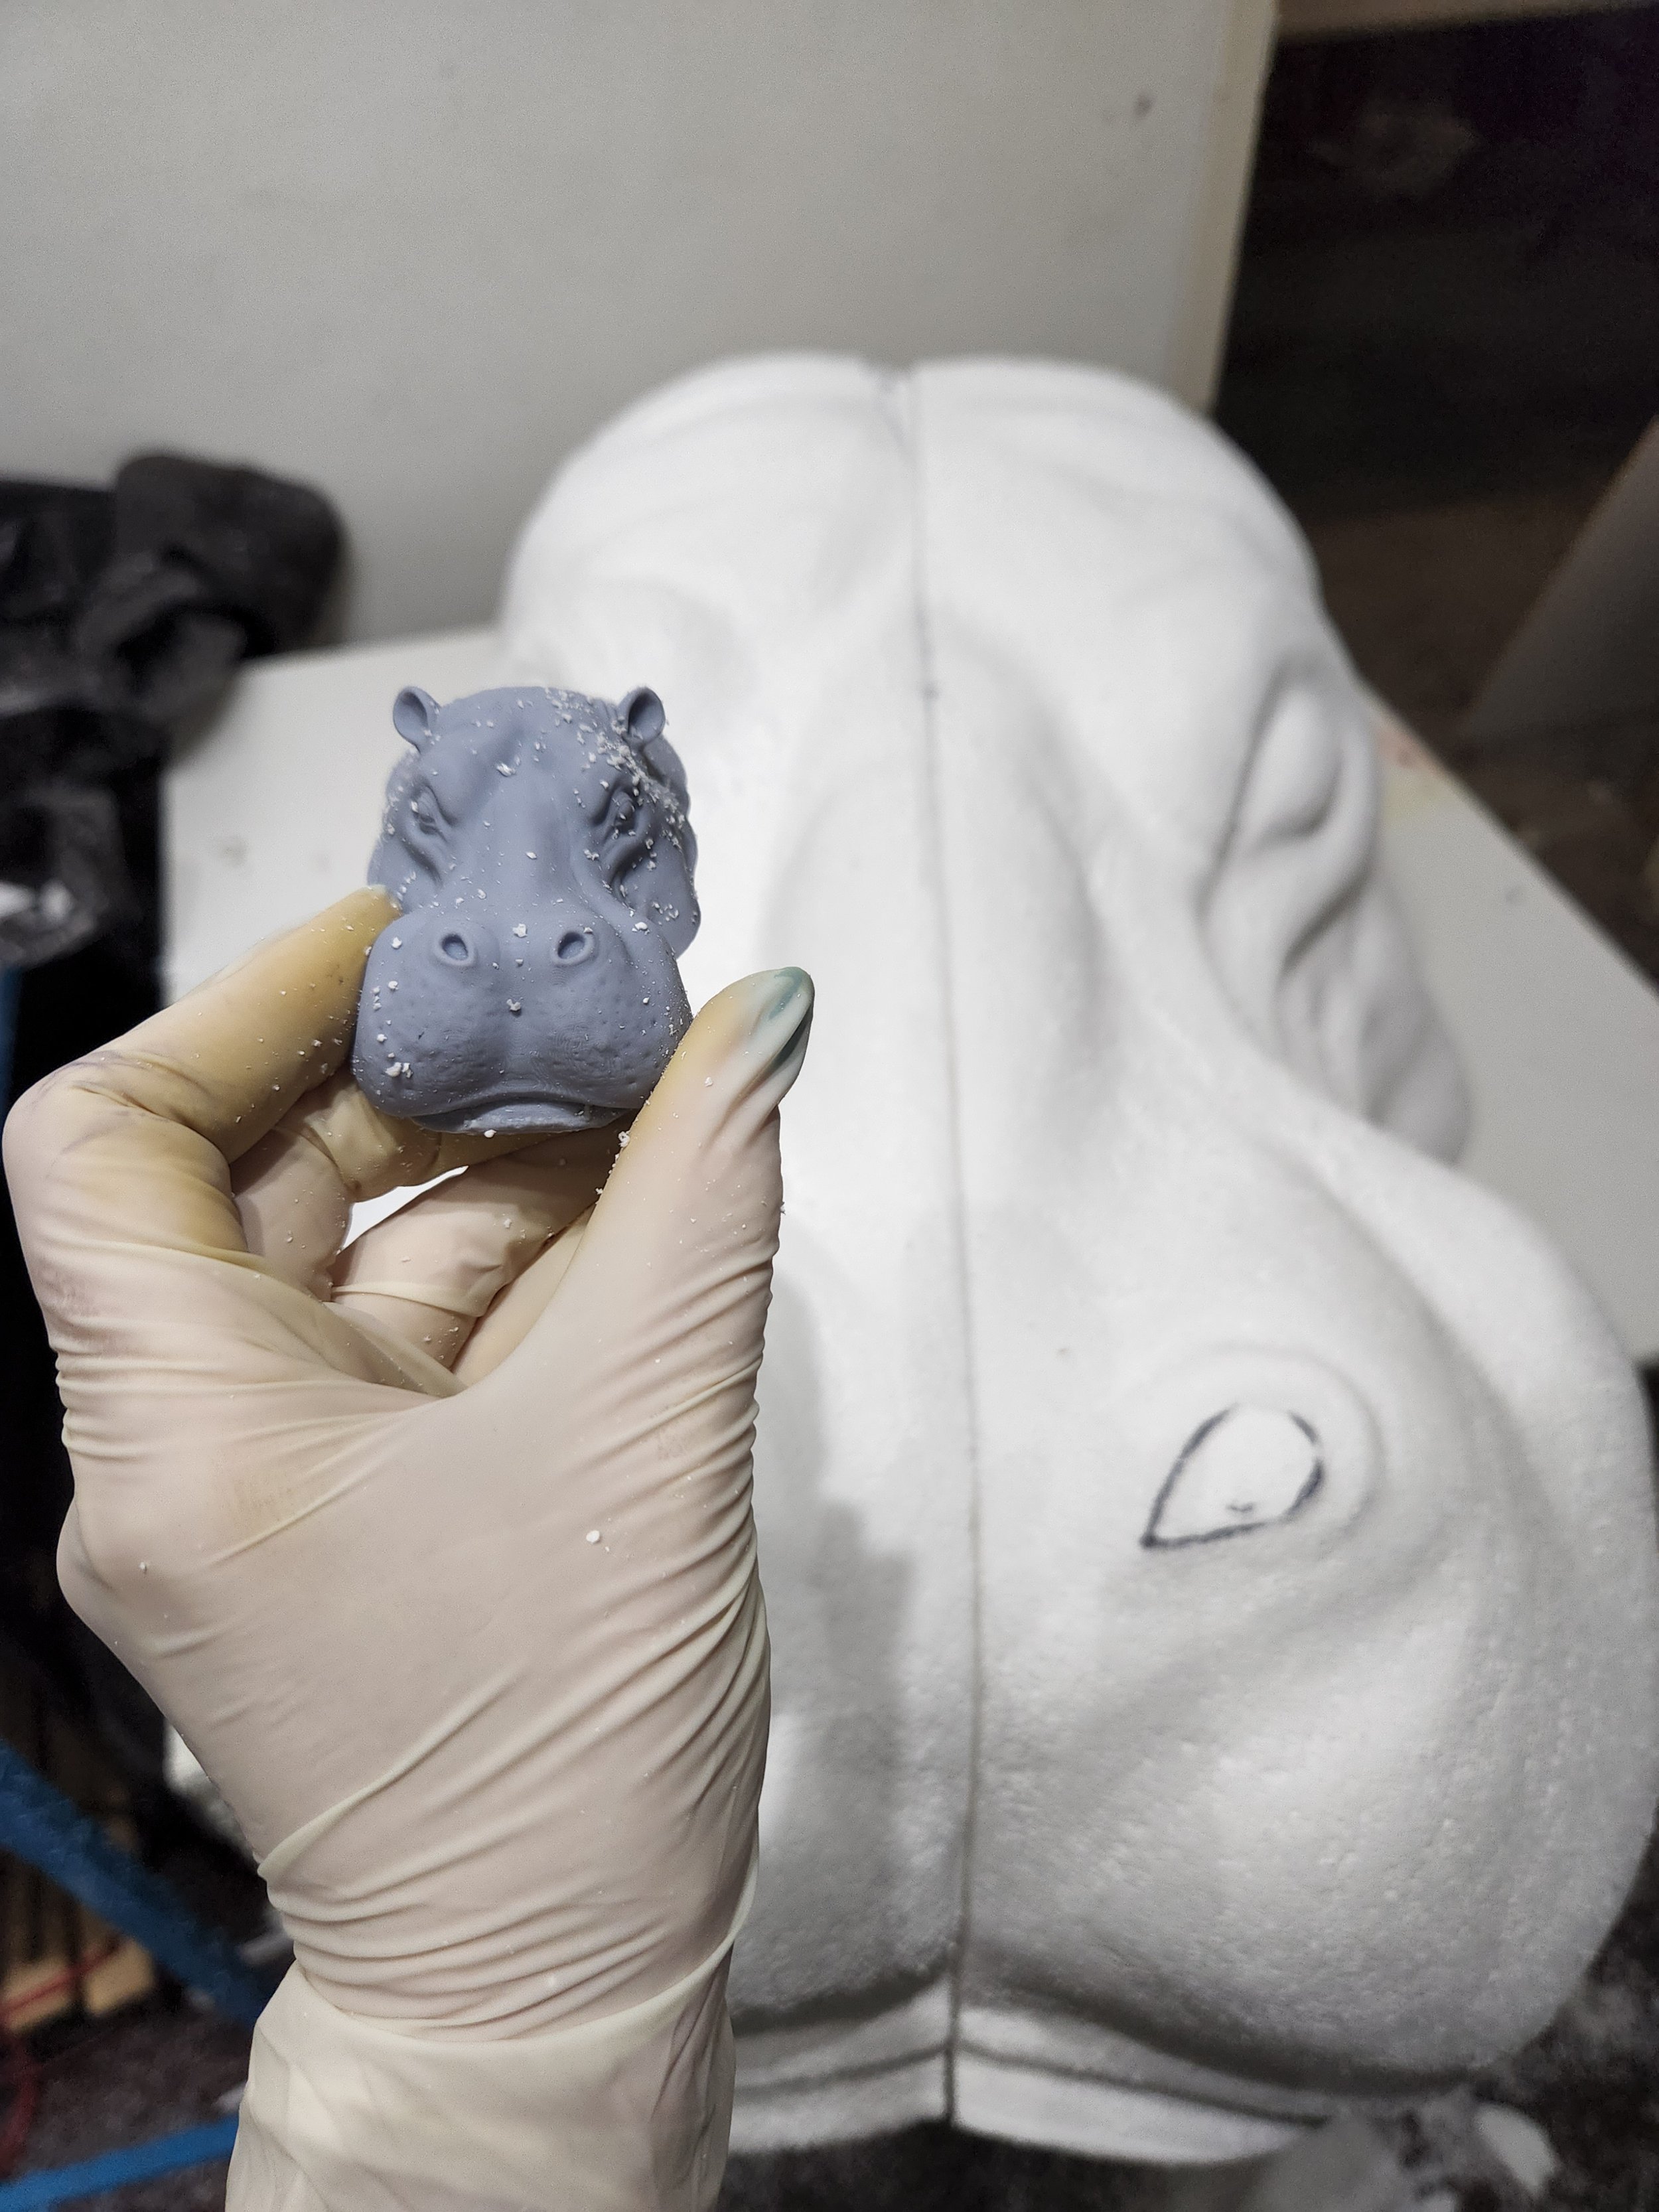
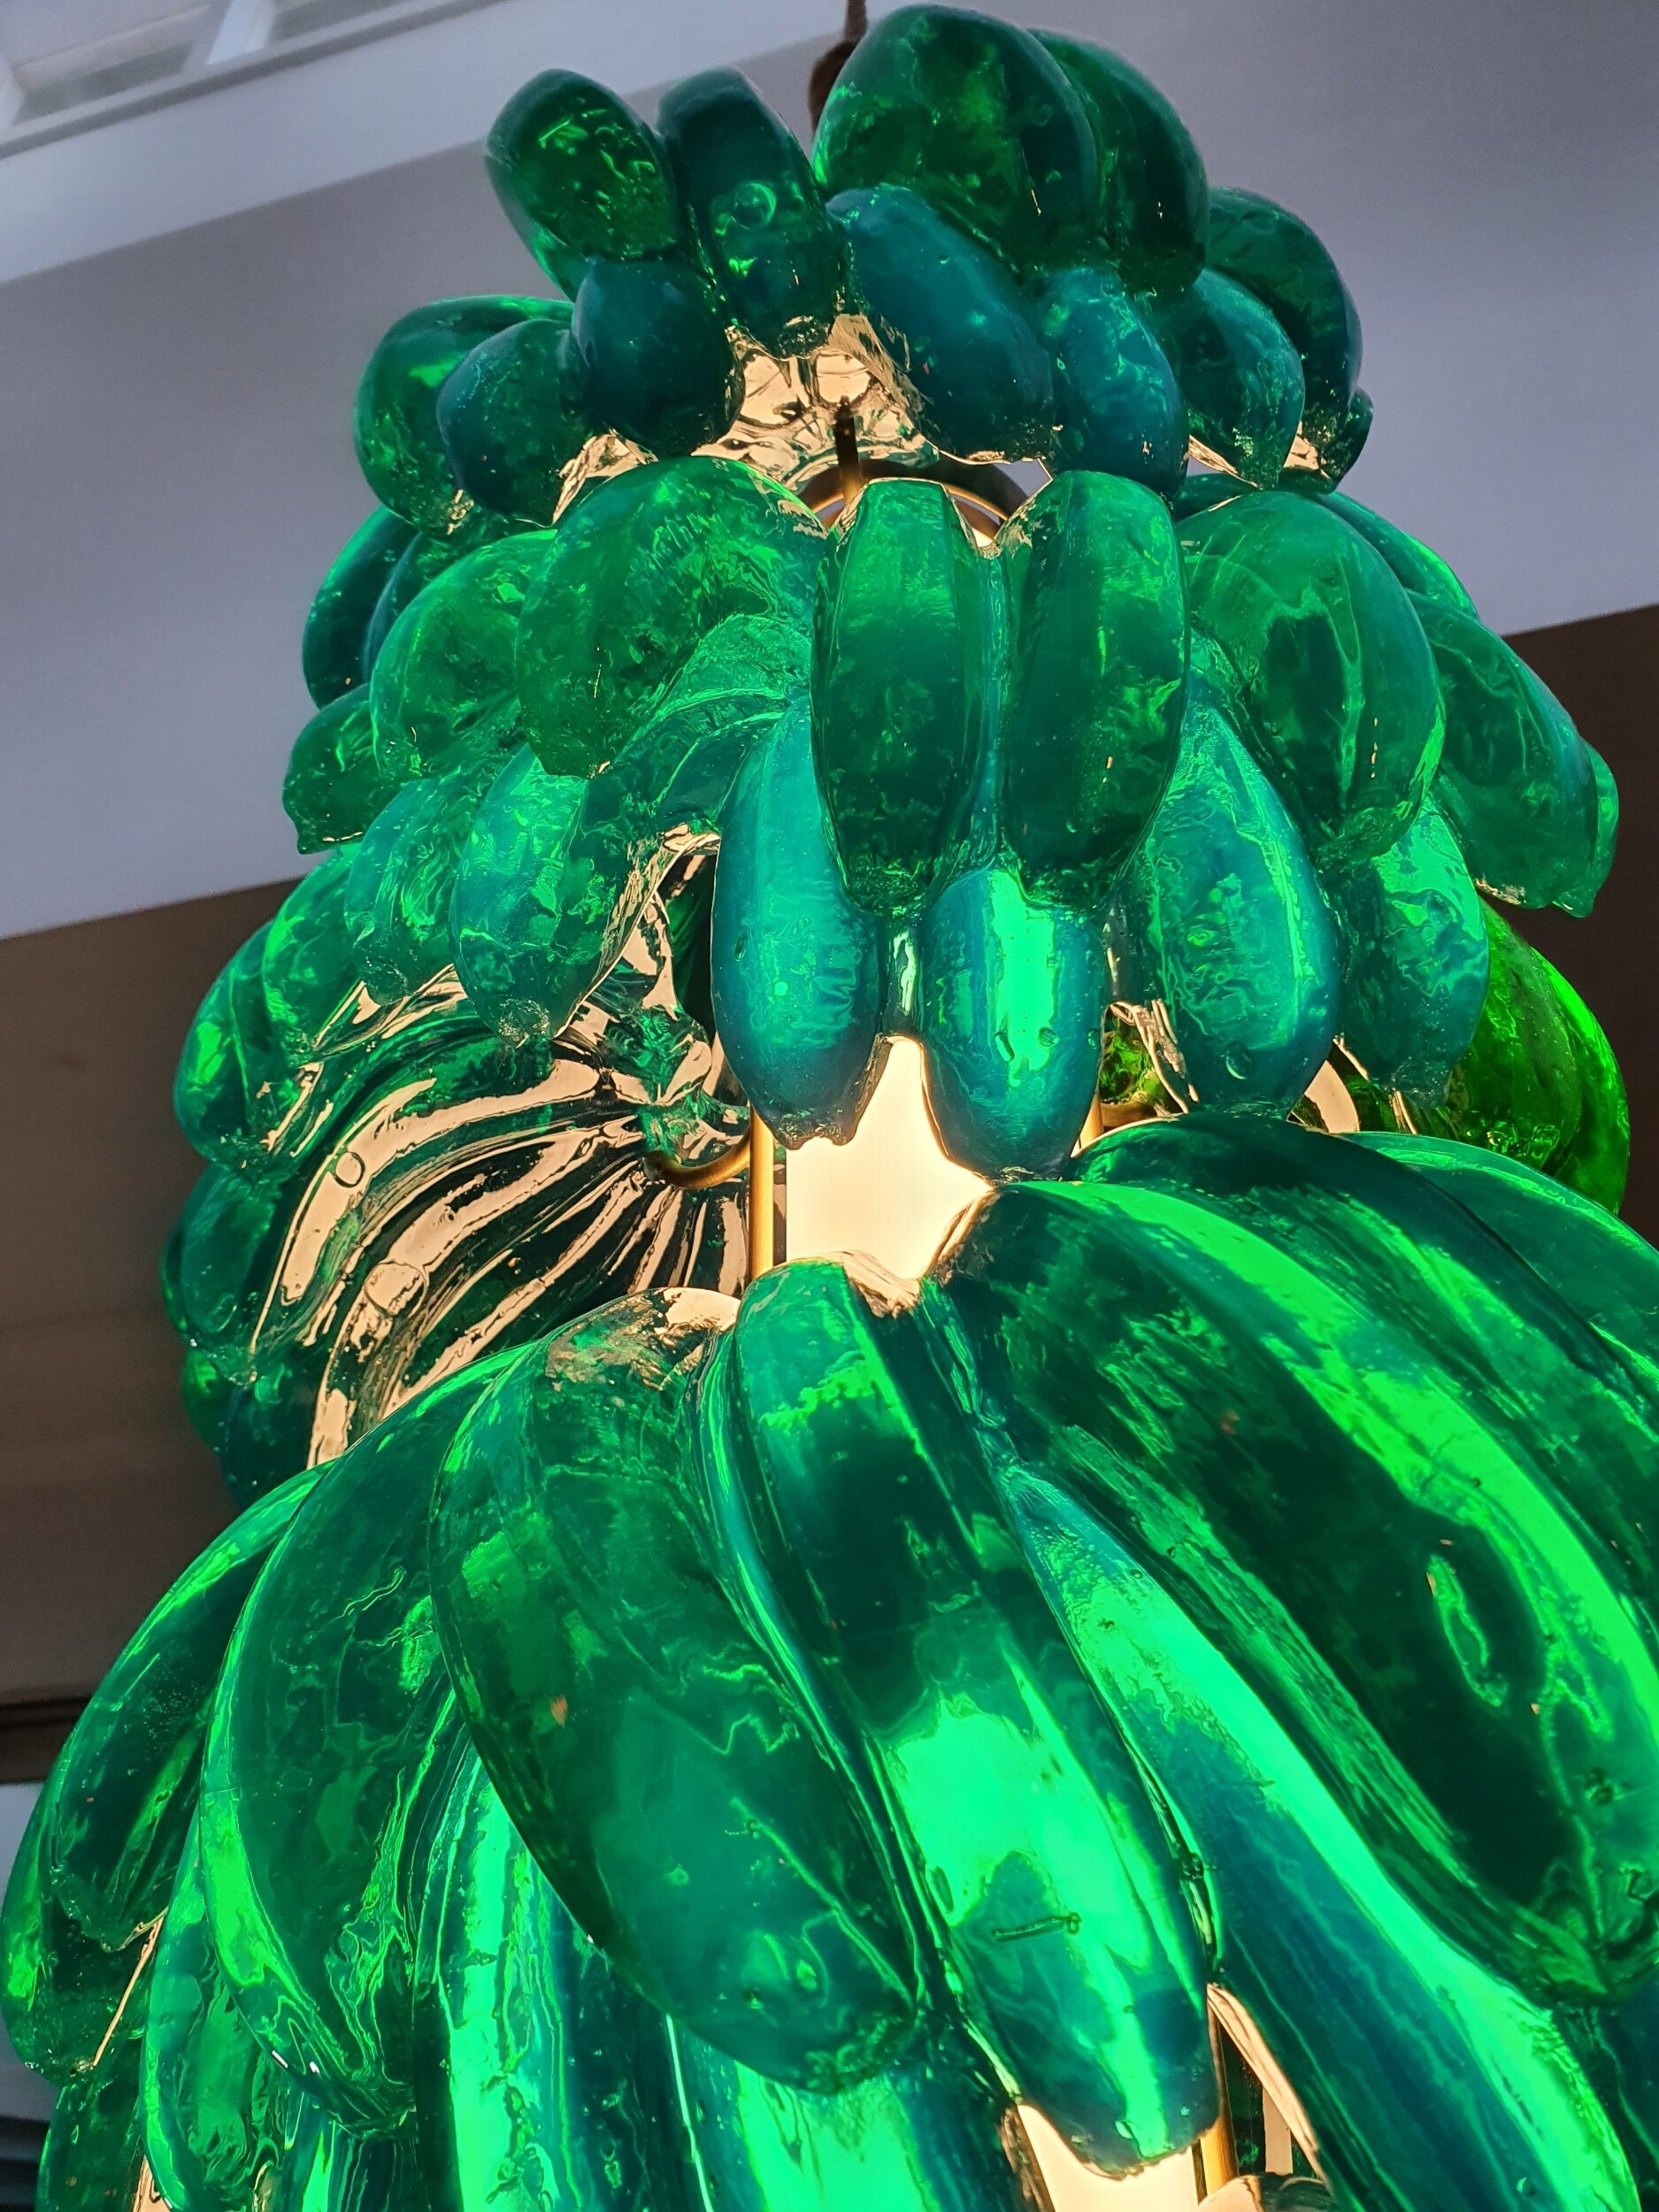
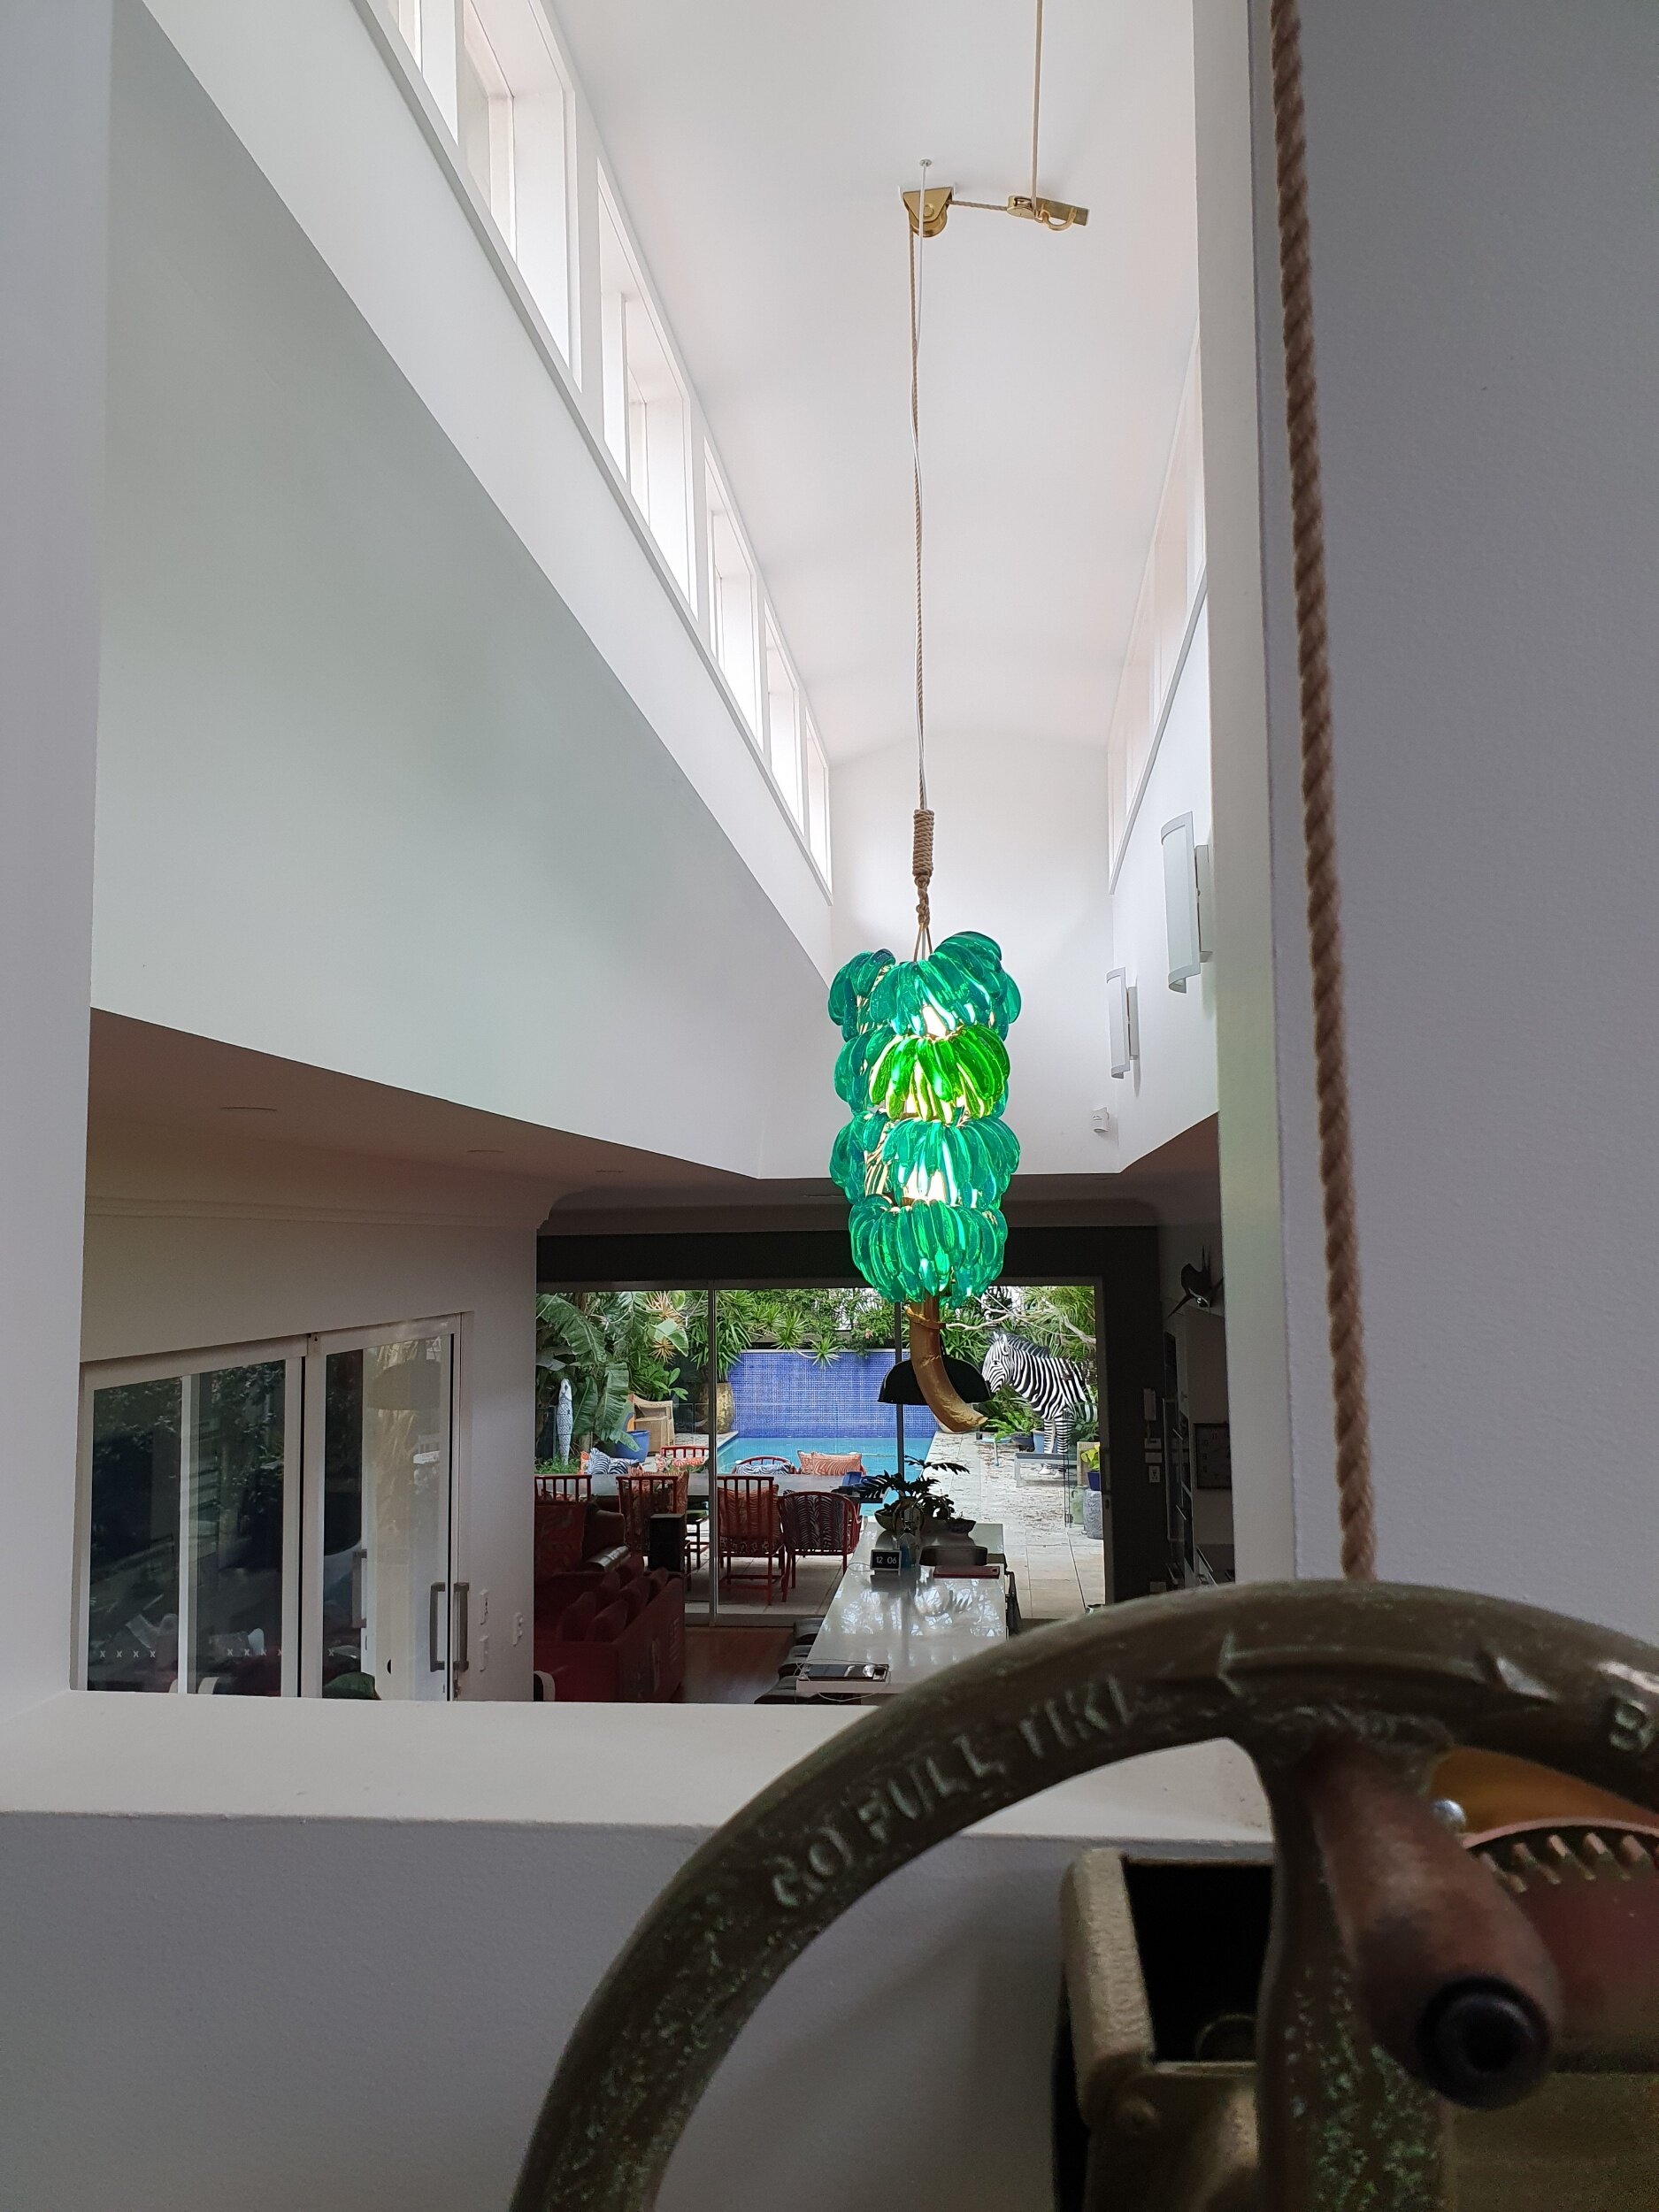
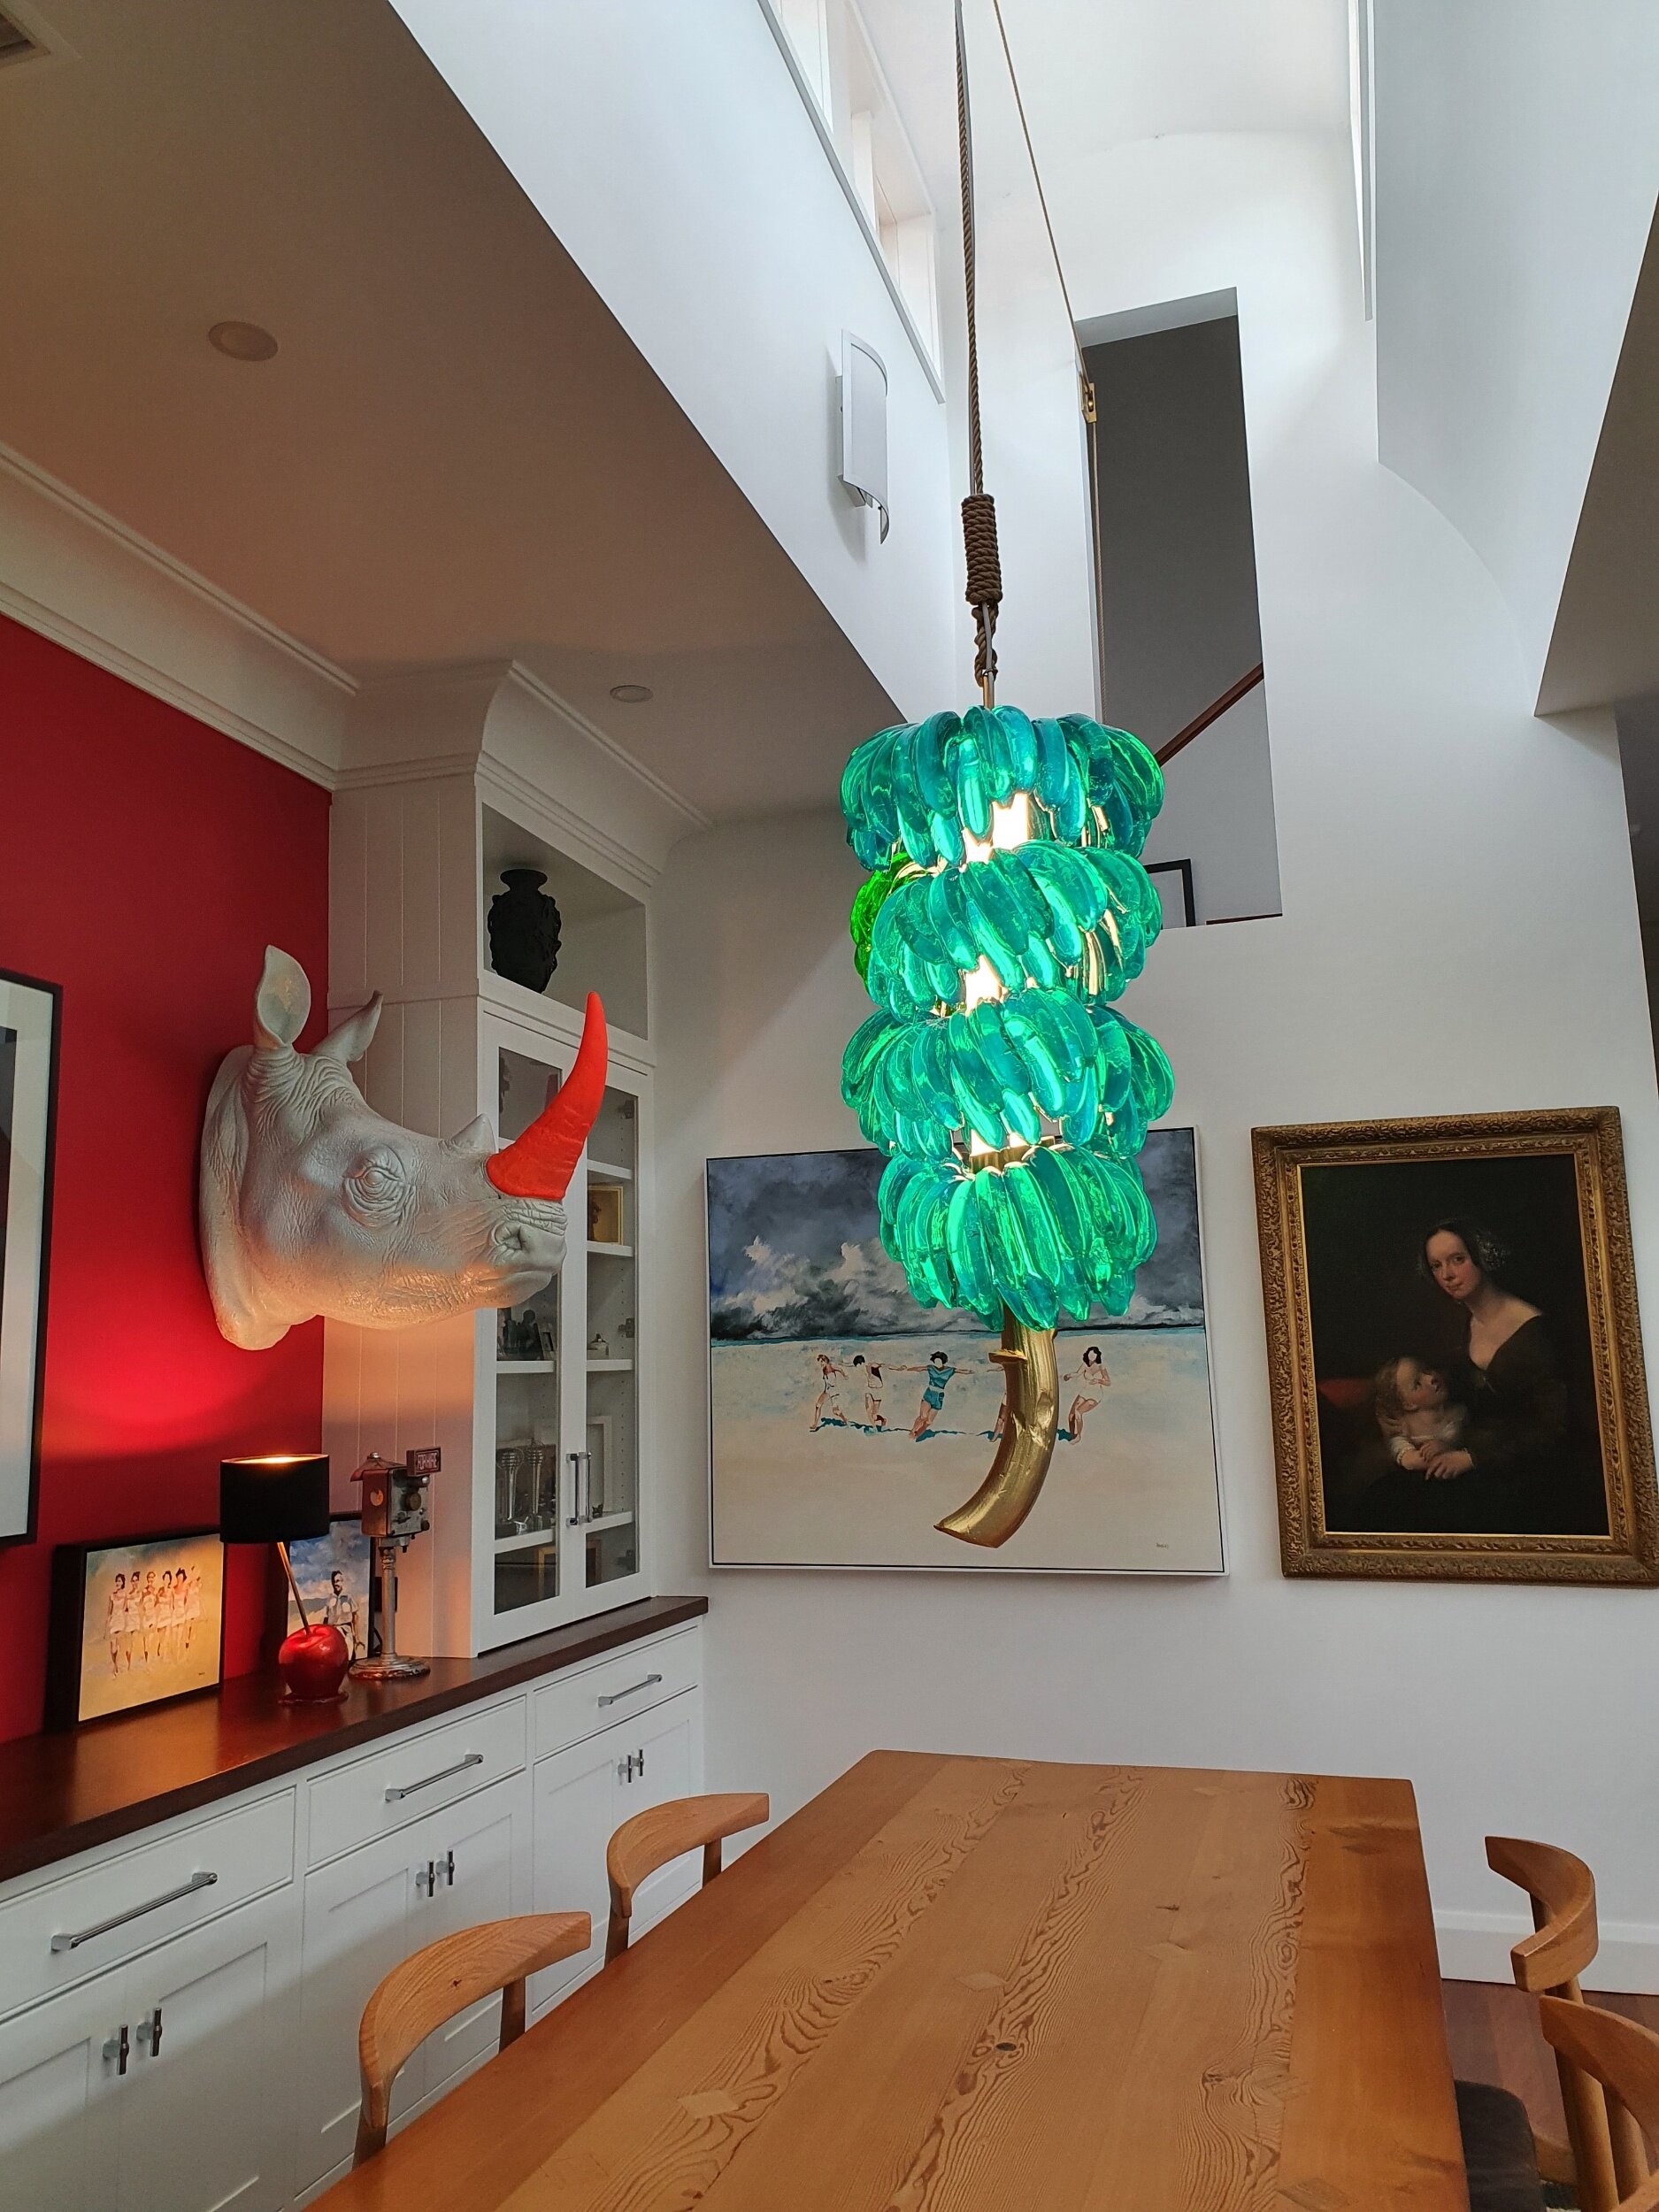
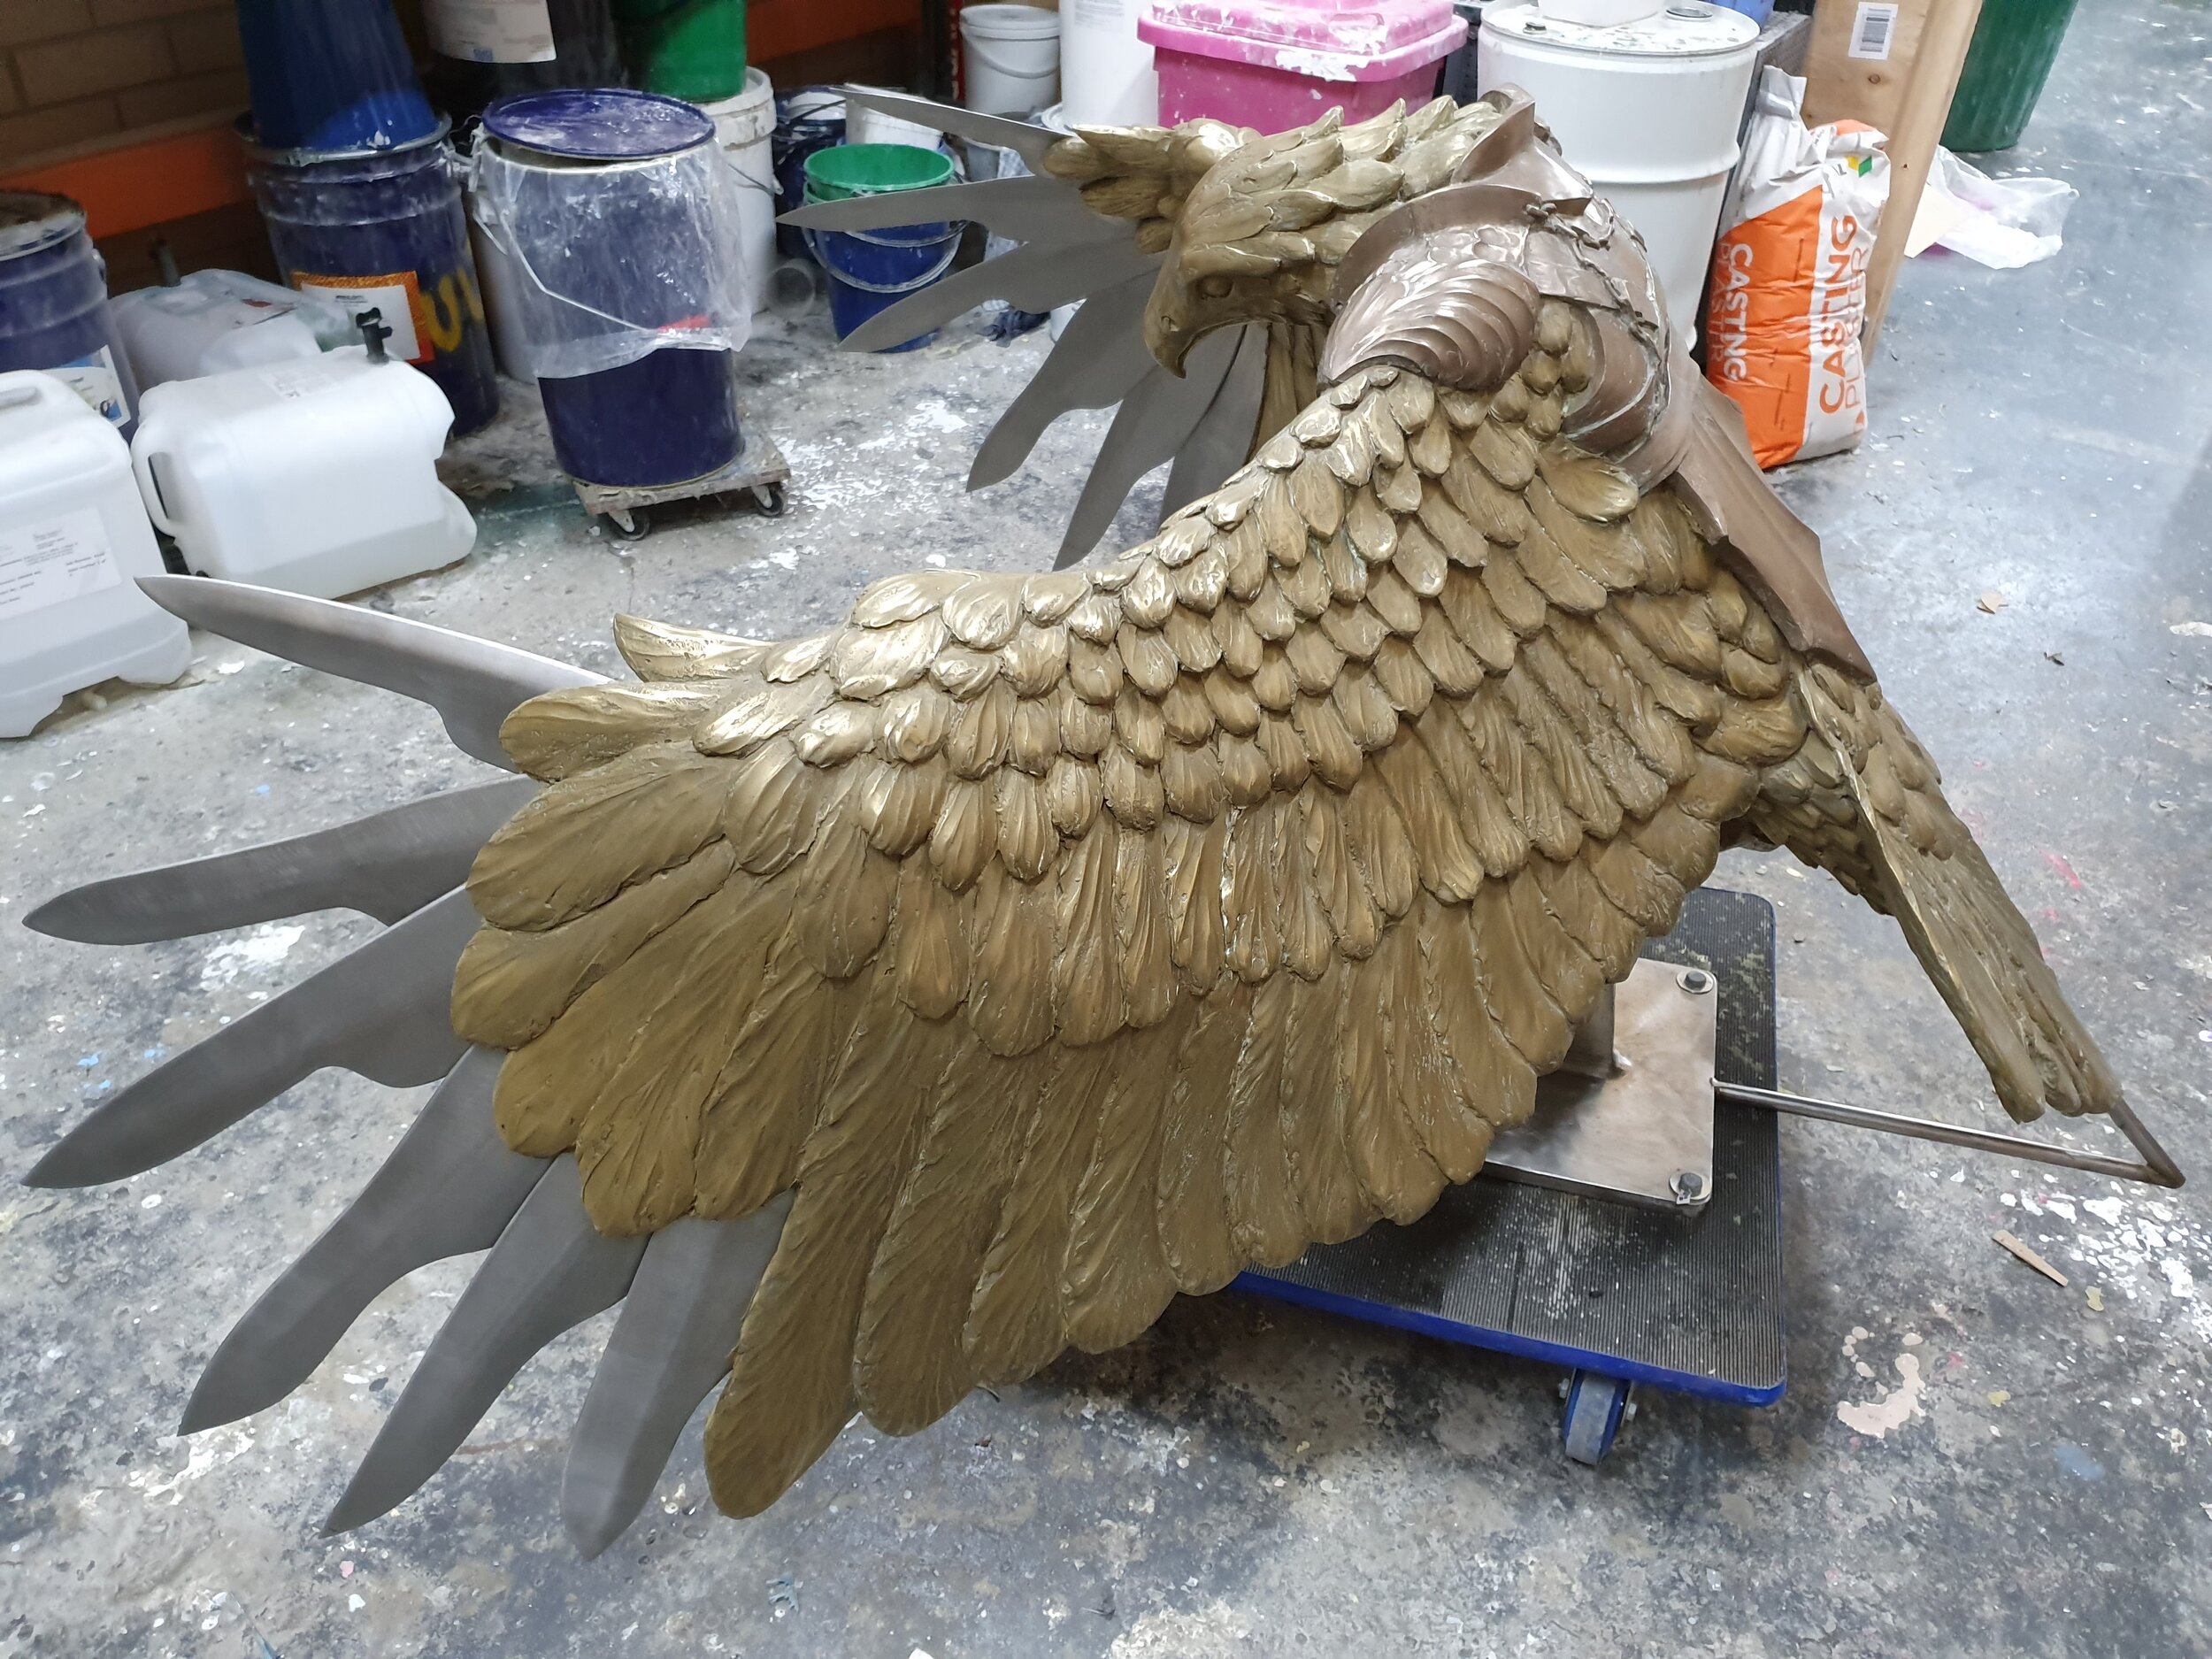
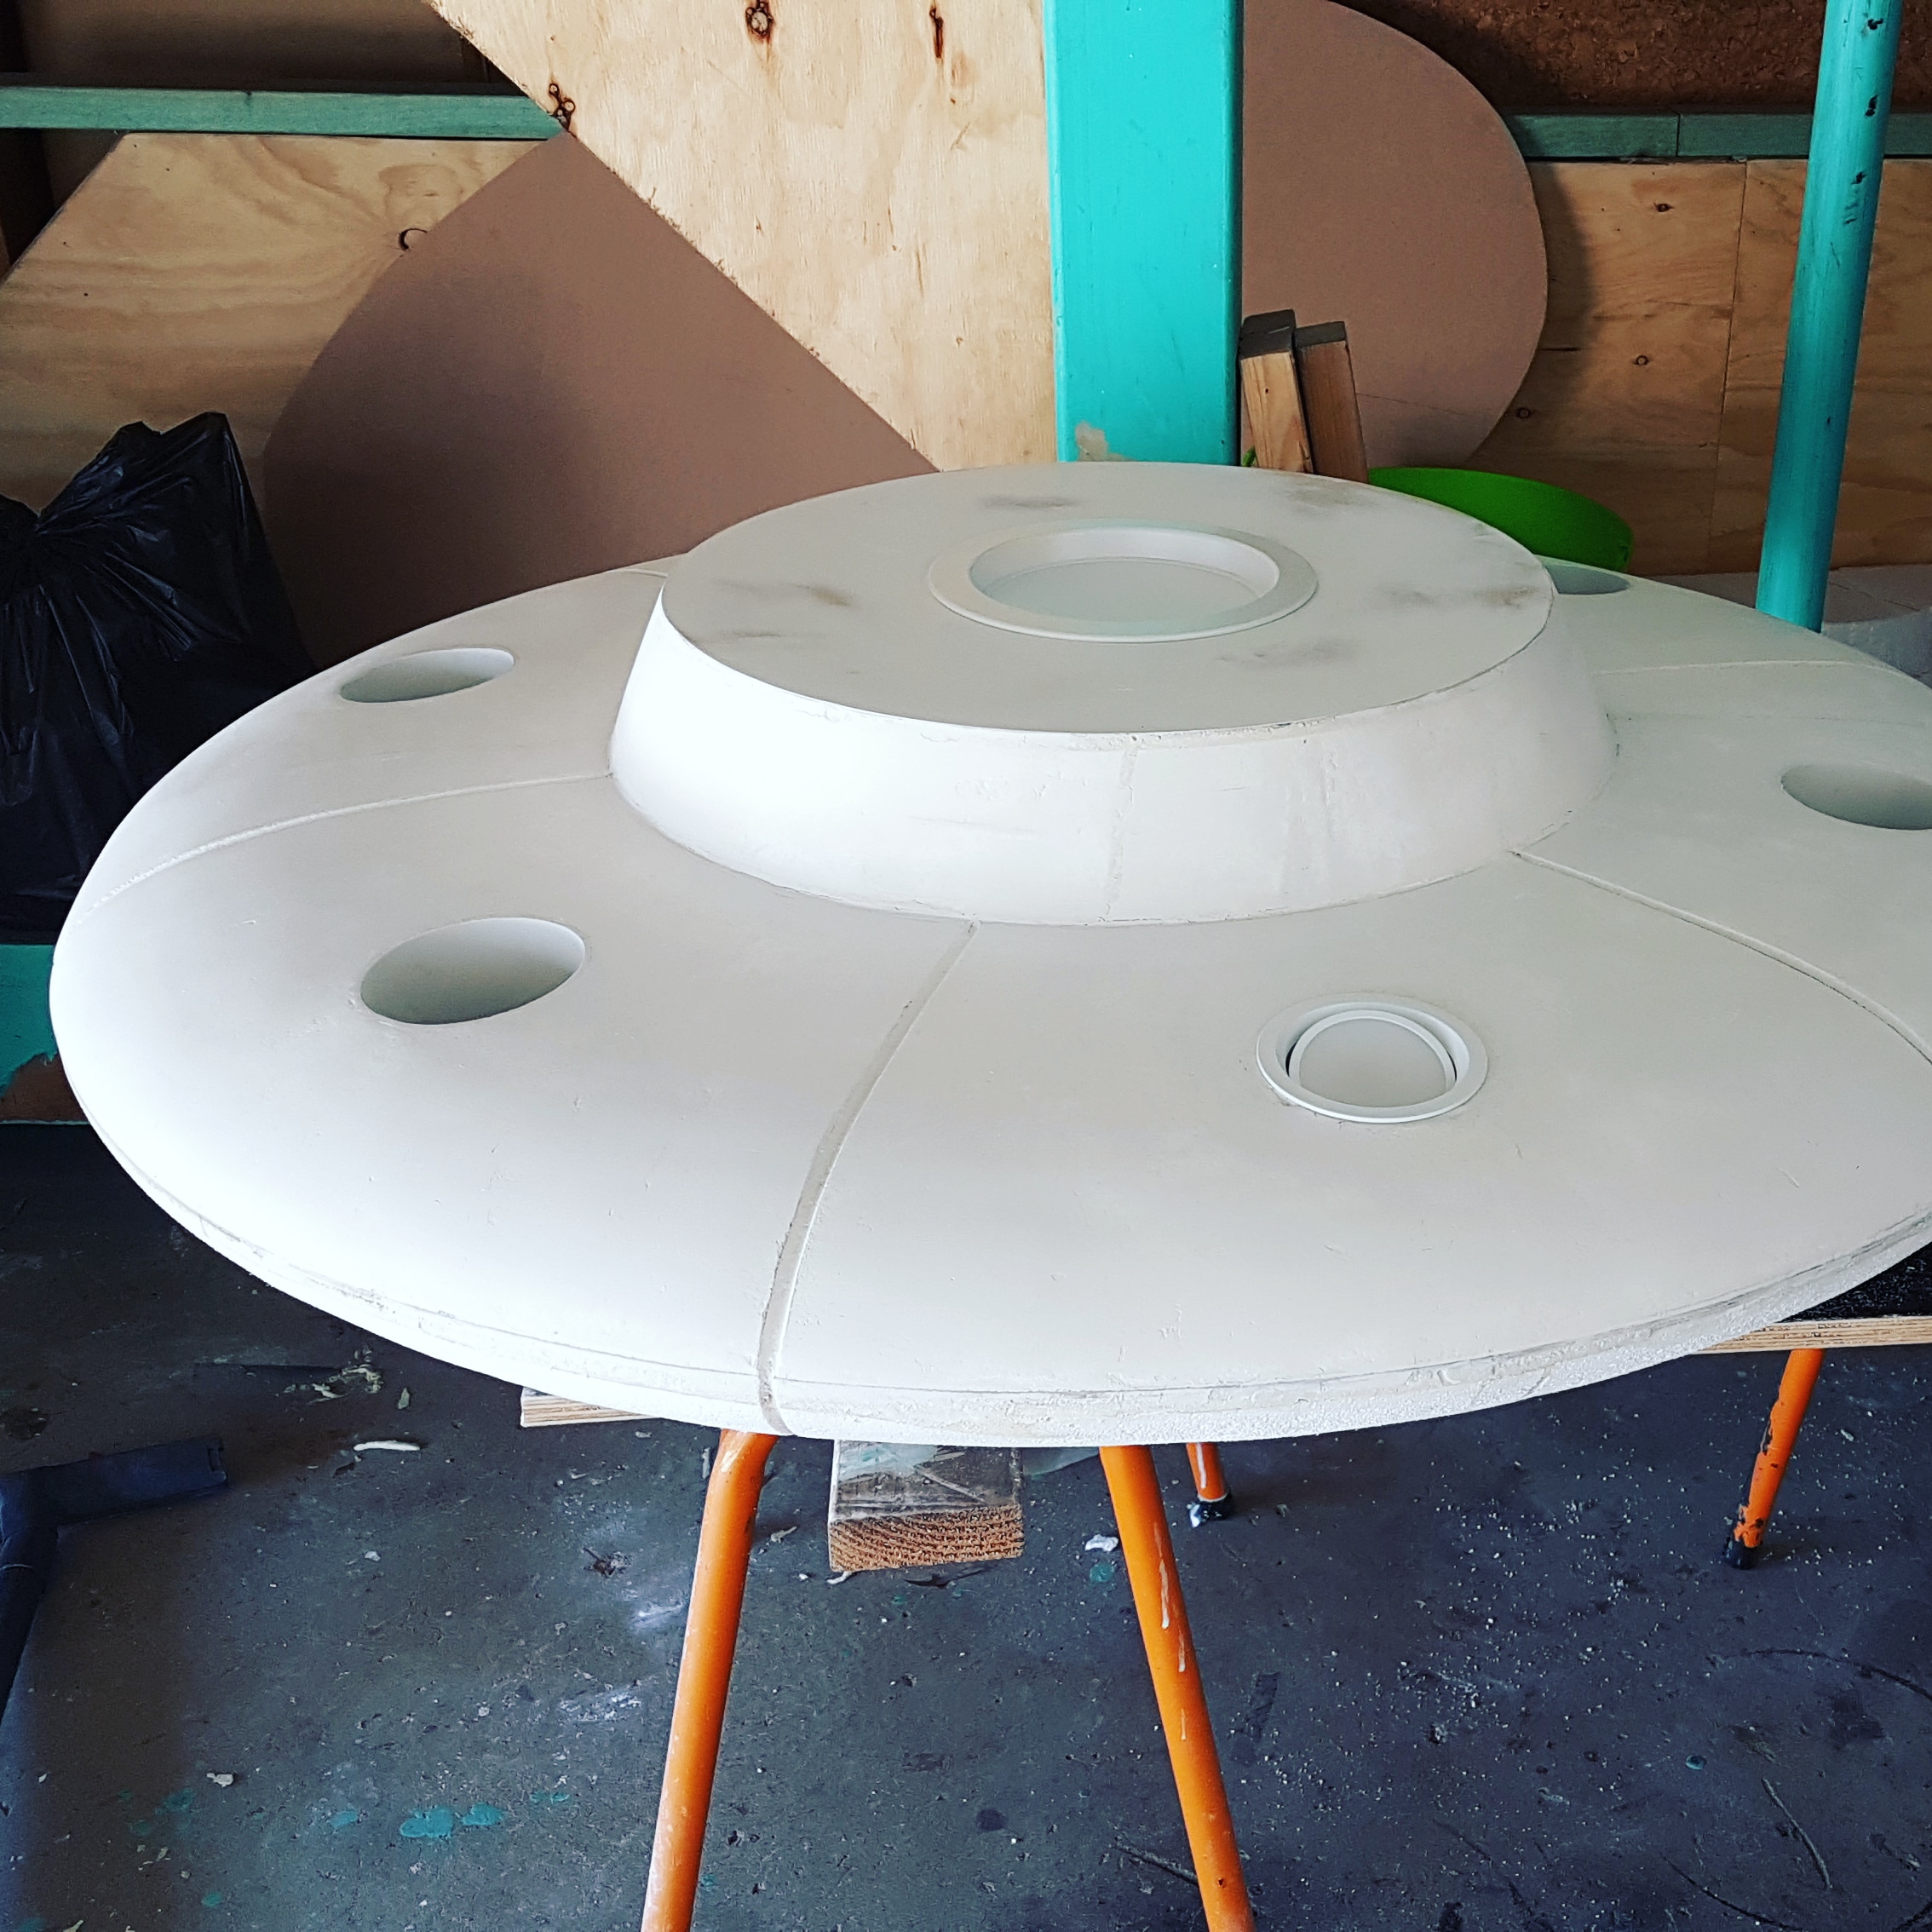
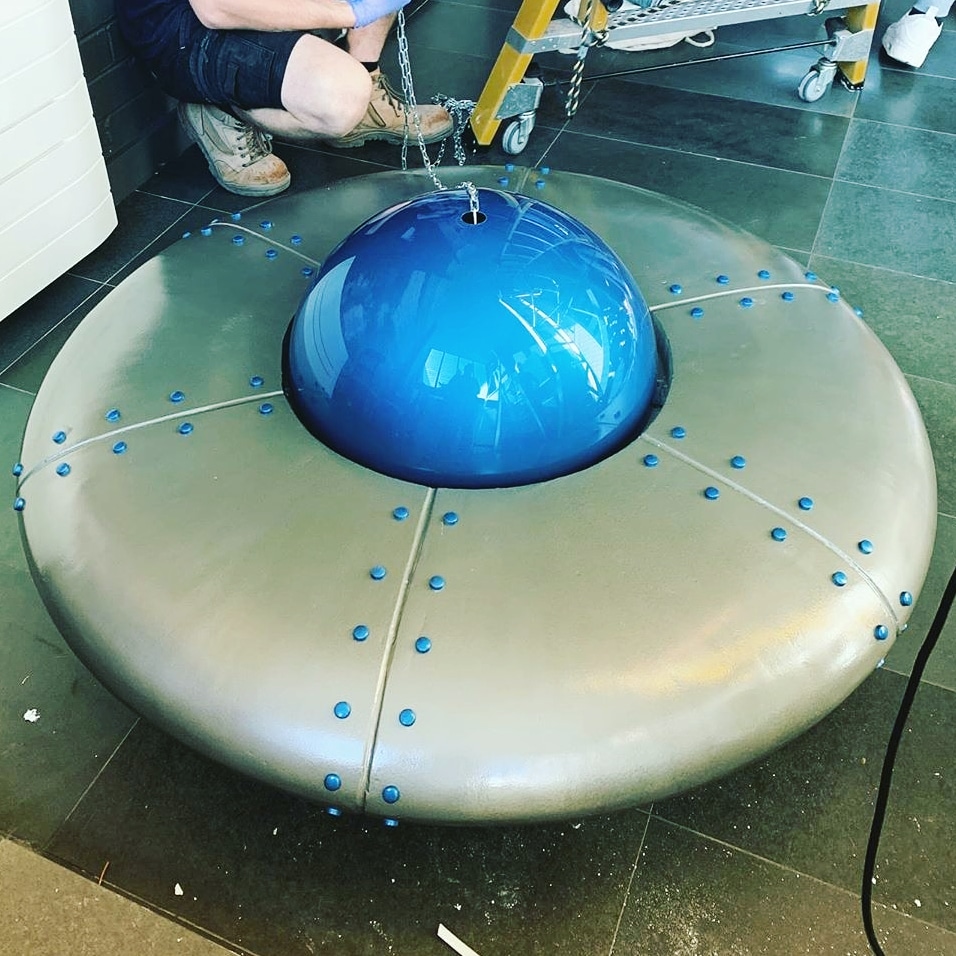
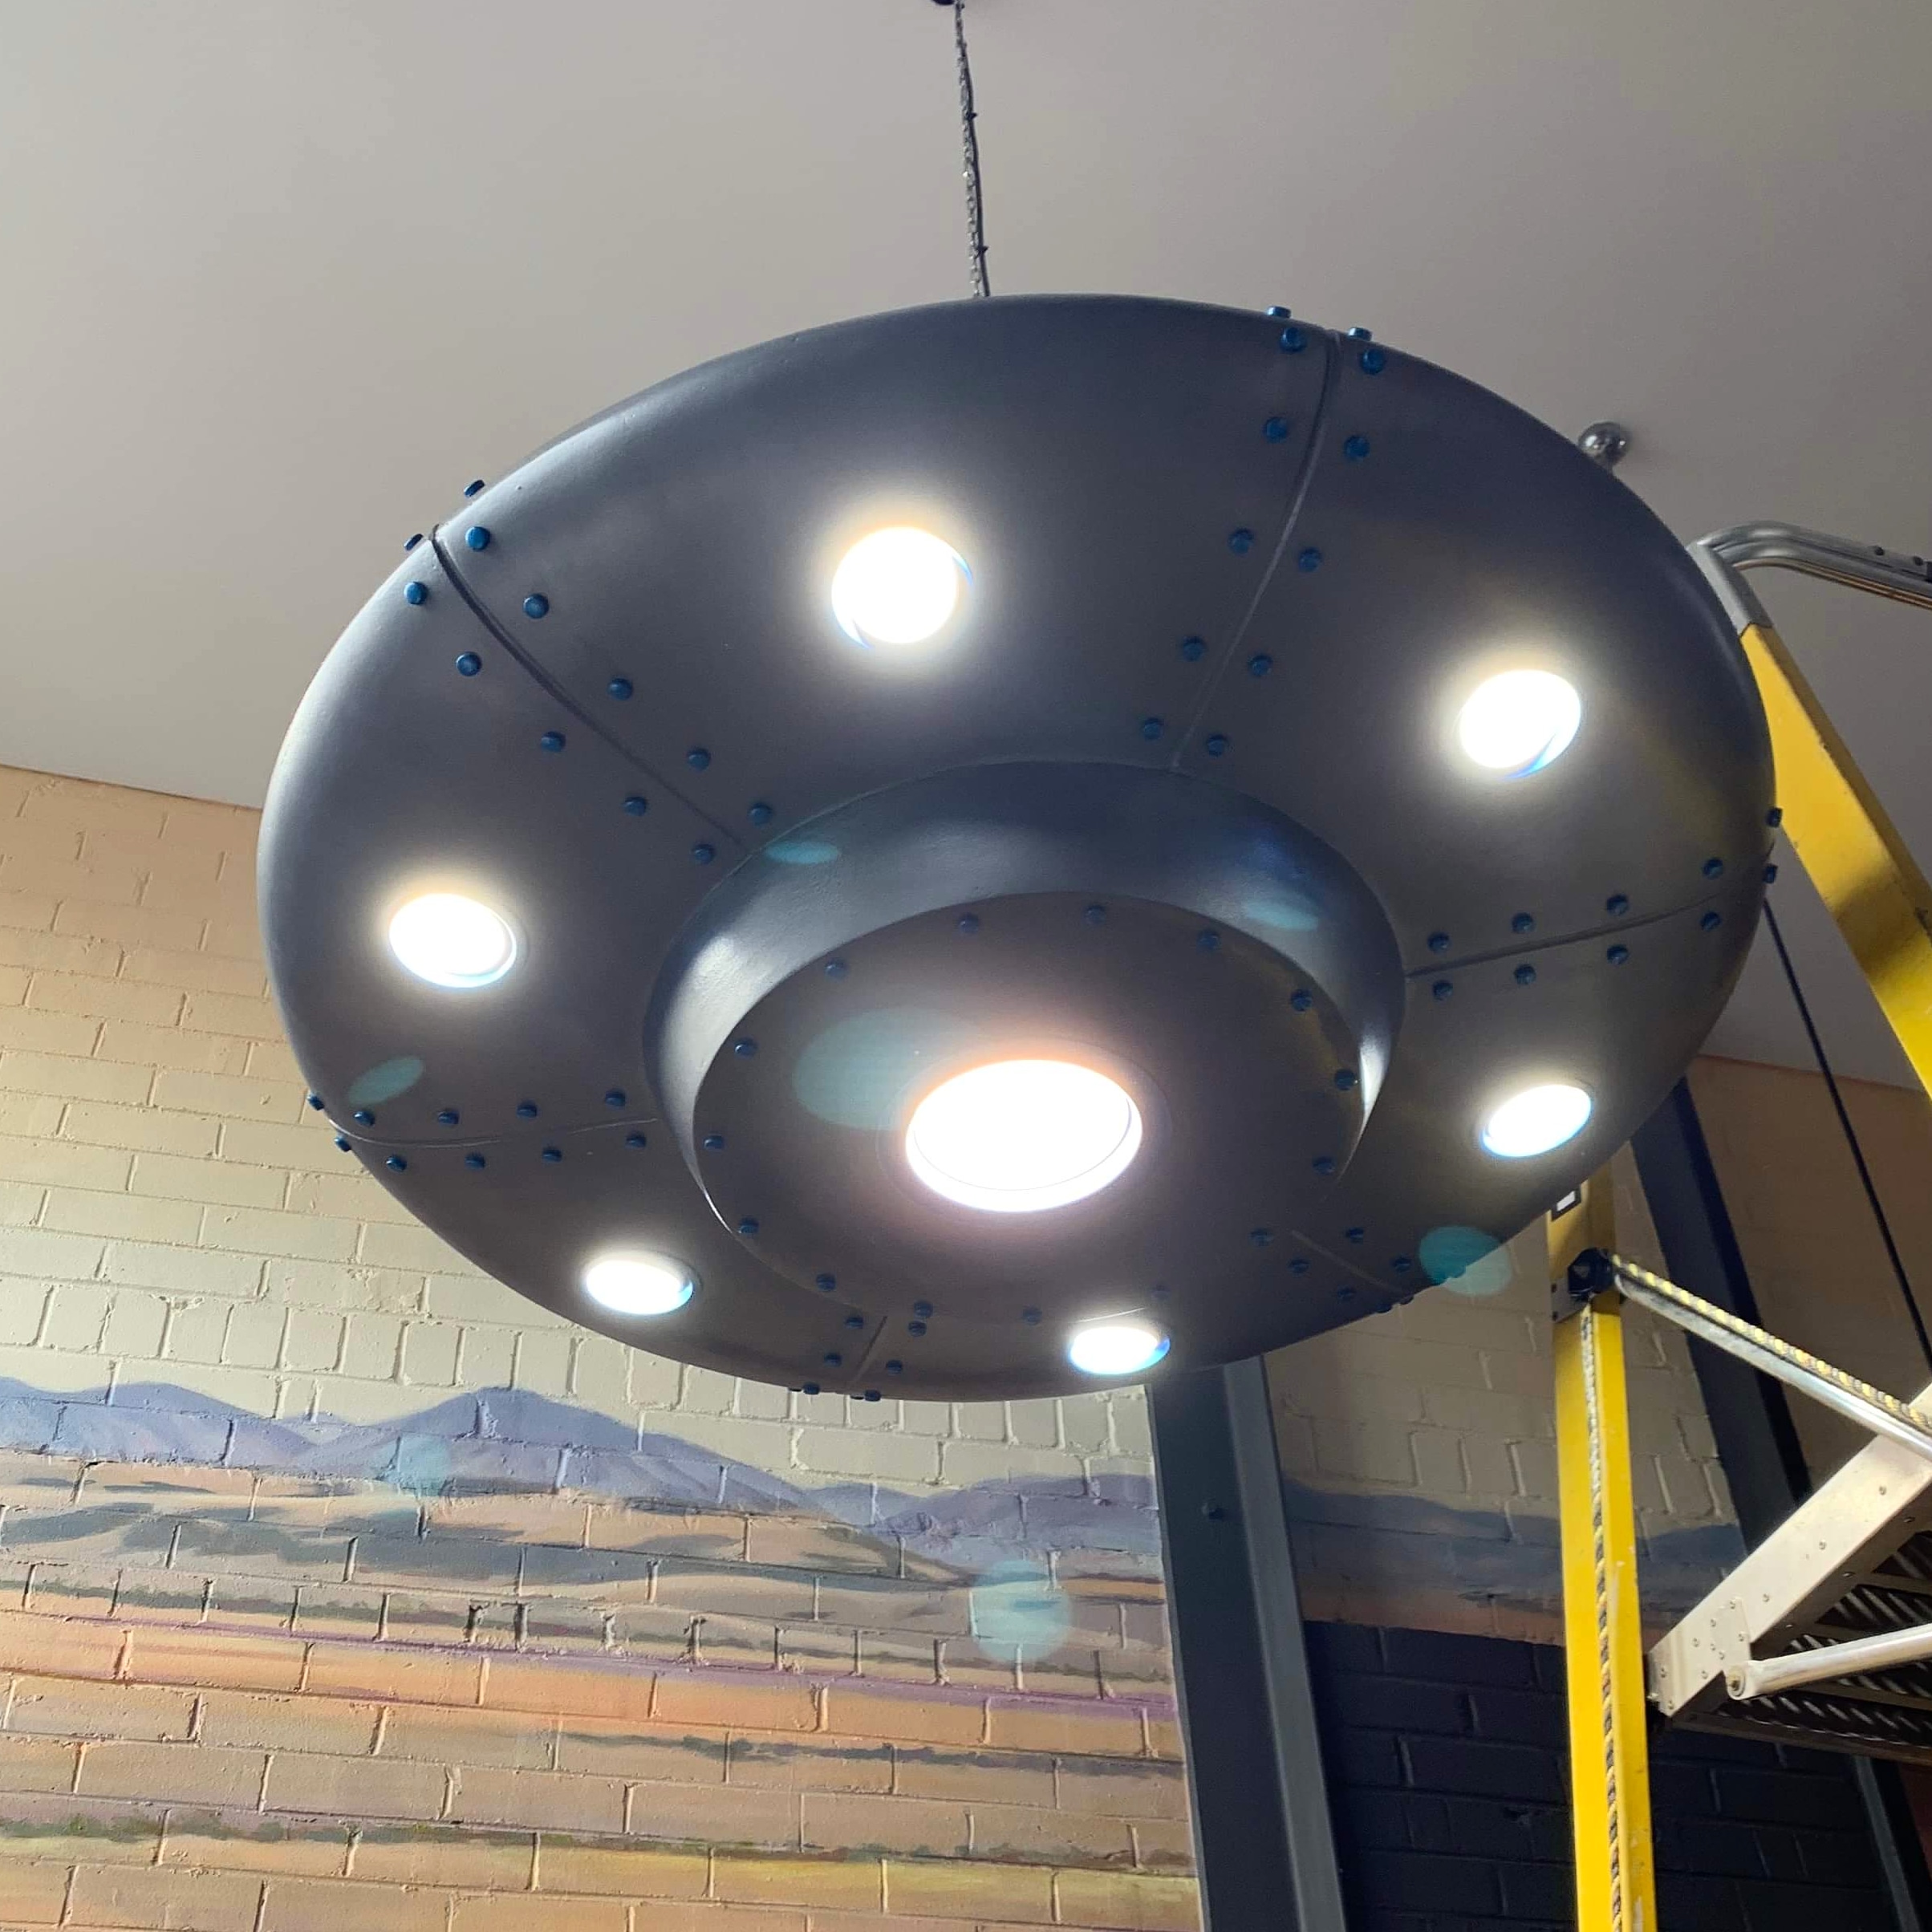
Edgar has a background in Chemistry, Civil Engineering and Project Management, not to mention him being a huge technology buff. The perfect recipe for basically what I’ve been missing! In the last 12 months we have completed several projects that meld together both my hands-on approach and Edgar’s digital offerings. These projects include; prop and costume making for TV shows and commercials, lamp components for my custom made lamps, miniature maquettes for larger sculptures, geometric sculpture components and jewellery components.

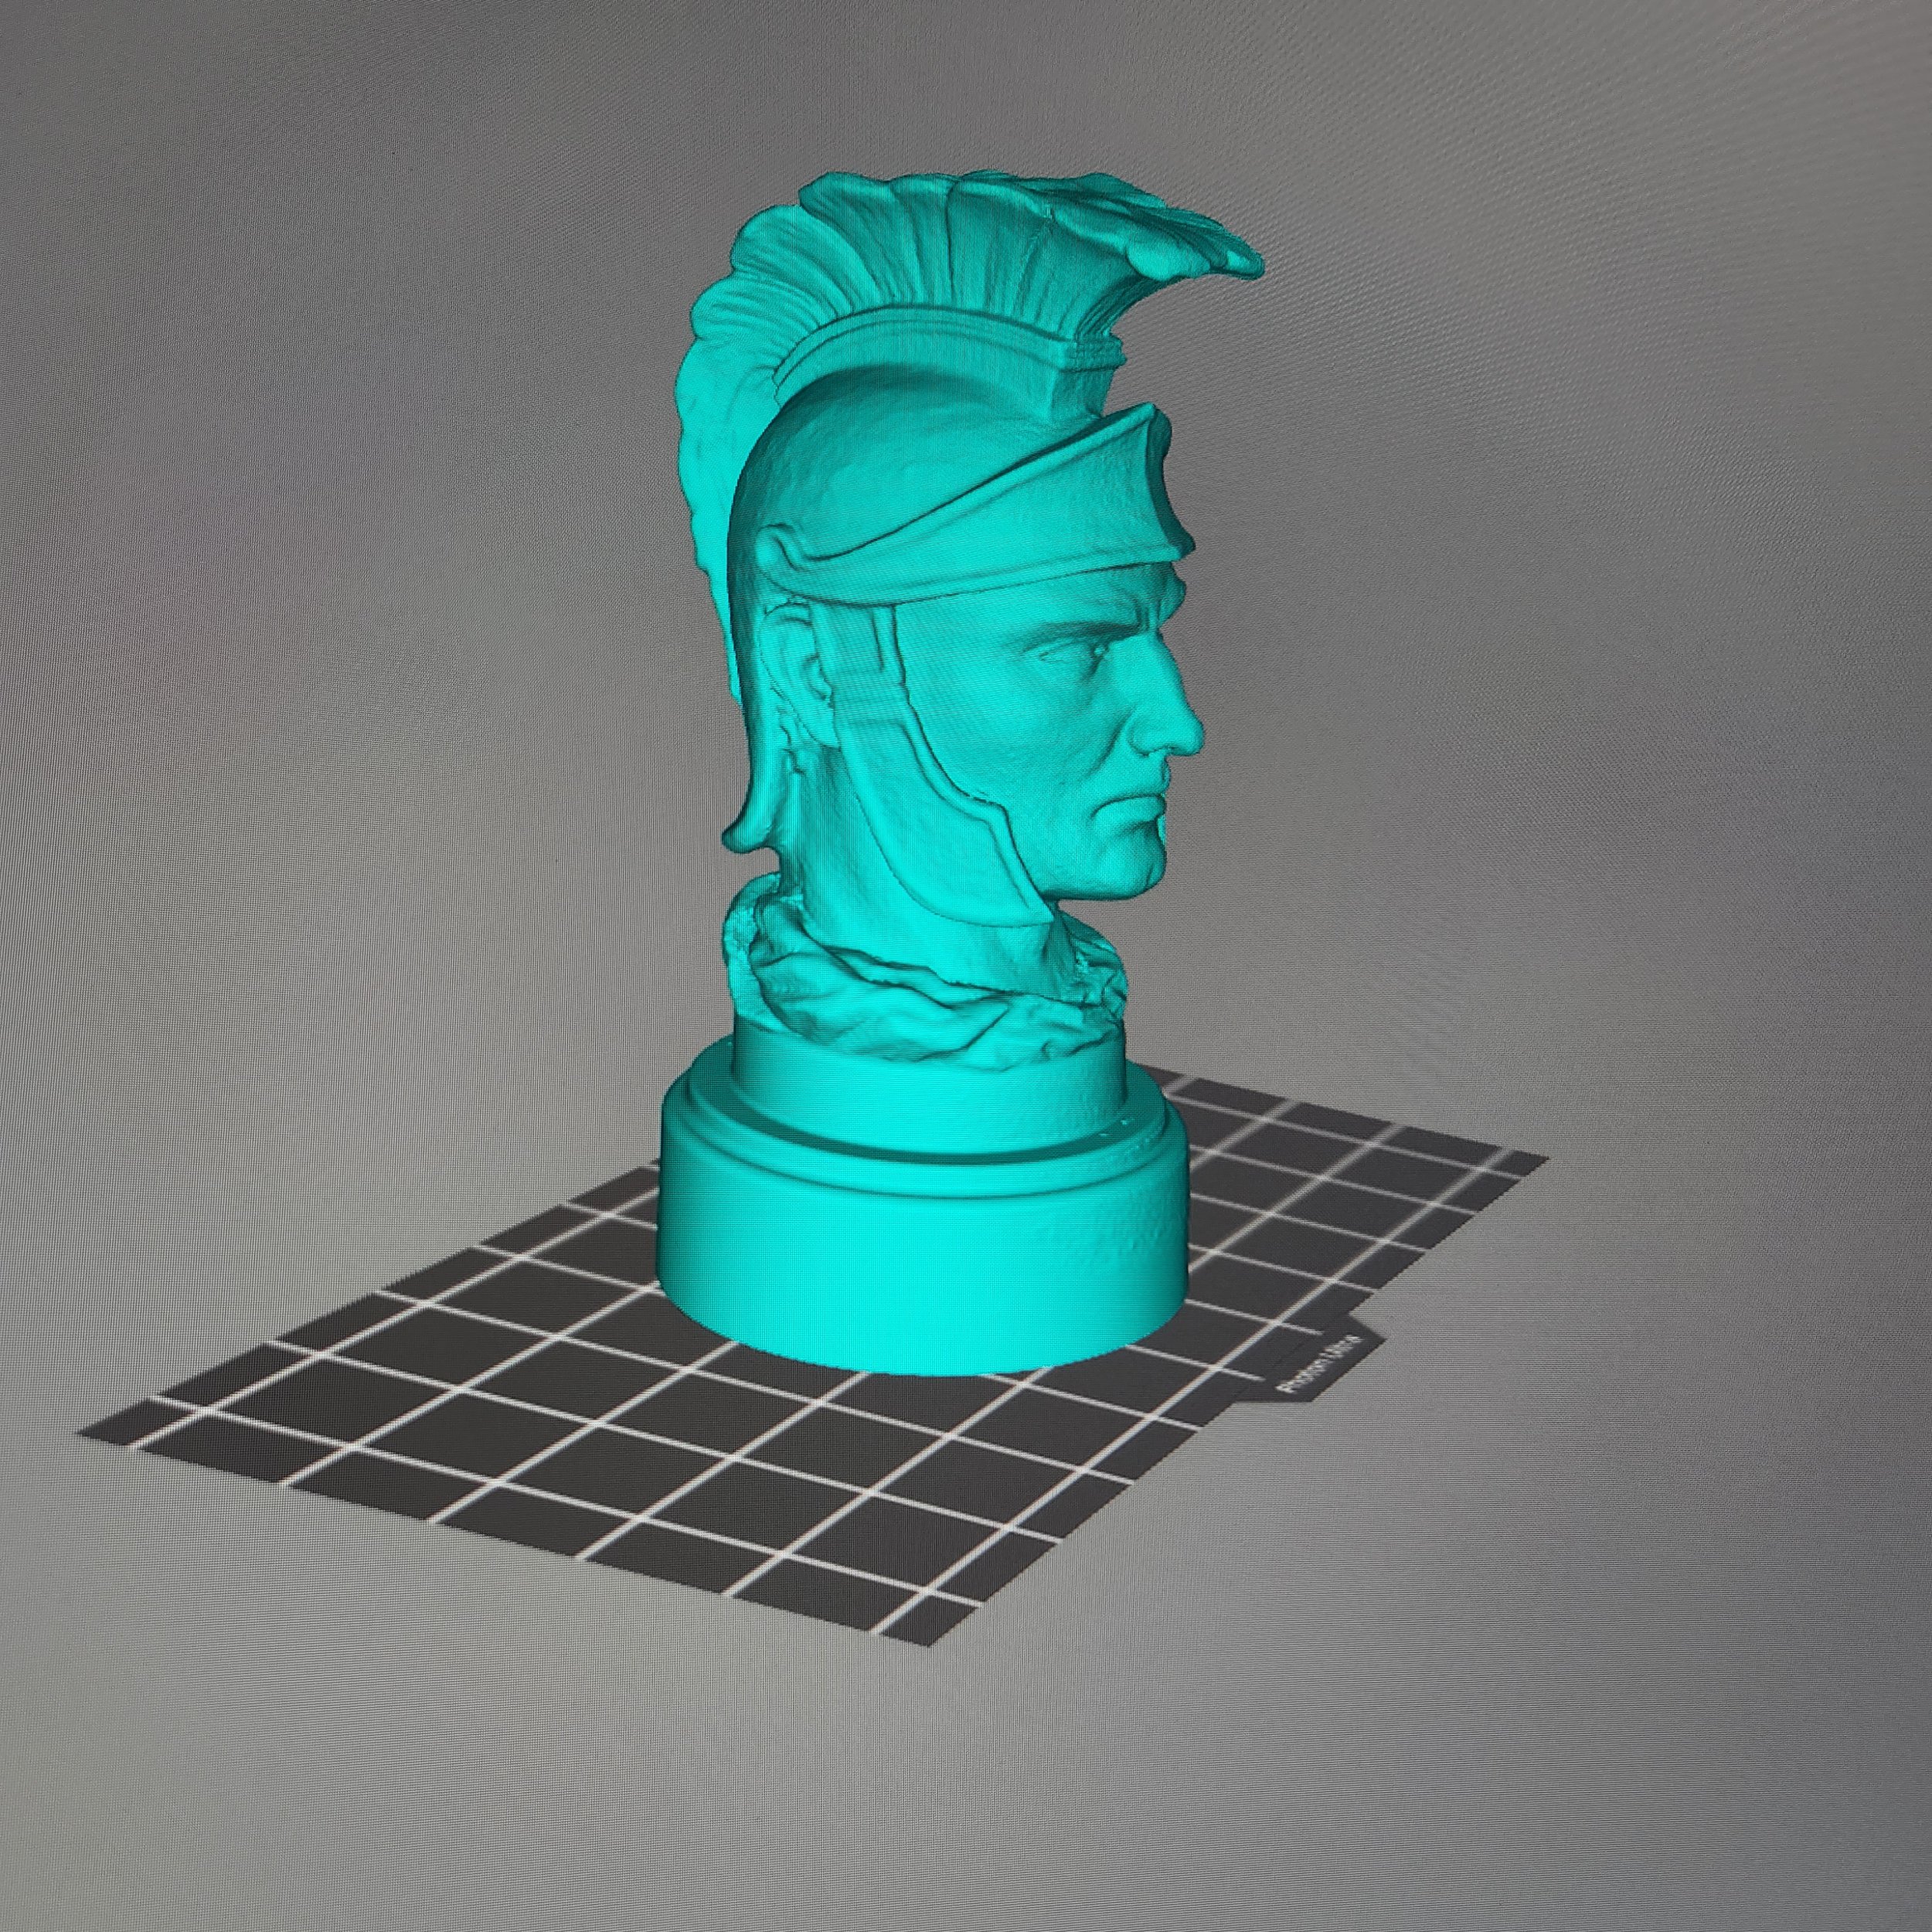
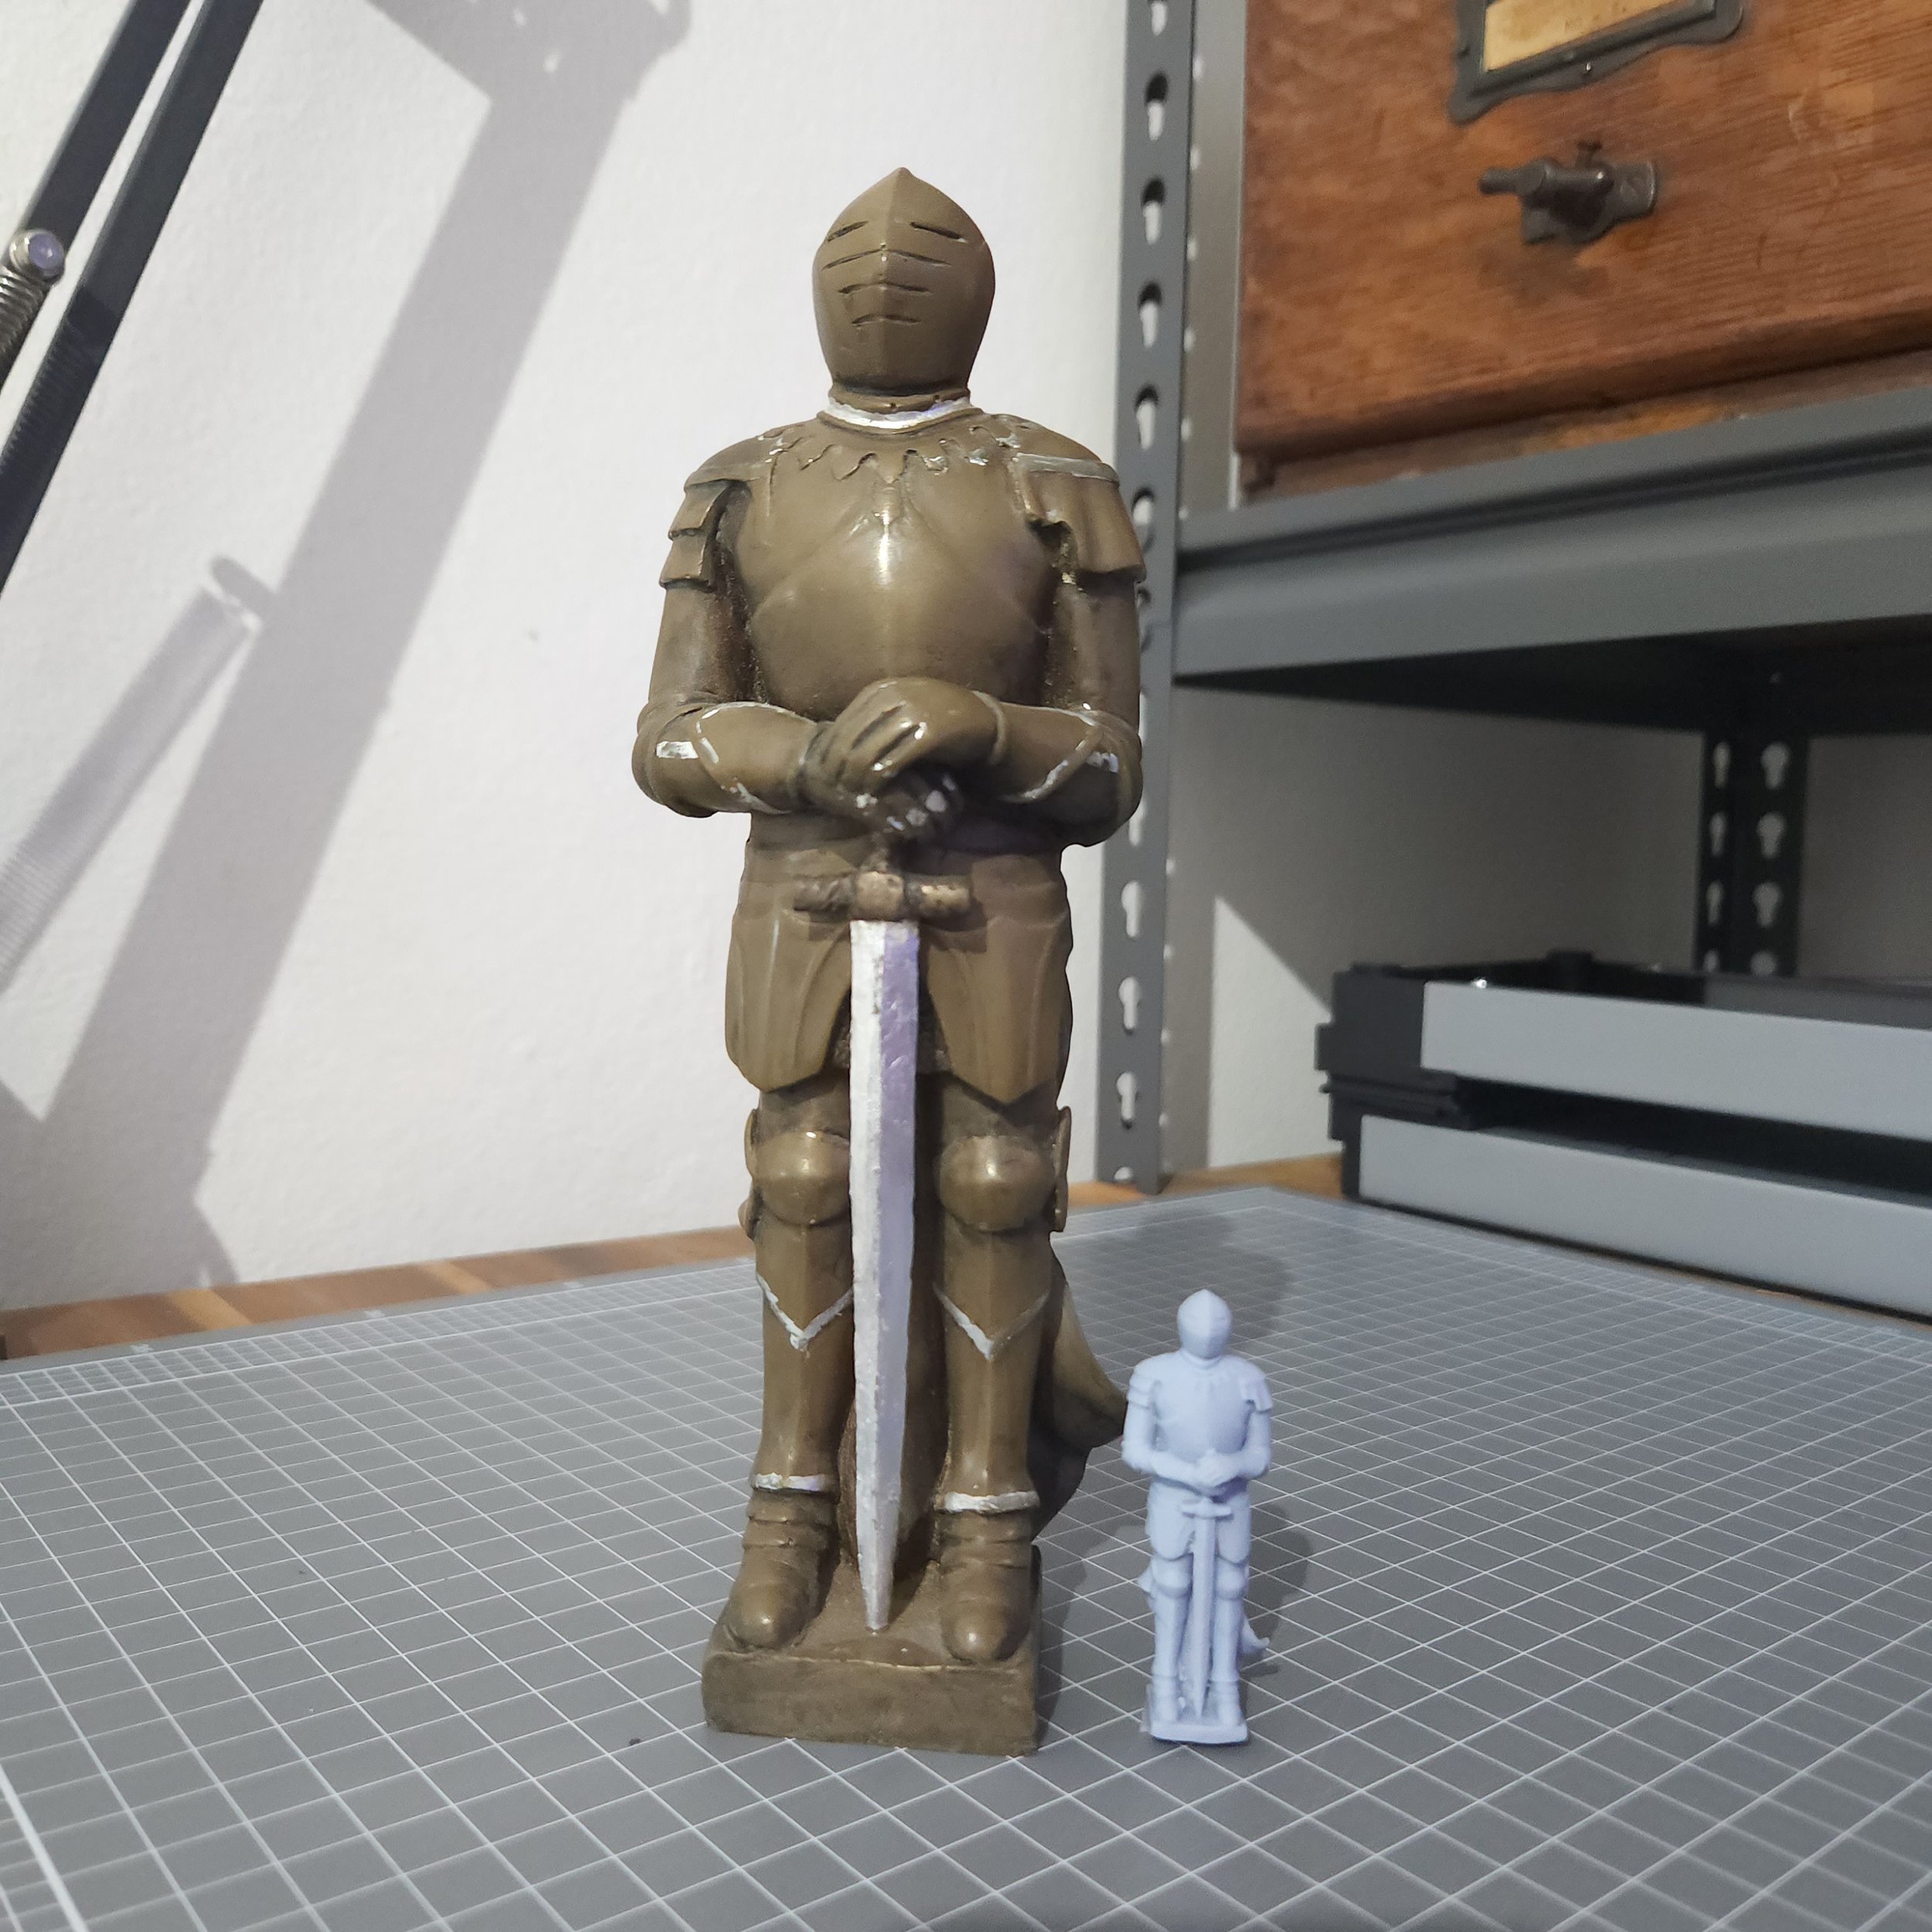
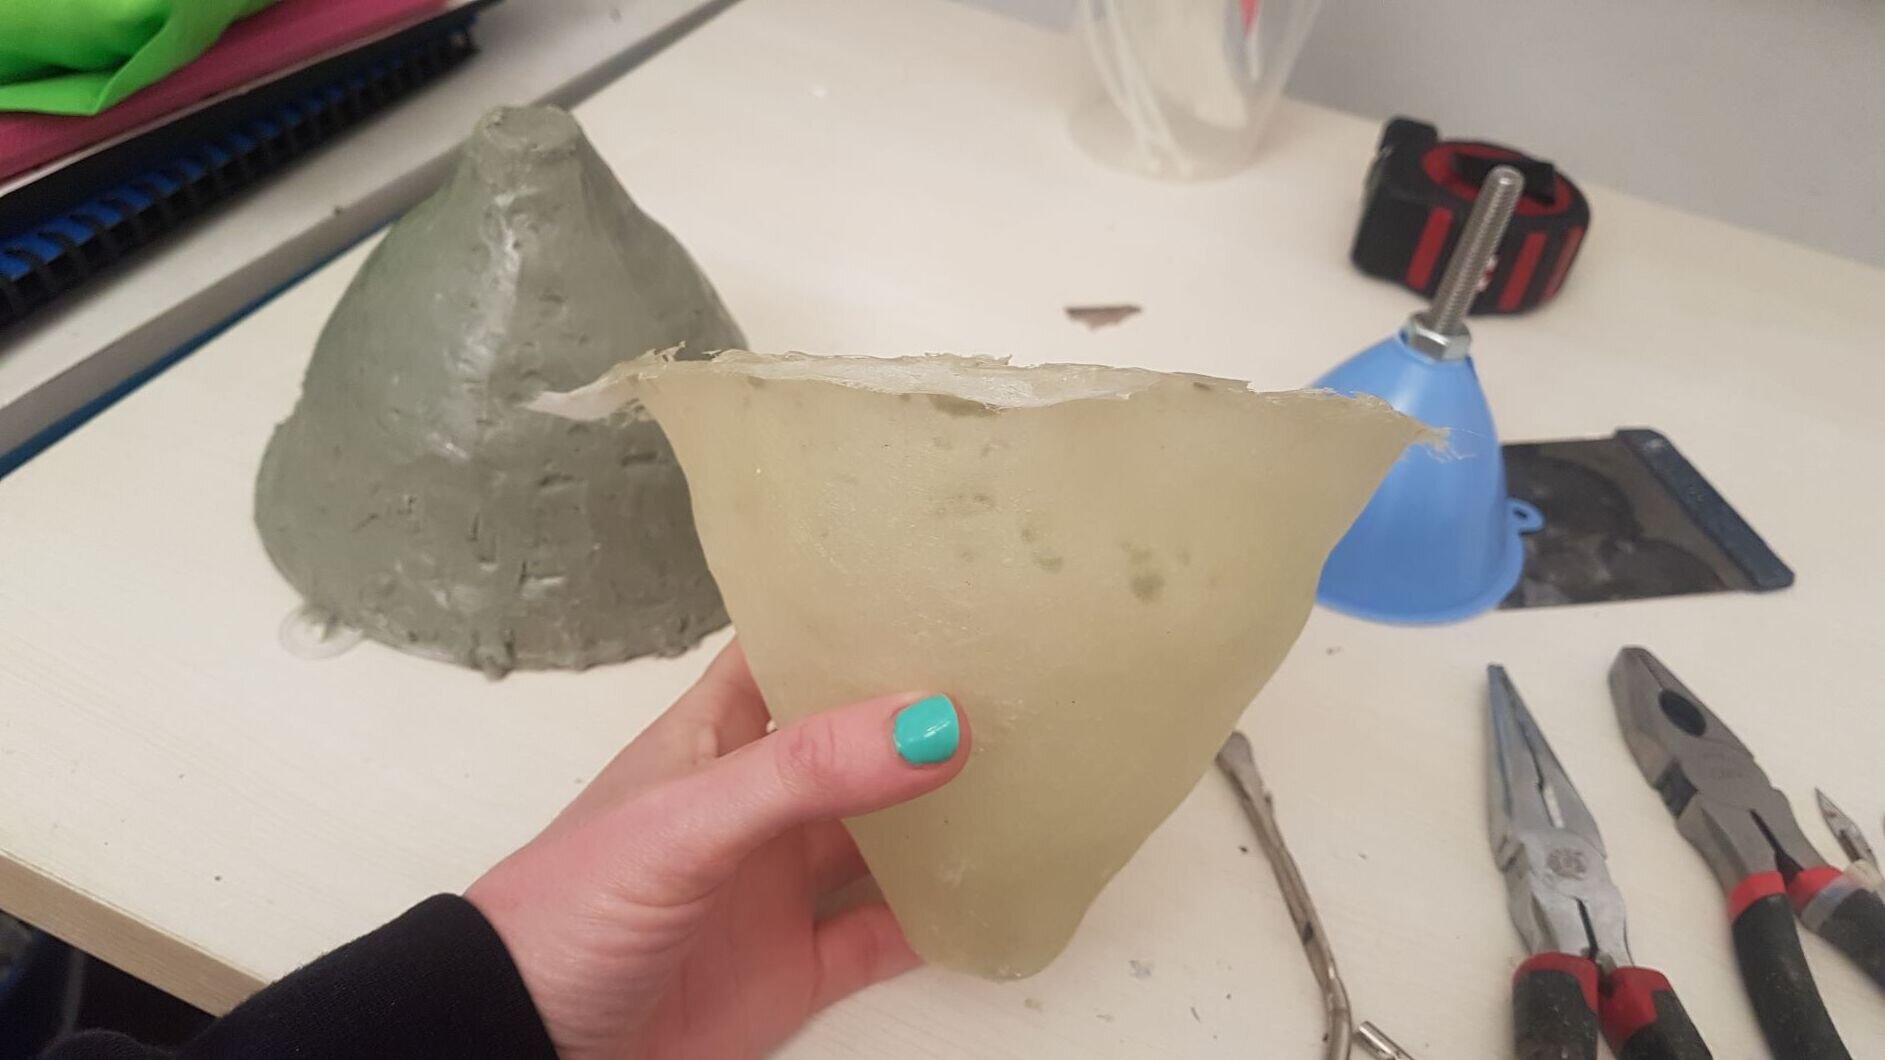
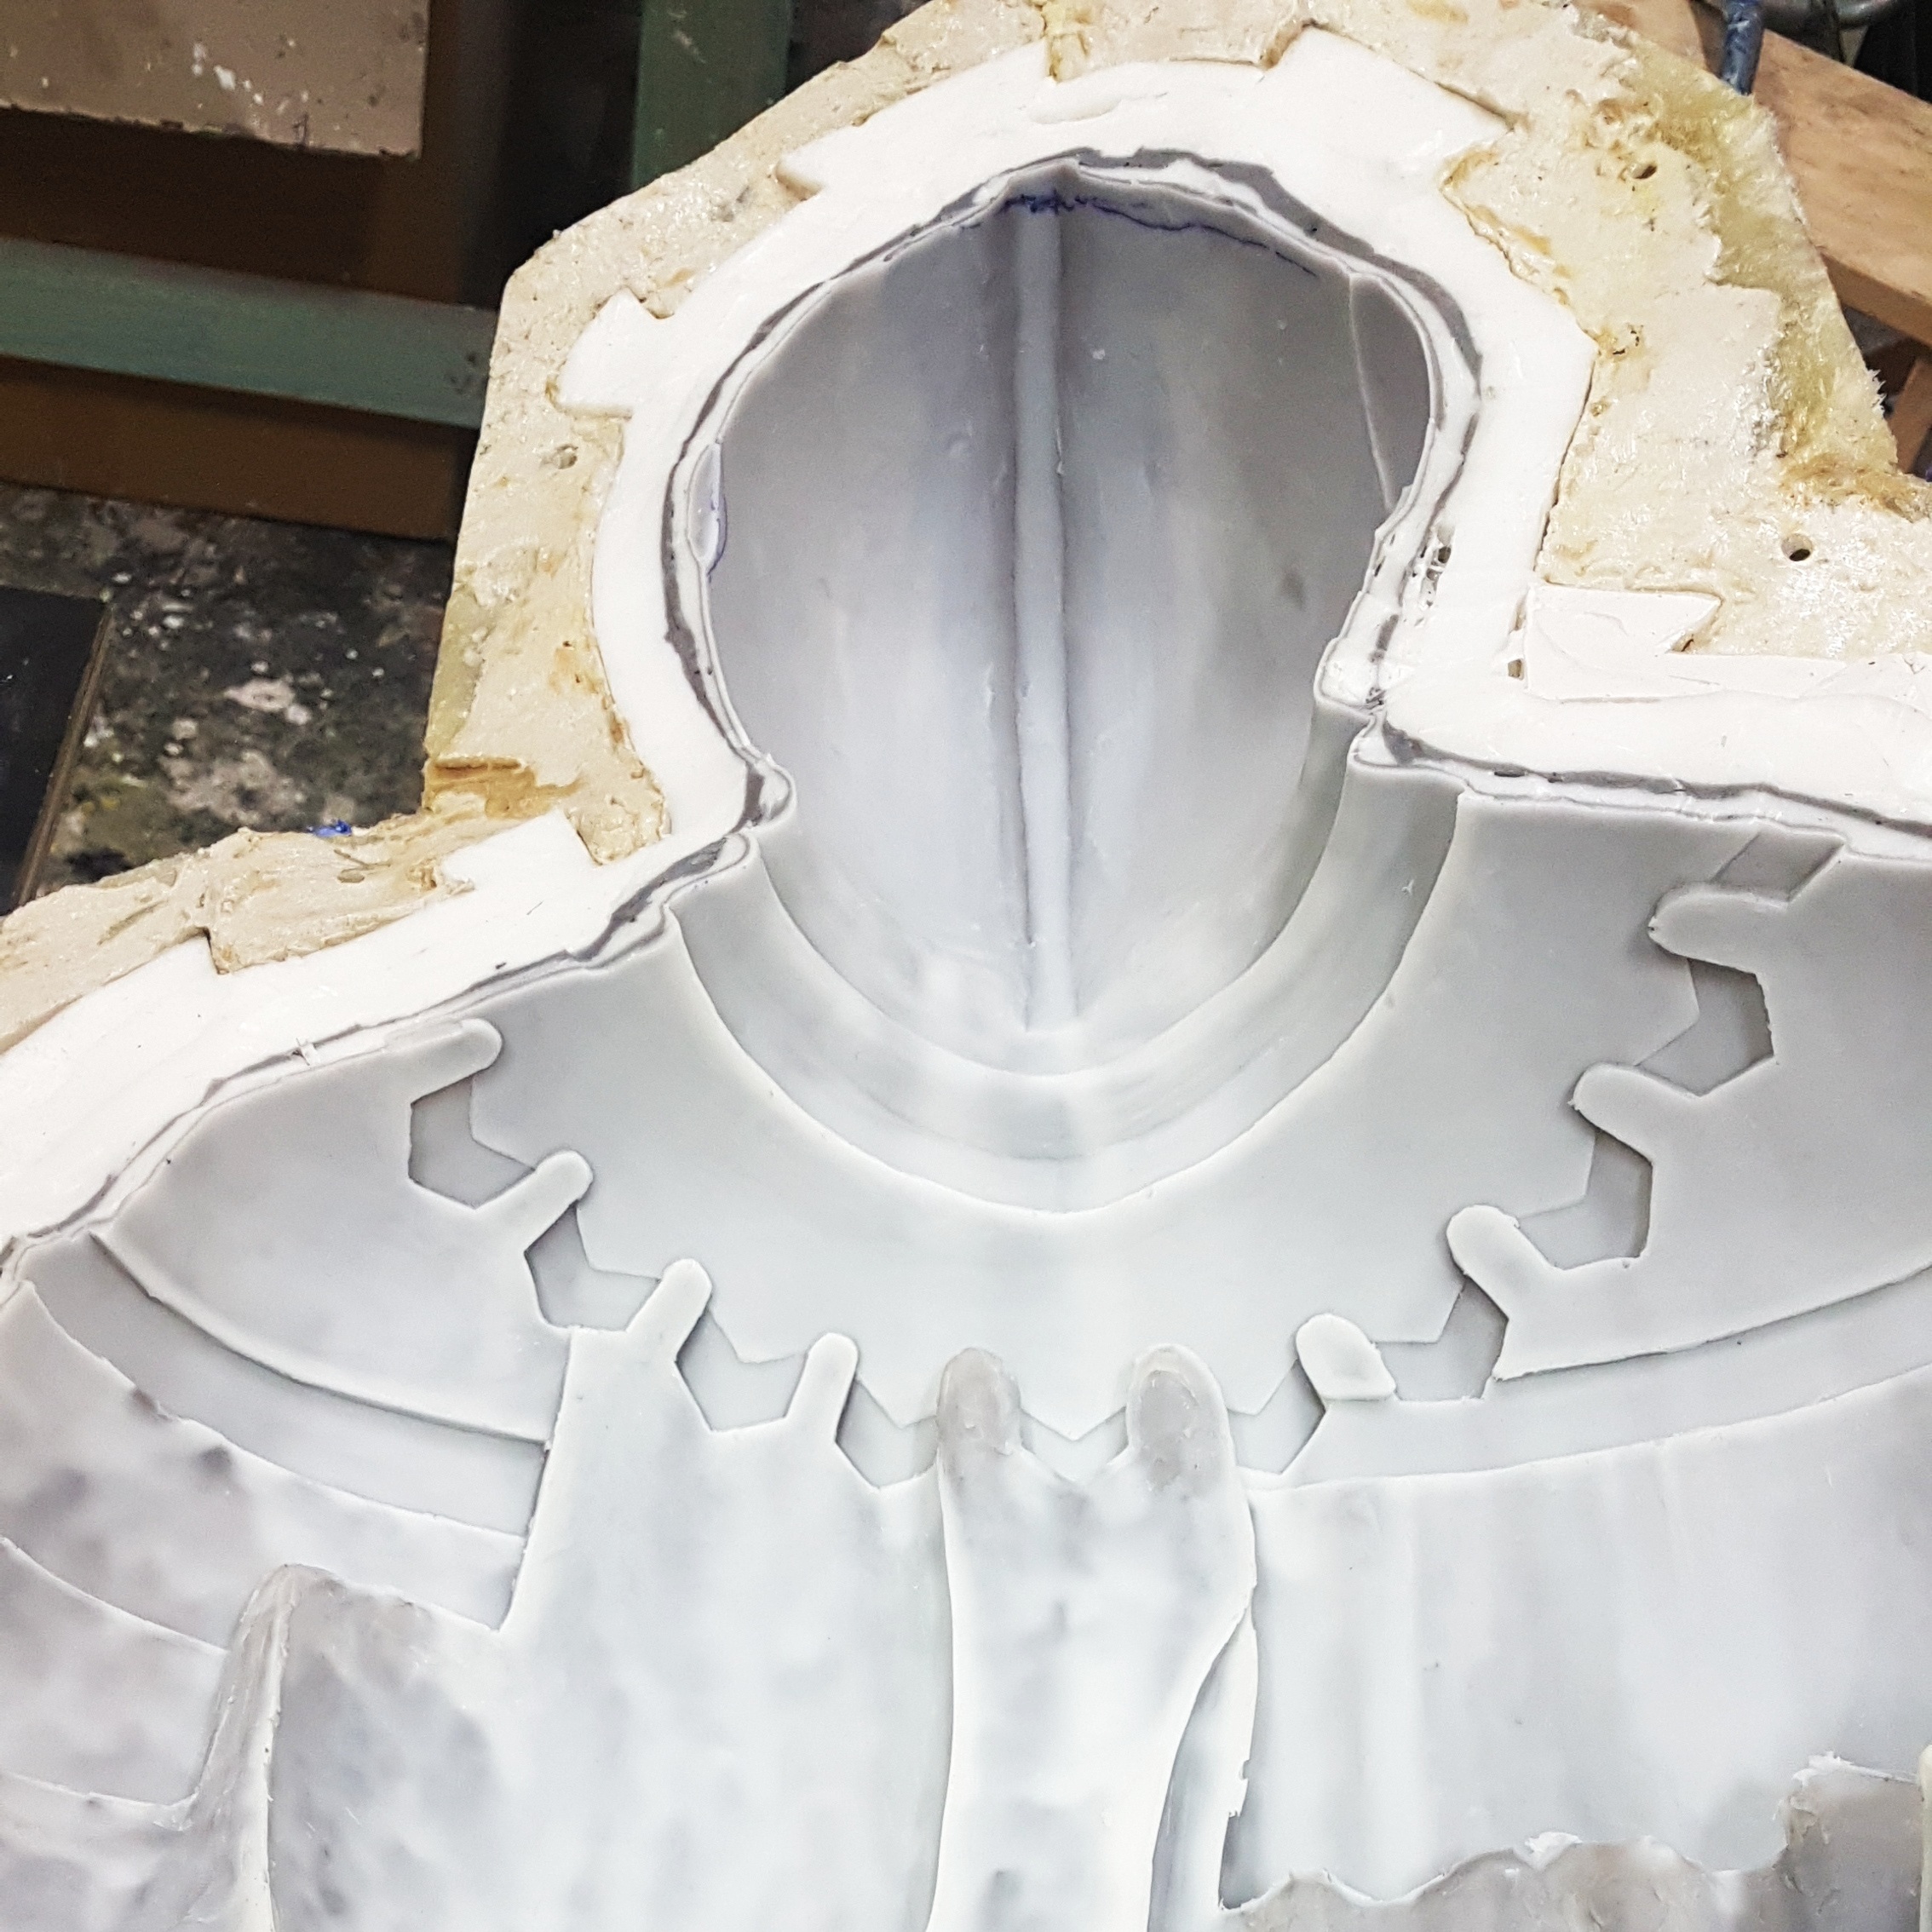
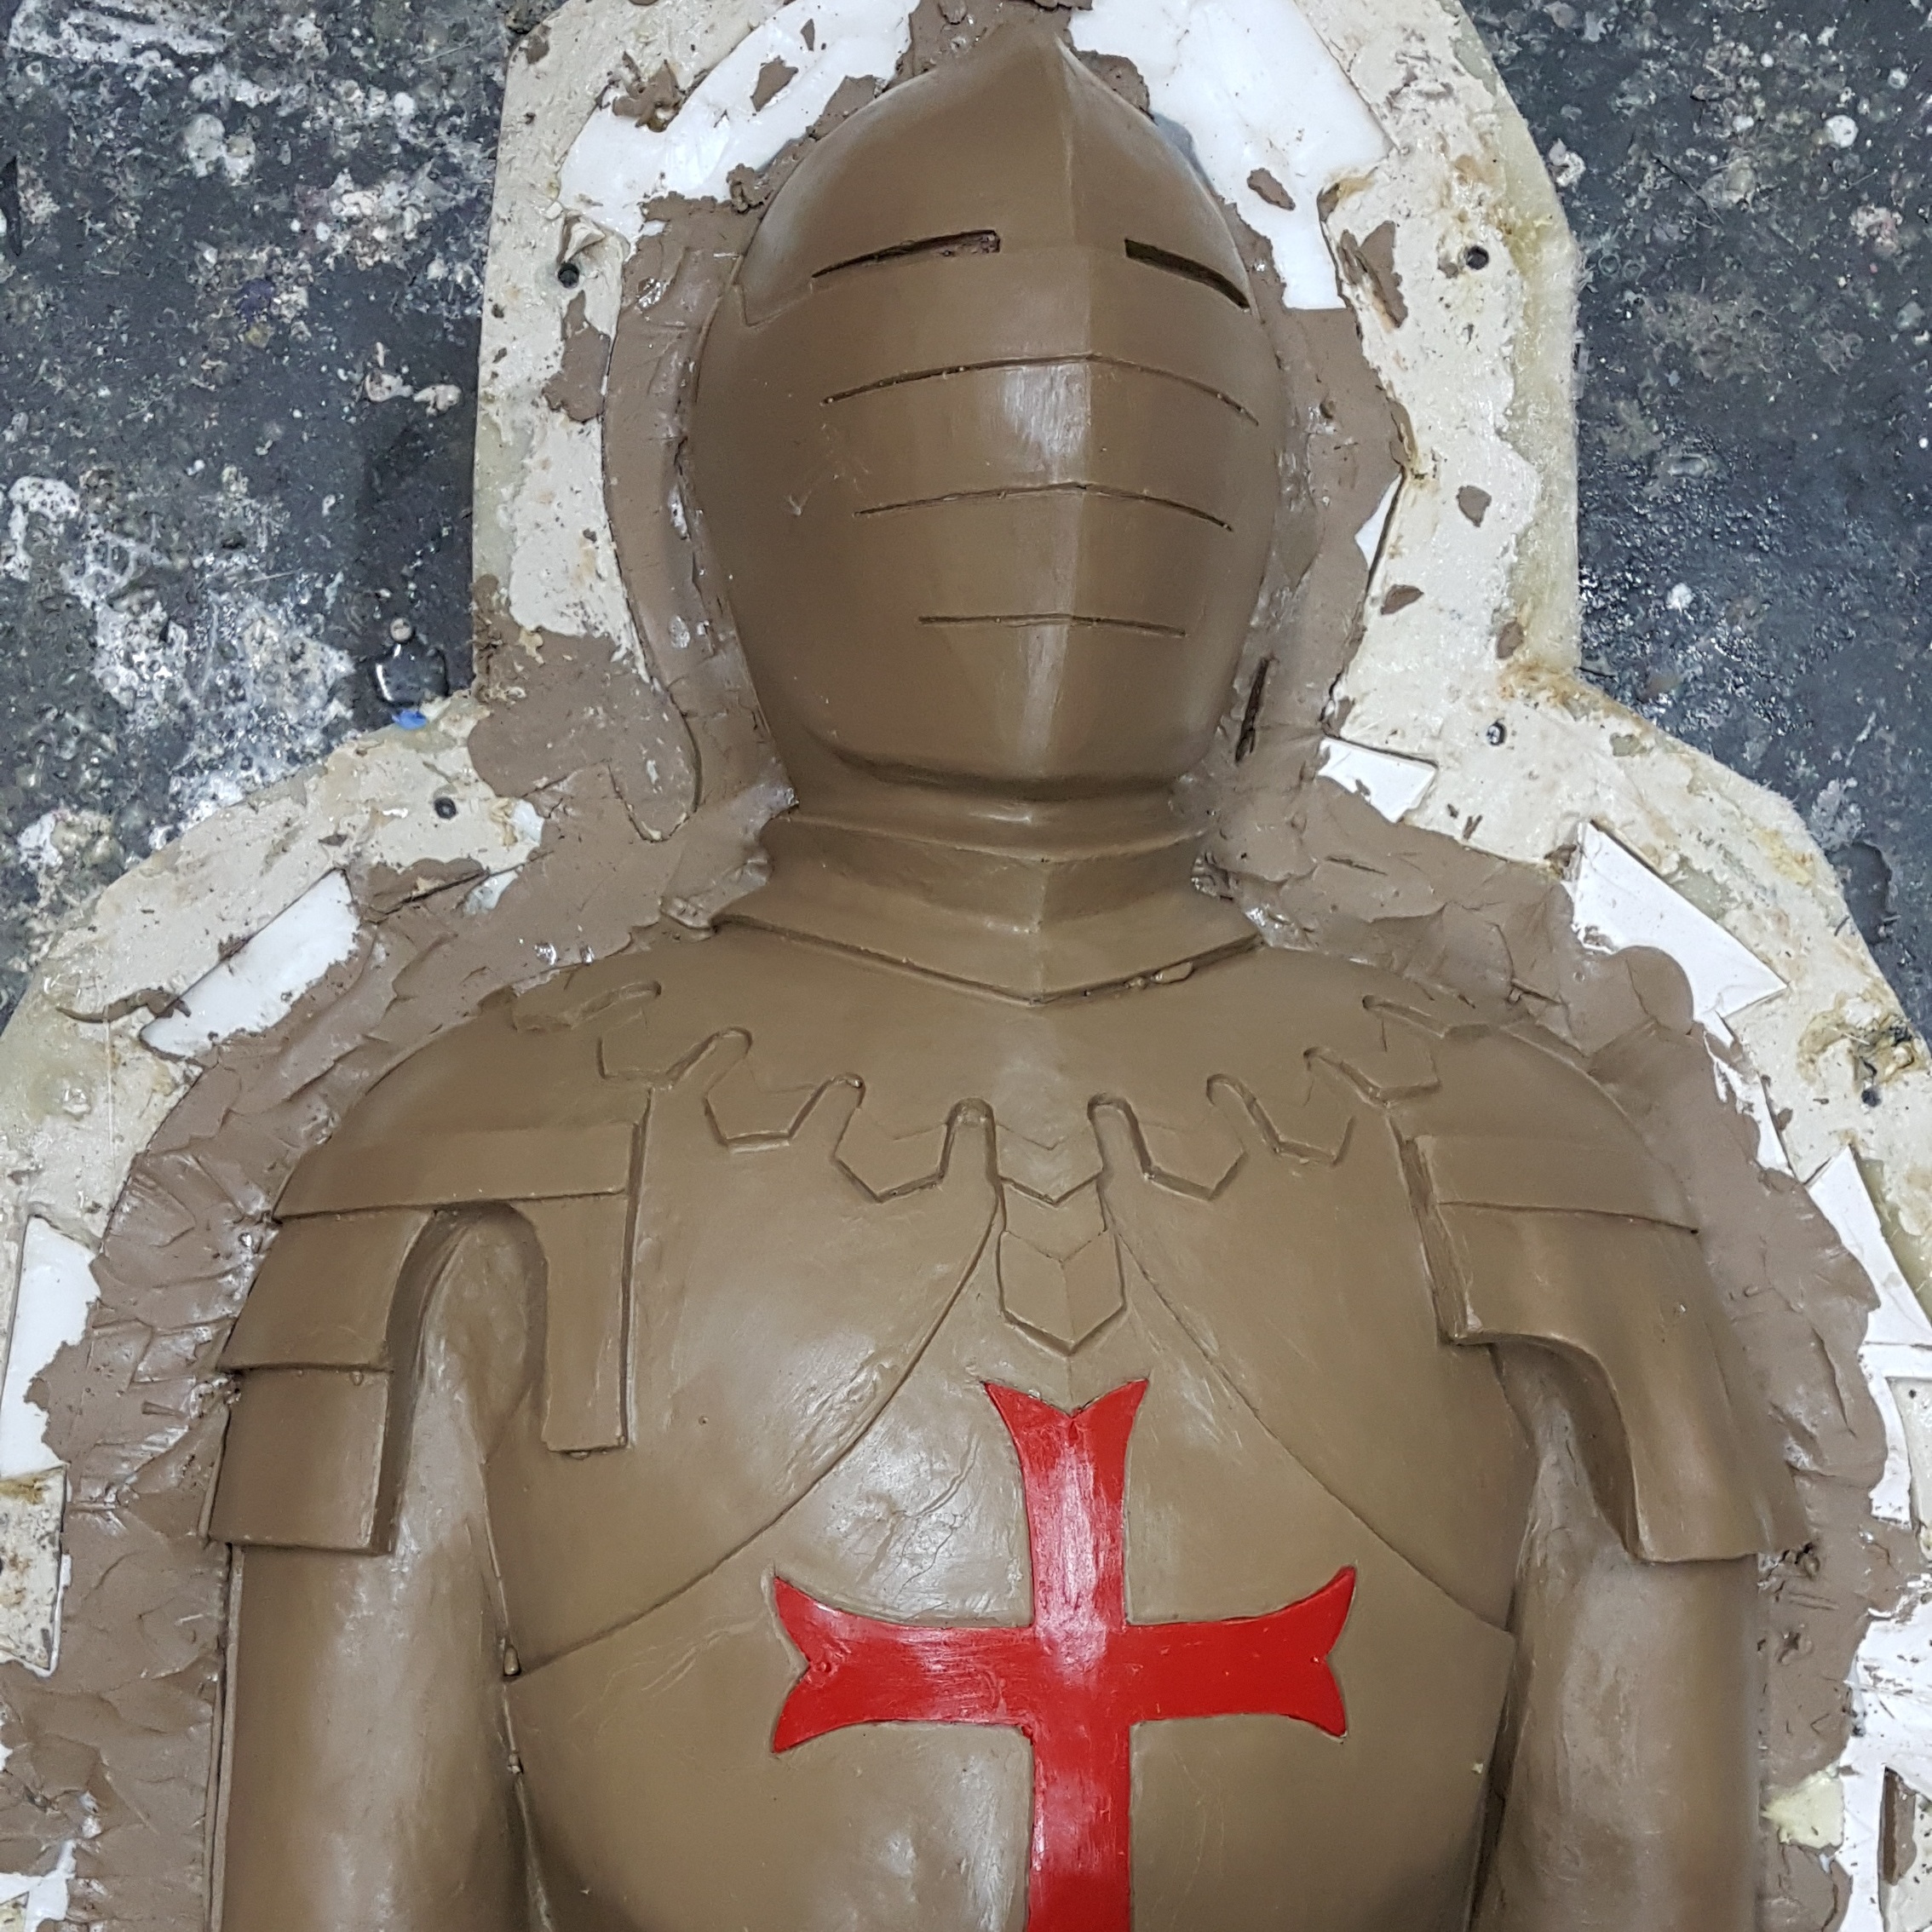
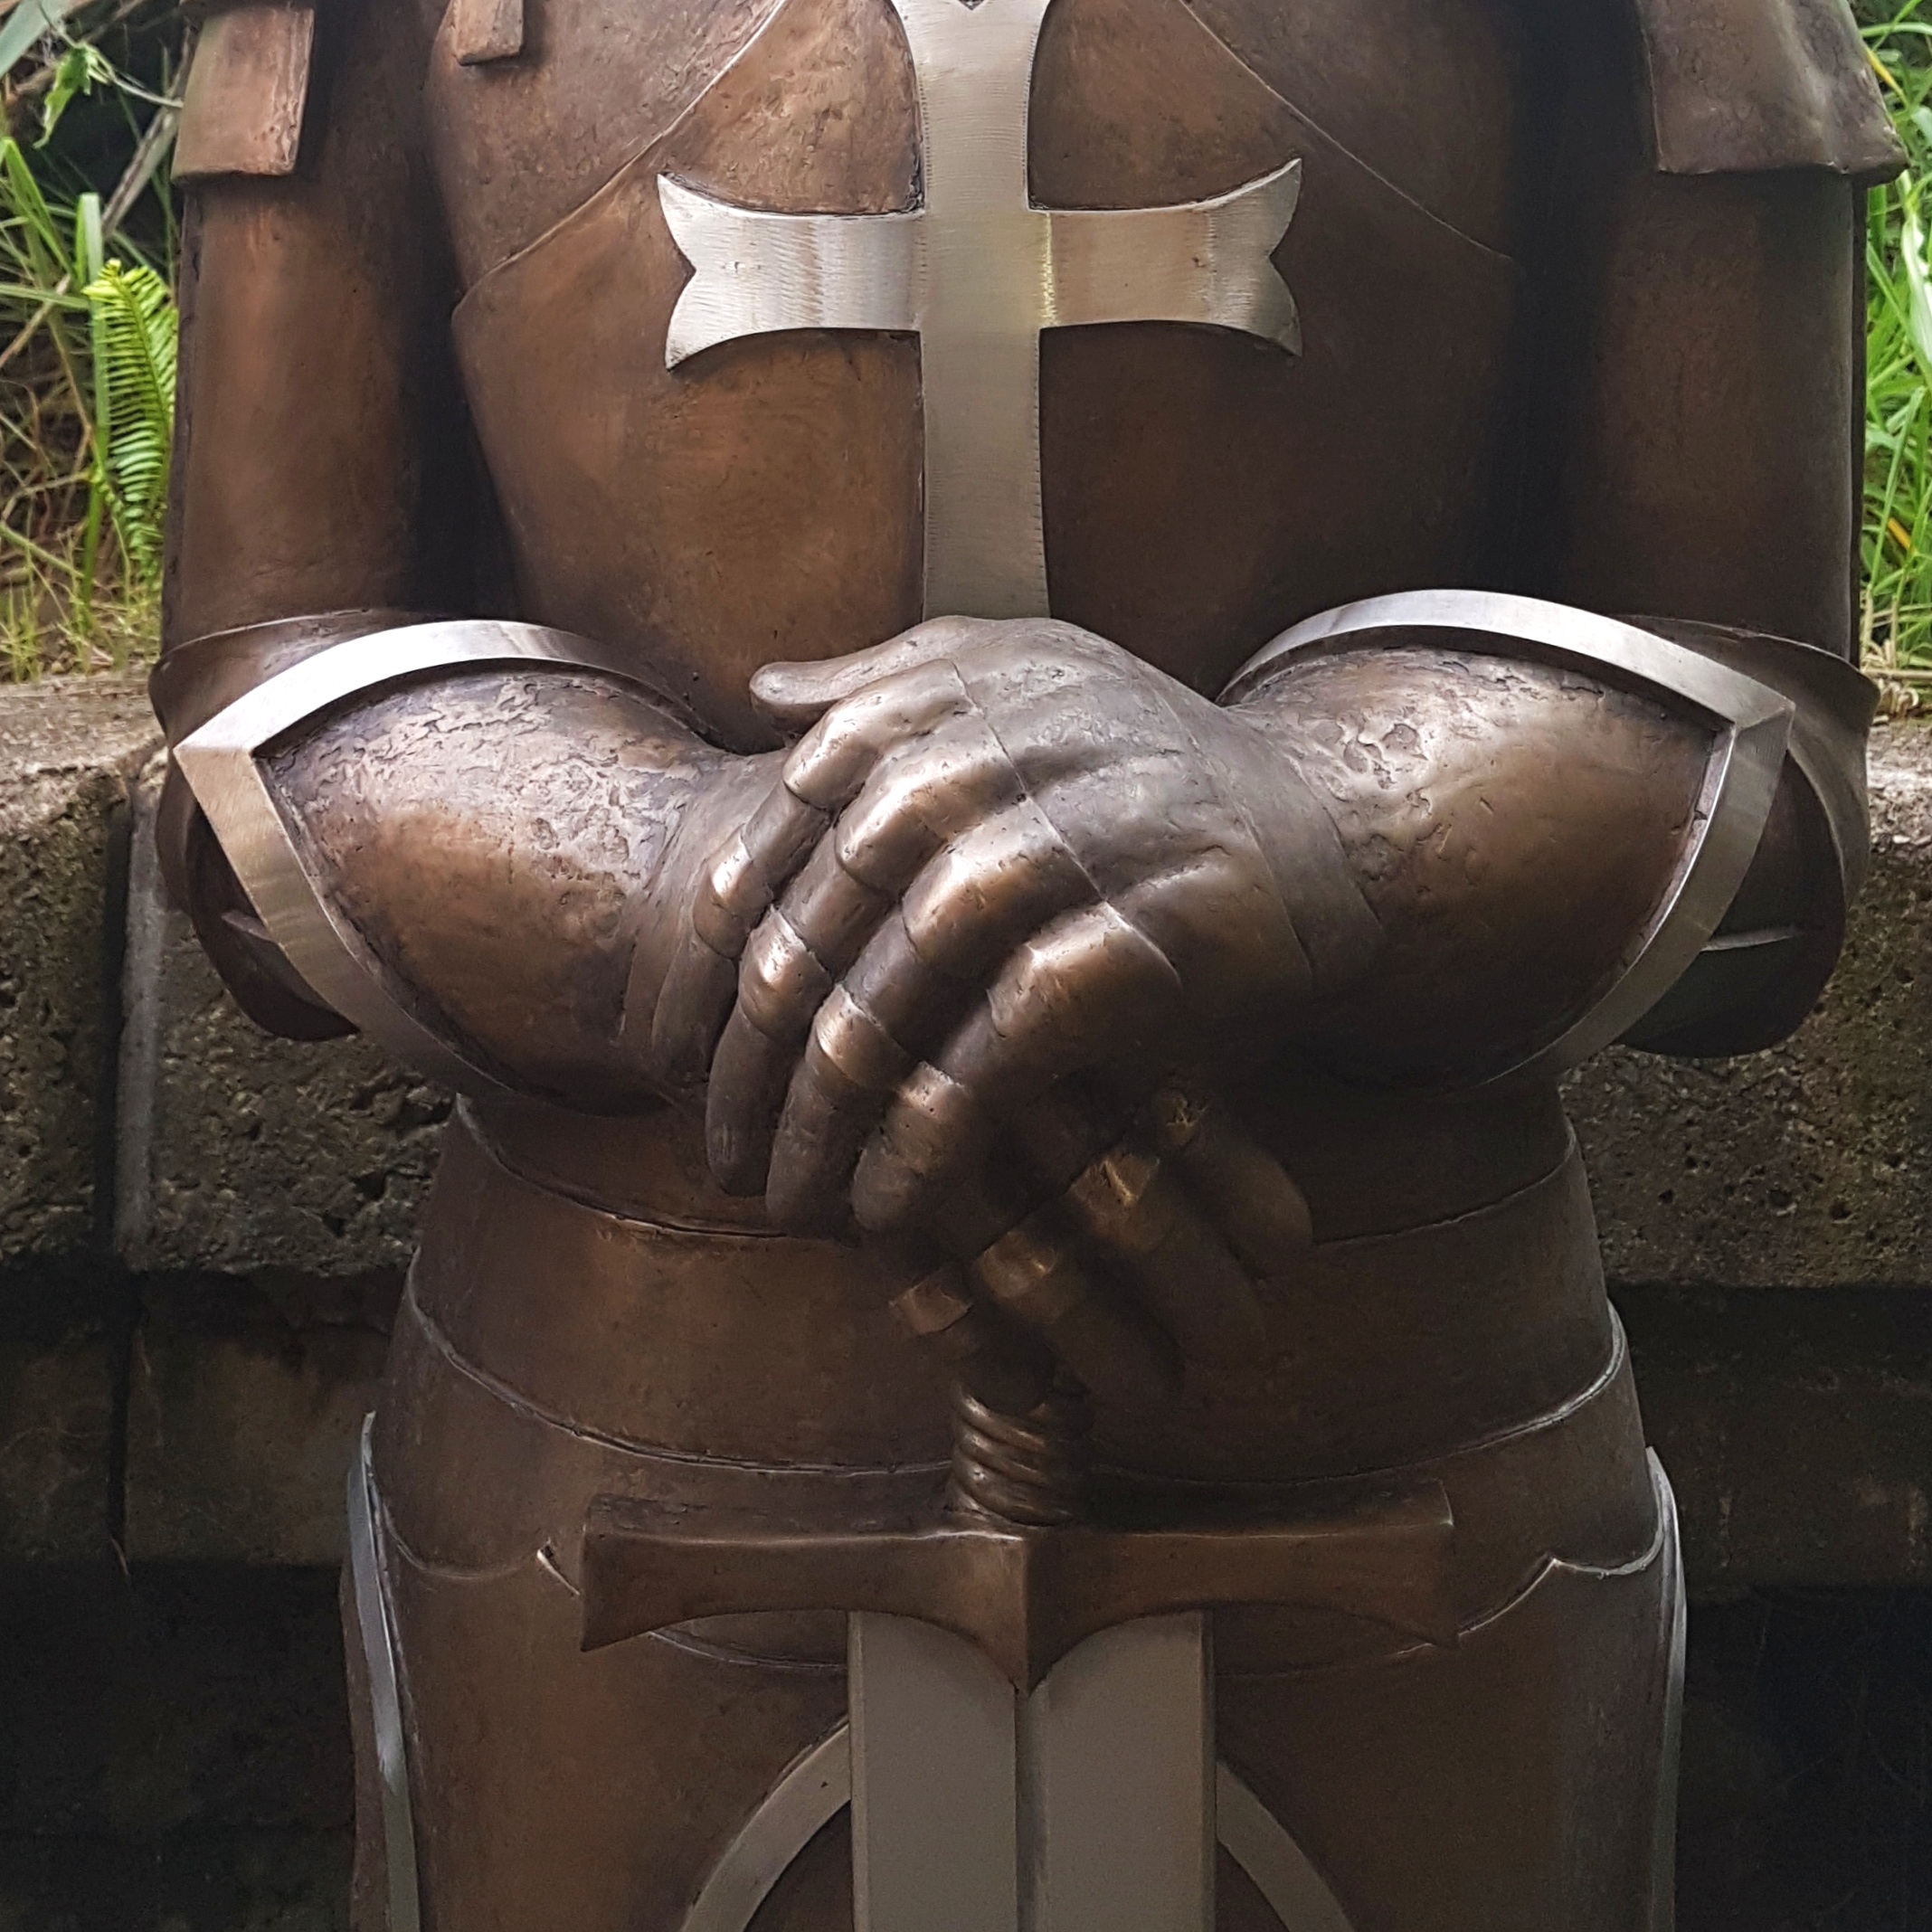
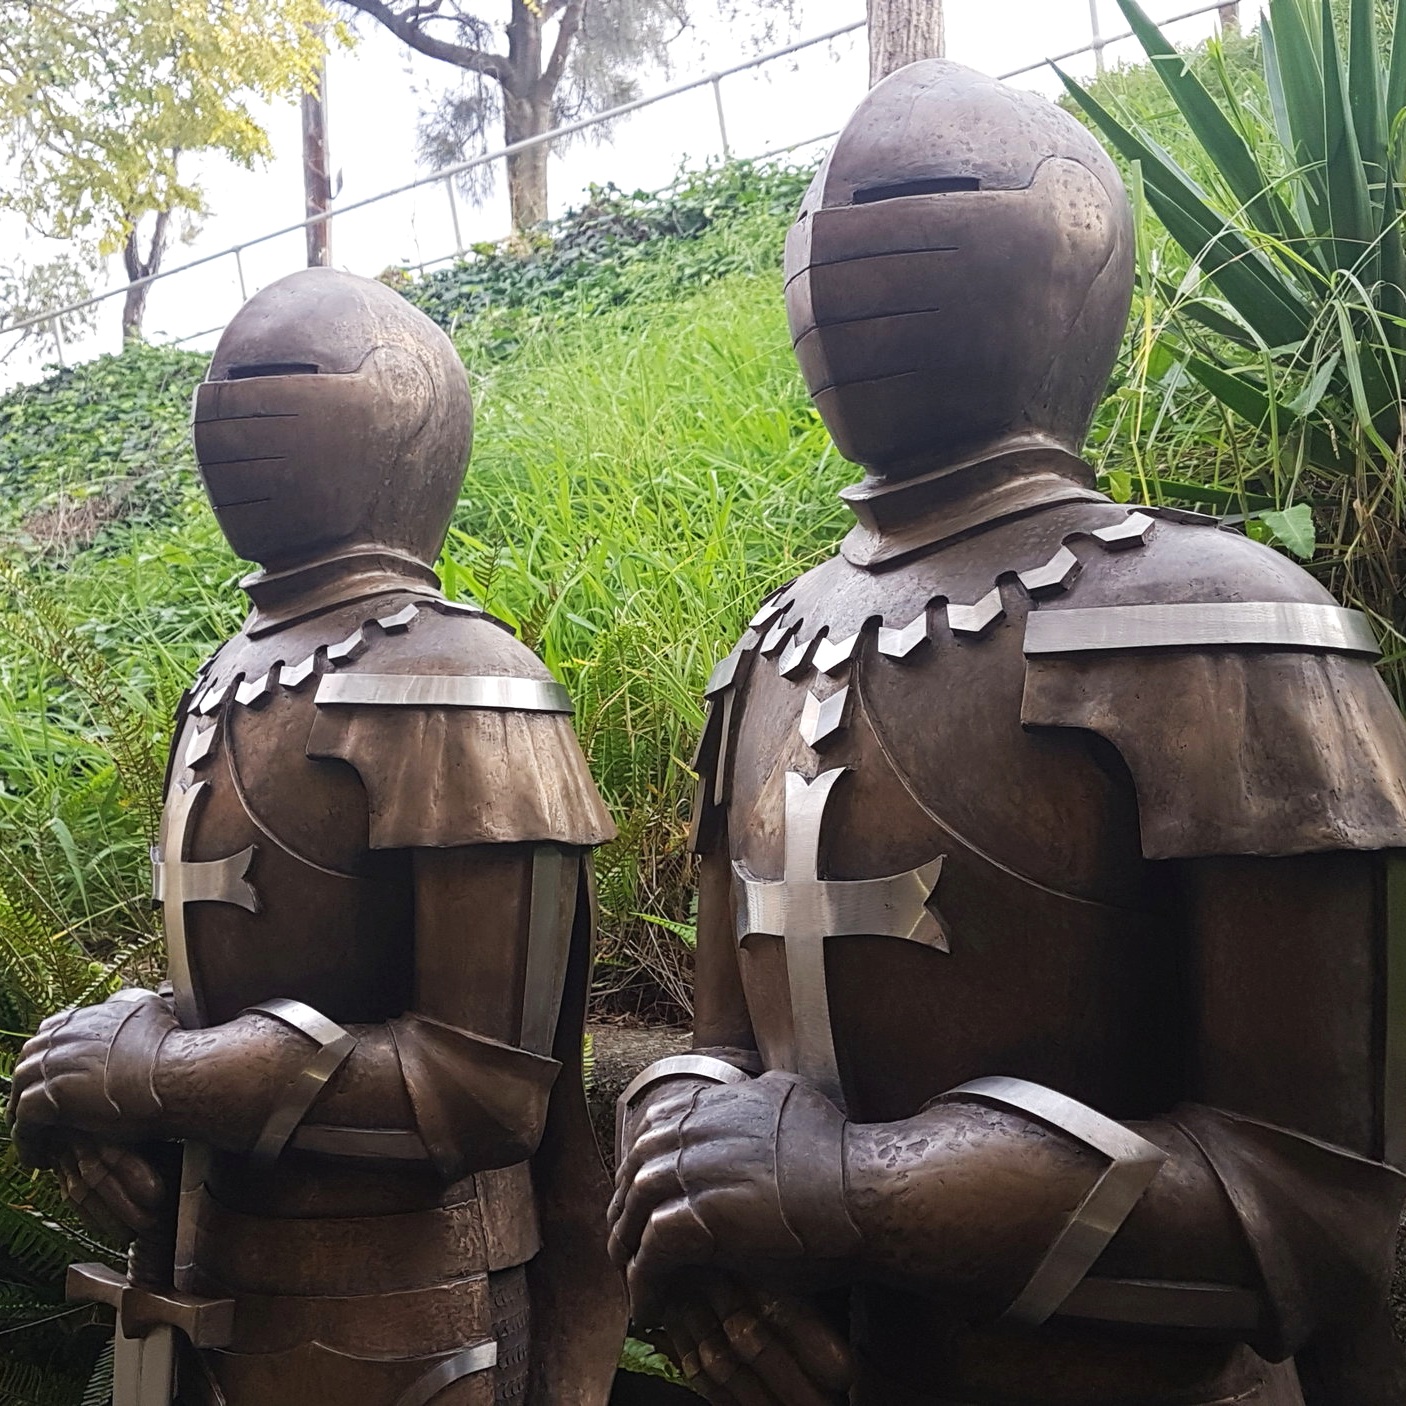
While Hayley Egan Design Pty Ltd. will always remain a hand-sculpting company (I’ll go down kicking and screaming if I must!) I’m delighted to have this addition to our services to create the components that are more geometric and less organic. A perfect example featured below is this hand-sculpted soldier bust on a 3D printed base… sitting next to a miniature version which was scanned from my original hand made piece and printed.

SO! For your 3D printing and scanning needs, don’t hesitate to contact us!

Bananas Away

The Pitch…. My lighting idea is one that has been on my mind for a few years now. When I was growing up in Tonga, mum and dad would hang a full bunch of bananas from a rope on the veranda. It was our version of a fruit bowl. As kids we knew were weren't allowed to help ourselves to the fridge but the bananas were free game. The bunch would still be green. We would be watching and waiting for them to ripen. We probably ate them green most of the time anyway. They would be hung with a pulley system and hoisted up, traditionally also to keep the pigs away.

I would like to make a bunch of bananas into a chandelier with a brass pulley system and rope. It could be lowered over a table as a glowing centerpiece when entertaining and raised back up for more subtle overhead lighting. The bananas would be cast in translucent bluey green resin. The light source would be in the centre of the bunch, eluminating the resin. It would have references to a glass sea buoy. The rope and brass pulleys would have a nautical feel to them as well.

The Project… this is a lighting concept i dreamt up in 2016 when I was planning my solo lighting exhibition for 2017. At the time I decided it was much too big of an undertaking and the idea has sat in my sketch book as a scribble and various notes on how to approach actually making it. Last year (2019) I was lucky enough to be able to pitch my idea to some clients that were looking for something out of the ordinary… I told them my nostaligic banana story and they said, “its a big yes.”

The Result… just as i pictured in my mind… my handmade green resin banana chandelier is finished and hanging in my clients home, complete with a glowing centre, golden stem, nautical rope, brass pulley system and a custom made winch. This was possibly one of the trickier makes I've approached so far… there where many cups of tea where I had to sit and think my way around things. Proof that I love my problem solving hat and a cup of green tea. My new motto is, “There are no problems, only solutions.”

Happy Clients… tick!

processed_003.jpg

The Looking Glass

I was thrilled to be asked by a client to do this commission work. The job involves creating almost two thousand individual resin pieces, flowers, leaves, eagles, lengths of glistening twisted rope, all cast in resin, with the look of hand blown glass. These pieces will be cast in transparent gold, rose gold and black resin, a luxurious colour combination. The photos below show the pieces in clear resin as the prototypes.

Each piece has been hand sculpted, moulded, cast, glazed and remoulded several times to produce these glassy looking treasures. After almost two thousand pieces have been individually dusted with gold powder and hand cast, I will then be applying them to numerous panels of mirror, complete with hand done etched leaves and Swarovski crystals.

These mirror panels will make up the pillars and cabinetry of a gorgeous lounging room in my clients home. Certainly a place to relax and reflect.

processed_20200521_101250.jpg

Challenge Accepted!

I had a blast with this one... for the following reasons... it was a total invention, problem solving, multimedia, up-sized prop... on a time crunch! Challenge accepted!

I created this oversized 1m diameter almond blossom for my client in one week. It needed to be beautiful, structural and it needed to be poseable. I drew from so many past prop making experiences. From as far back as using latex on fabric in my time at university, to creating a plaster pattern from my feature film days, to my latest favourite skill… fibreglassing.

To make the flower petals pose at three different levels of unfurling, i made fibreglass calyx inserts that stacked and bolted together, holding the petals more open or less open depending on the order in which the inserts were stacked.

The oversized petals had fibreglass spines to give structure, yet the soft latex gave the rest of the petal bounce and movement... and translucency... probably the most important feature. This blossom was made complete with fluffy yellow stamens and a very subtle airbrush paint job.

Coming to a tv screen near you!

blossom1.jpg

I'll Take Two!

At the end of 2018 I finished a large commission for one of my clients. This was a 2.5m wingspan wedge-tail eagle in cold cast brass wearing bronze armour. It featured dramatic stainless steel flight feathers at the tips of its wings, resembling swords. This eagle is posed with wings outstretched in full flight and will be installed 4 meters in the air at my client's majestic estate. 

In 2019 I completed the second eagle, a brother to the first, complete with armour and stainless steel wingtips. This eagle is posed coming in for landing and will also be installed high above the ground, keeping watch over the rolling hills. 

For this project I have been working with a top Australian interior designer alongside the client. I started by drawing an initial sketch to be approved my both designer and client. The next step was sculpting a miniature version (maquette) of the eagle. This helps the client see what the piece will look like from all angles and also helps me to plan how to build the armature. I refer back to the maquette the entire way through the project. 

The armature (the structure inside the full size sculpture) was fabricated from stainless steel. I worked alongside fabricators for this stage. This is also when the stainless steel sword-like flight feathers were attached. I then applied about 50kg of soft wax onto the armature and began forming the eagle and sculpting the detail.

The next stage was mould-making. I assisted the very talented Claire Tennant who runs a mould-making workshop in Sydney. Together we then cold cast the eagle in brass and bronze. To finish, the sculpture needed days upon days of sanding and polishing to achieve a gorgeous aged lustre.

A few knots in my shoulder but we'll worth it.

20190822_175538.jpg

Pure Gold

Last year I was ecstatic when I received an order for a solid 18k yellow gold version of my honey bee pendant, which I normally produce in 925 sterling silver. I have been selling my range of sterling silver hand sculpted jewellery in Tonga at Blue Banana Studios for 11 years and on Etsy for 2 years now. Over the years I've had orders for my Tongan designs in solid 18k gold. I make these on request only. It's great to see my designs cast in this gorgeous precious metal. When I received the order earlier last year for a gold bee, it meant I could take some nice photos of the piece before I popped it in the post. I've since sold a second 18k yellow gold bee and both customers gave me 5 star reviews and lovely comments. If you are interested, please have a look at my Etsy shop www.hayleyeganjewelry.etsy.com

Across the Universe

For the last year I have been fortunate to be able to work with Claire Tennant at her workshop Addison Road Creative in Marrickville, We had connected on the phone years ago but only just started working together last year. I enlisted her expertise as a mould-maker for some very large pieces I have been sculpting for one of my clients. Full scale bronze knights in shining armour and life size 2.5 meter wingspan wedge-tail eagles in brass, bronze and stainless steel.

Not only is it great to see a successful woman in the maker industry (Claire studied industrial design, runs her mould-making business and runs ARC studios as well as teaching mould-making courses), it’s great to see another mum making it work in this industry.

Claire and i collaborated on a chandelier make recently. A client of hers wanted a large flying saucer to hover above his dining table in his very eclectic split level home. I built and hand carved the UFO out of polystyrene (a good old film trick). I used a hot knife to cut out all the internal channels to hide the wiring for 7 down-lights and created the housing for each down-light out of PVC pipe. This was a completely custom, one-off build.

Claire then hard-coated the sculpture in resin and gave it a schmick automotive paint finish. She installed the piece and it looks amazing lit up in it’s new home.

Claire is a diamond in the rough! We make a great team and will continue to work together.

www.clairetennant.com.au

Across the Pacific

I'm not talking about the 1942 Humphrey Bogart film Across the Pacific. I have my own amazing story that culminated just recently. It began ten years ago and it took place… Across the Pacific.

A little back story… I grew up in the Polynesian islands of Tonga and moved back to Australia 18 years ago. A lot of my art is very Polynesian inspired and, with my parents still living there, I have a strong connection with the Kingdom of Tonga . I often paint watercolour scenes from my childhood memories; splashy close-ups of Polynesian dancers; tropical fish; stone totems… all with my signature paint splatter to add life and movement. My parents have a gift shop in Tonga called Blue Banana Studios that sells our family's art. In 2008 i had my paintings printed onto gift cards to sell at Blue Banana.

Now, back in Sydney… I have a lovely friend named Norma, she turned 90 last year. I met her 5 years ago. She likes to give me hand-me-down things (she is from the waste not, want not generation). Things like old art books, pots and pans, some awesomely kitsch dinner plates, and in return I would occasionally take her a hot meal or invite her to my crazy costume parties or just over for a cup of tea. Four years ago she gave me a pile of old post cards from Italy, France and Germany. She thought I might like to use them for craft. And there was a card in there with one of my Tongan watercolours printed on it. I figured Norma must have gotten it from me and didn’t realise she was giving it back. I kept the pile of old cards and I use them as gift tags for birthday presents and my Etsy jewellery sales. 

Just recently I visited Norma in the hospital. We were chatting about her niece who does a bit of travelling. She mentioned her niece had been to Tonga 10 years ago. Then it clicked and as soon as I got home I dug out the pile of cards and opened the Tongan one. It was a birthday card for Norma from her niece. Her niece had been to my mums shop in Tonga, bought the card, given it to Norma in Sydney years before I'd even met her. Four years ago Norma accidentally gave the card back to me and it's been sitting in my stationary draw ever since. What an unbelievable connection.

Its also not the first time some Egan art has made its way to Norma. My daughter made an Easter basket which was donated to Meals on Wheels along with 200 other baskets made by students at her primary school. Norma receives Meals on Wheels and believe it or not… she got Elvis’s Easter basket at Easter time!

Pictured below: Myself, Norma, her niece, and the card that made its way back to me after 10 years.

Knight Time

Friday just gone saw the pickup of my two bronze knights in shining armour. We loaded up the truck and my knights, looking more like Egyptian sarcophagi all wrapped up safe in their packaging, were off to their new home.

This project started one year ago alongside other large pieces for the same client. I began by sculpting a 240mm tall maquette (miniature) before moving on to the full scale 1.6m sculpt. It's a little hard to say how much time was spent on the sculpting itself. It was broken up over a few months while I continued to mould and cast another large and involved piece for the same client. Mouldmaking is time sensitive. Sometimes you can't stop until you get to a certain point, and other times you can't do anything but wait! So it was great having this knight to sculpt. He was often patiently waiting, a silent figure in the corner of my workspace. Often startling me when I came around a corner!

I first carved a basic figure out of polystyrene, coated it with a soft sculpting wax and then sculpted the details. Check out my Instagram link to see a quick video of this process. https://www.instagram.com/p/BoLlQObl6PU/?utm_source=ig_share_sheet&igshid=6p4adjomf4b3

The finished wax knight was moulded in silicone and fiberglass. I worked with Claire Tennant Workshop, together we cold-cast two bronze knights from this mould. http://clairetennant.com.au/

Back at my workspace, the bronze knights were sanded and polished and left to naturally patina while I worked on this next groundbreaking element; the stainless steel detailing. I can tell you, now that the knights are complete, the stainless elements look effortless and sit seamlessly on the sculptures, definitely like they belong. The process on the other hand was far from effortless. It was not at all problematic, the application went according to my plan, but did require a lot of concentration and patience. Thankfully I have plenty of that. I even got to draw on some of my cake decorating skills - expert resin application with a piping bag.

The knights looked very regal with their added bling and swords to match. To finish, a scenic paint wash to give them a bit of age, and being real bronze, they will age and patina further over time in nature’s elements. My client was super pleased with the final result. I look forward to seeing them installed in their new home.

knights _paint_finish.jpg

Let me Make it Clear!

A lot of people ask about my process, whether it's friends that are just curious, or clients that have a vested interest. I loose them with all the terminology. I have noticed it’s because there are a few common misconceptions and misuses of sculpting terminology. Let me share with you, a linear list of the stages and associated terminology for producing a sculpture. You never know when these may come in handy! You may need to make small talk with a sculptor at a cocktail party… I've got you covered.

Concept design. This will often consist of a consultation with the client or interior designer. I will ask for some visual material such as photos of the clients space and preexisting decor that sets the theme of the space. I will then draw a few sketches of the proposed sculpture. A visit to the space to measure up may also be necessary. Once a sketch is approved I will make a maquette.

A maquette is a small preliminary model of the proposed sculpture. Similar to a model aeroplane or model car. It is a small version of the real thing. This allows changes to be rectified on the small version. It will save money and time. Having a maquette to look at will aid immensely in planning the correct approach.

Armature. Some sculptures will require an armature which is much like a skeleton. It is a structure inside the sculpture that will give it strength. It is important to get the shape of the armature right before you start to sculpt.

To sculpt or Sculpting is the act of shaping the wax or clay, by use of your hands or sculpting tools. I don’t like to use the word model or modeling in this context however, you could.

Carving is a term generally only used when working with hard wax, wood, stone or polystyrene, using carving tools or a carving knife.

Once the sculpting or carving is done, you have a sculpture. Some sculptures, namely ones that are carved from a hard material like wood, can be painted etc and the process is complete.

If the sculpture was sculpted out of soft wax, it needs to be moulded. There are many reasons for doing this and there are many types of moulds and different ways to mould. I'll get into that in another post. For now I really want to clear up this misconception...

Many people i have spoken to think that the word “mould” refers to the sculpture itself. When in actual fact it's the complete opposite. The mould is a cocoon like casing that is made around the sculpture. It gives you a negative impression of the sculpture and allows you to make multiple copies of the sculpture.

Once a mould has been made around a wax sculpture, it needs time to set. The mould then needs to be opened and the wax sculpture is removed. Often the wax sculpture will be damaged or ruined in this process, but this is fine, it’s job is done. The mould then needs to be cleaned, ready for casting.

Casting refers to the process of pouring or brushing a liquid material into the mould that will set hard. For example, resin.

The cast. This term refers to the hard set sculpture that comes out of the mould. The cast can now be painted or polished etc. You now have your finished sculpture.

Here I am casting a lampshade sculpture by pouring clear blue resin into a silicone mould.

Here I am casting a lampshade sculpture by pouring clear blue resin into a silicone mould.